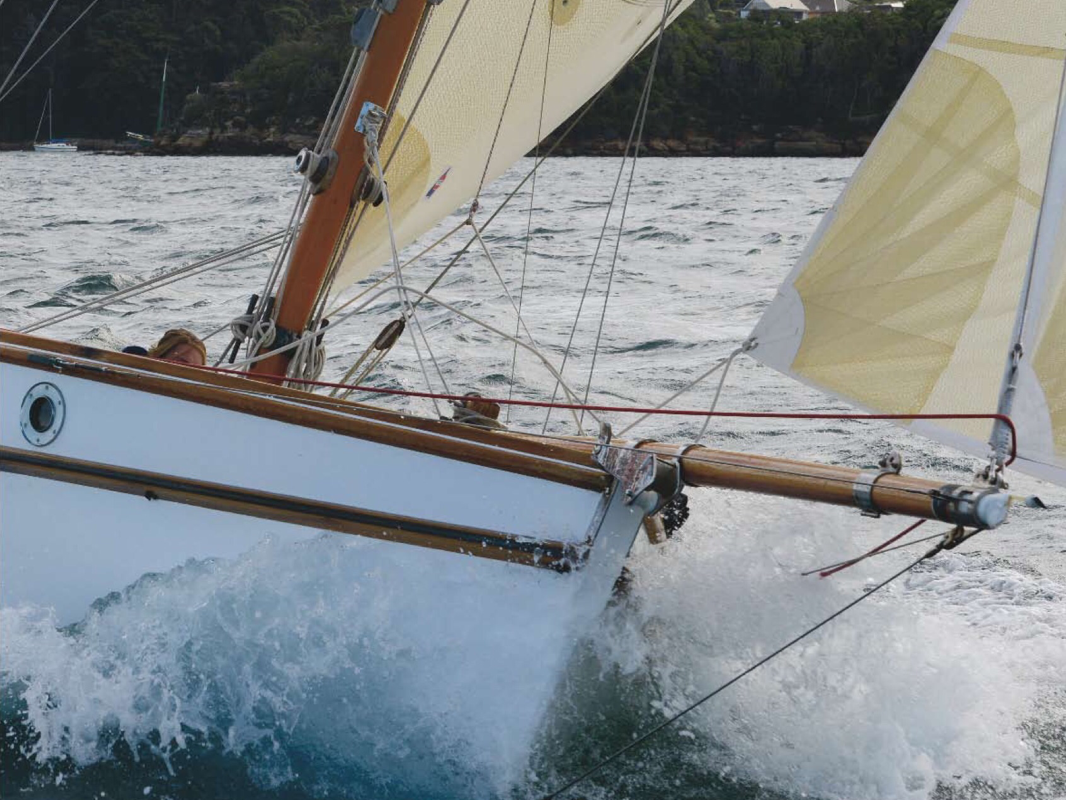
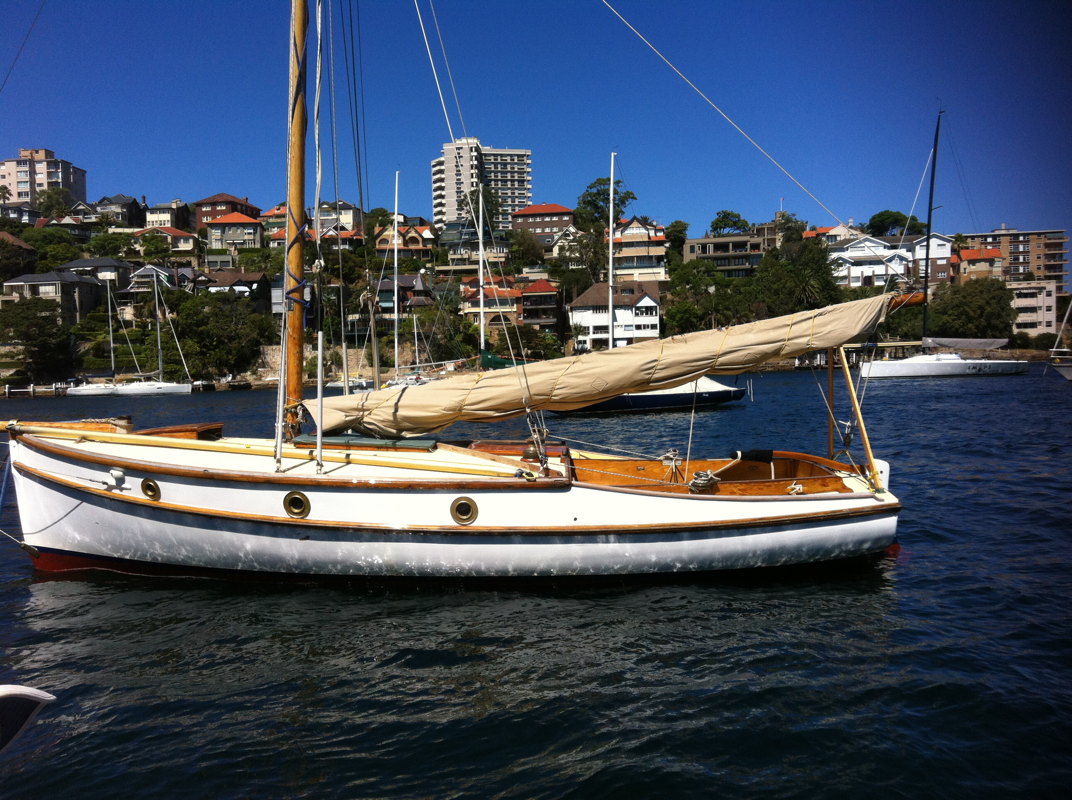
The Ranger class- the iconic 24' gaff sloop
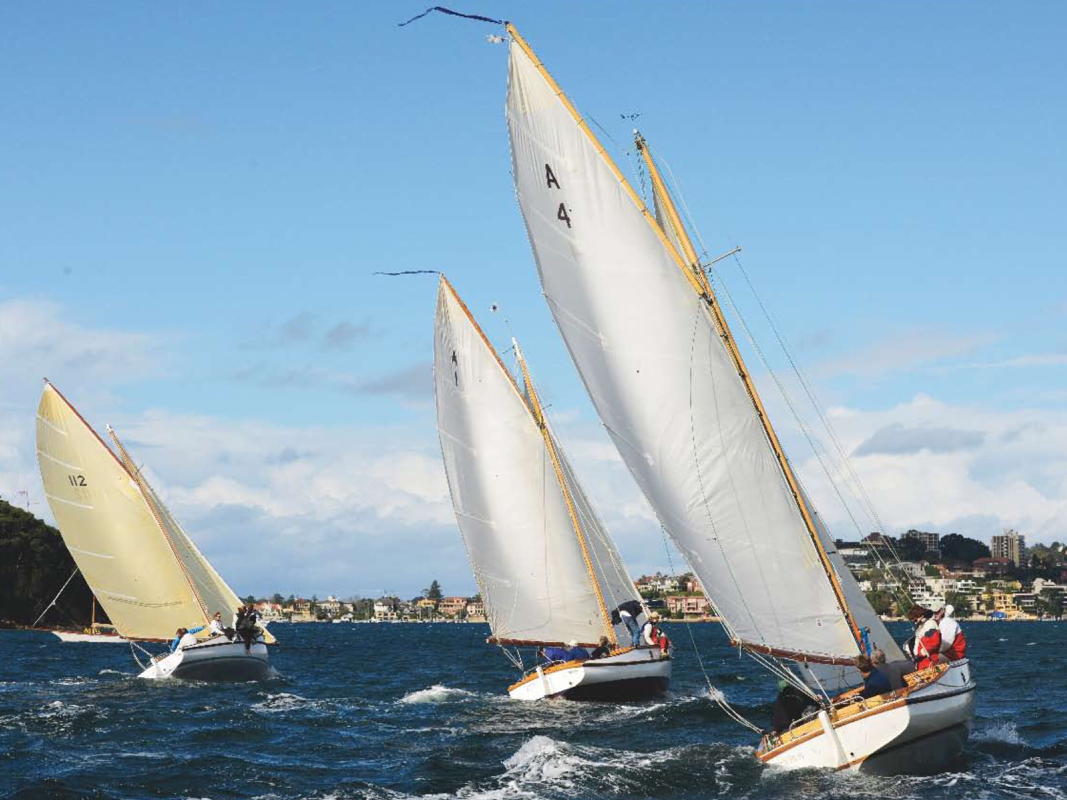
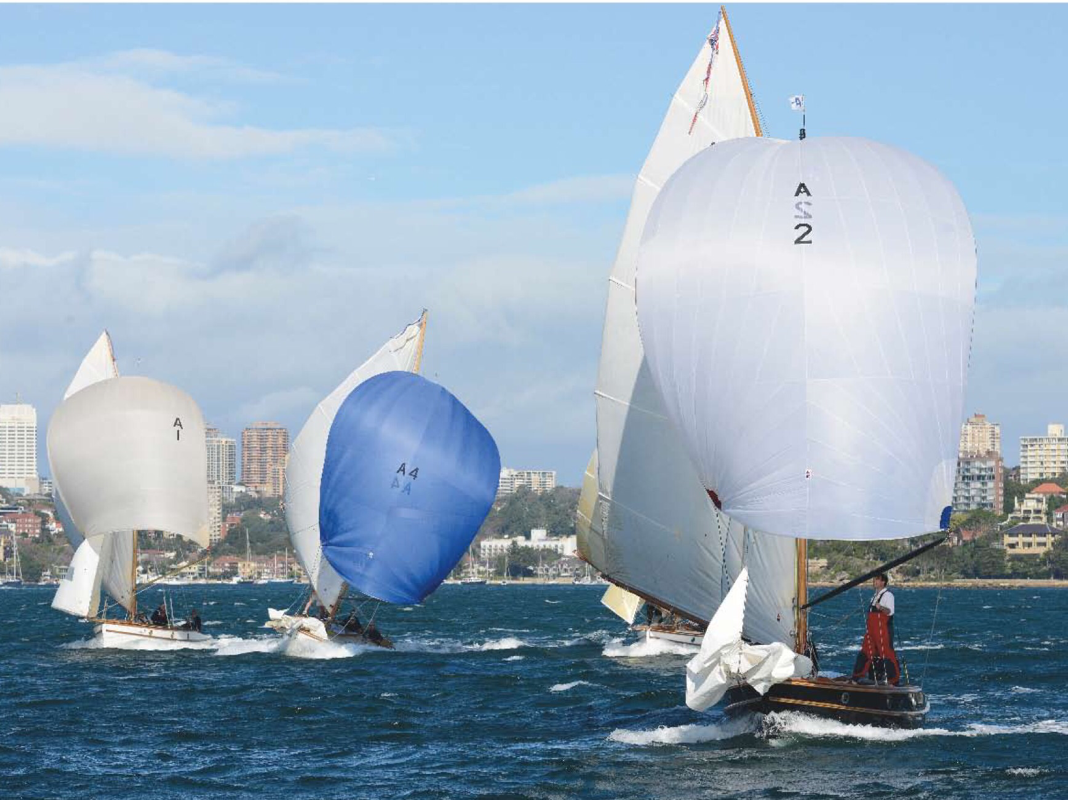
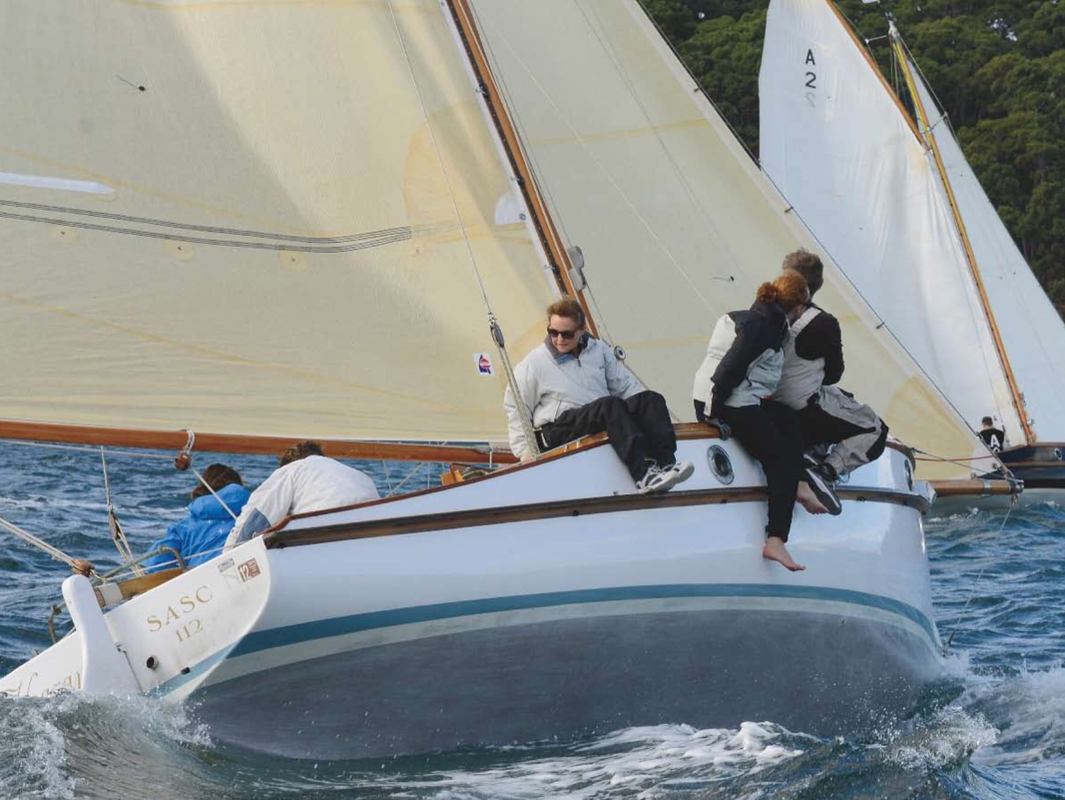

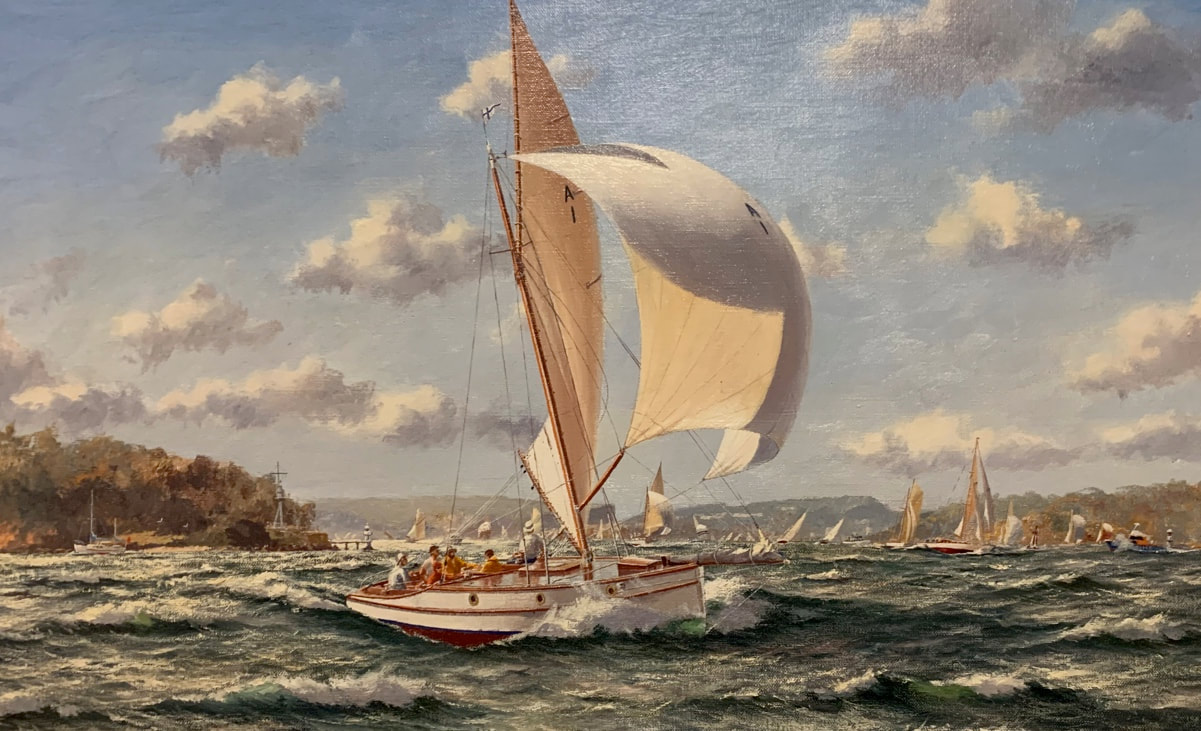
The best photos above (the sailing ones) are by John Jeremy, from the book The Ranger Sprint Series by the Sydney Amateur Sailing Club, 2014.
|
The original Ranger was designed by owner Cliff Gale and built for him by Billy Fisher at La Perouse in 1933. Not intended as a racing boat, but meant for general family boating and fishing, Ranger and her sister ships which number at least six plus several slightly larger and smaller versions have proved to be the ideal boat for Sydney Harbour and faster than anyone had a right to expect, often beating larger modern boats in racing at the Sydney Amateur Sailing Club. Bill Gale, son of Cliff, started racing on Ranger as a boy and after taking over from his father, raced every season until 2012-13. Under new ownership, Ranger continues to race with the Amateurs.
I decided years ago that a Ranger sister-ship would be my retirement boat, and my then business partner Simon Sadubin and I took the lines off Ranger in 2003, in the knowledge that neither the original model nor the original paper lines plan reflected the finished boat. I started building in 2014, setting up the stem and sternpost cut from Blackbutt on a keel of Spotted Gum. The accompanying painting is by Ian Hansen and hangs on Bill Gale's wall |
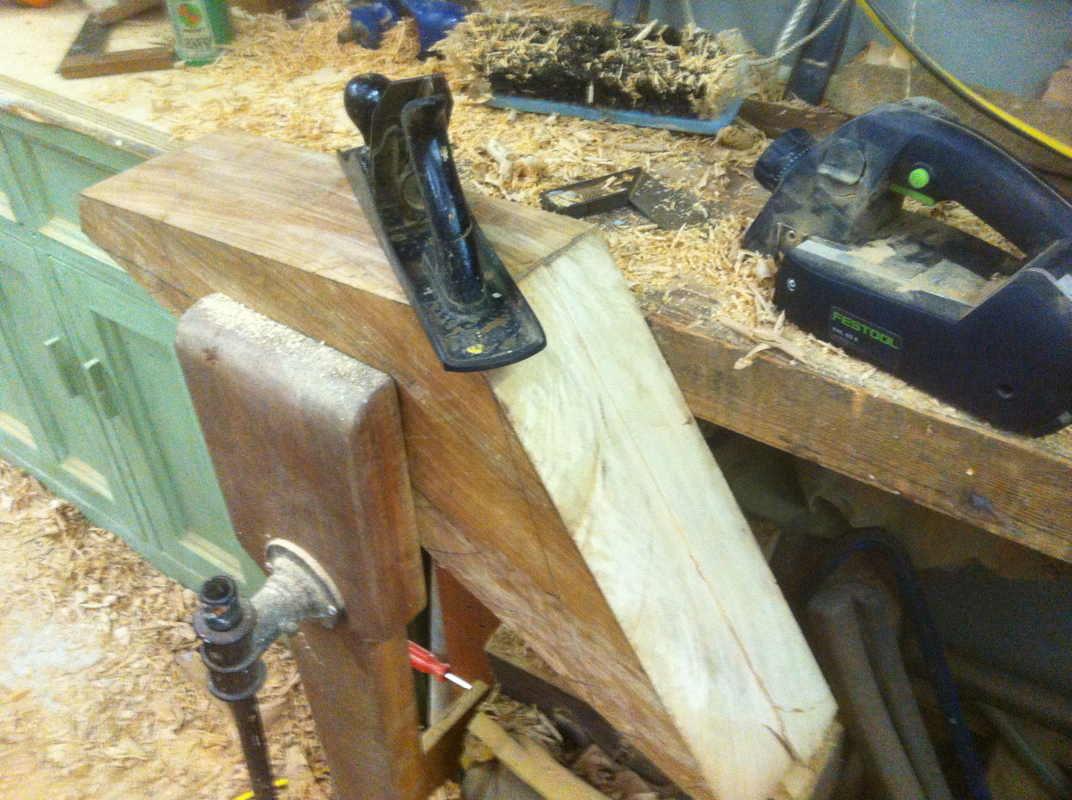

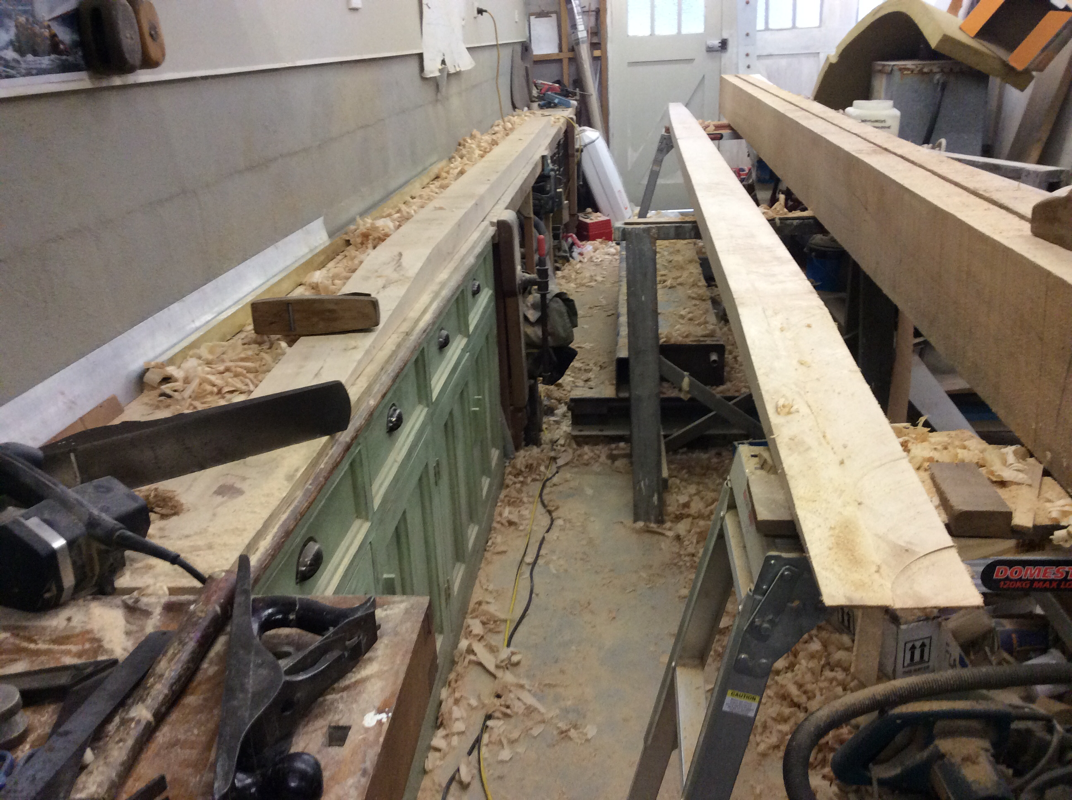
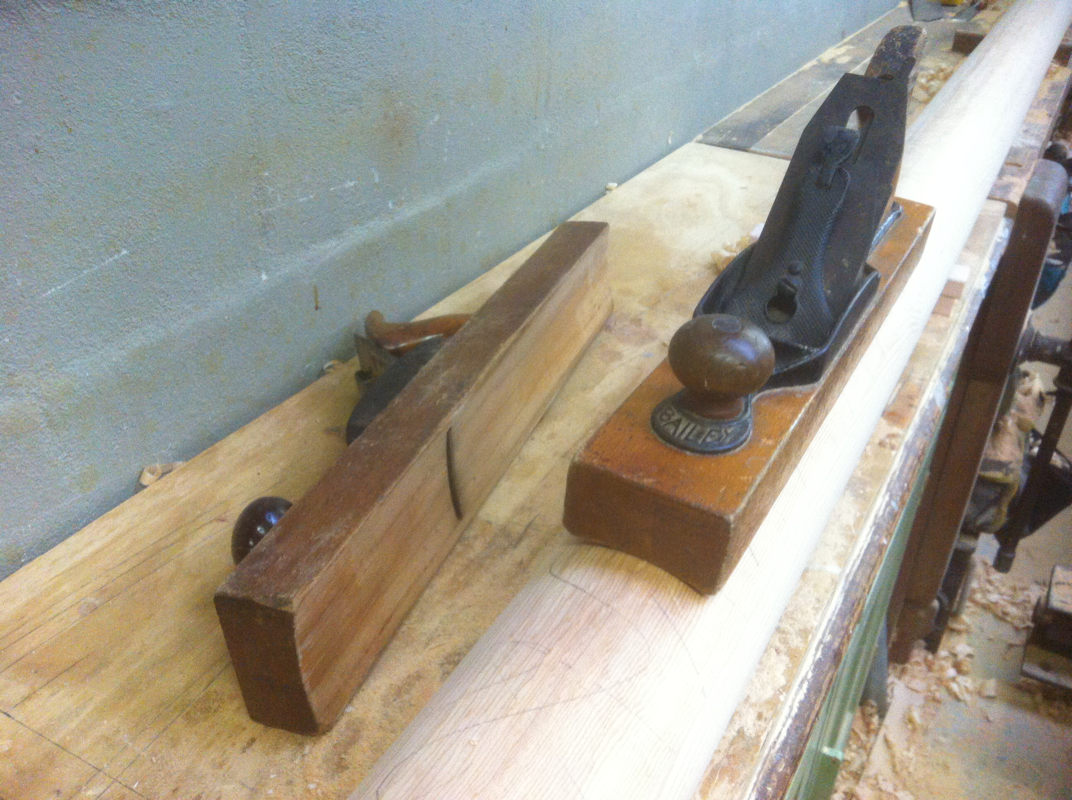
I'll use power tools whenever possible, but hand tools are generally the only way to finish a job. I used to warn my boatbuilding students that the biggest advantage of a power plane is that it removes a lot of timber in one go, and the biggest disadvantage of a power plane is that it removes a lot of timber in one go. Cut conservatively, check often!
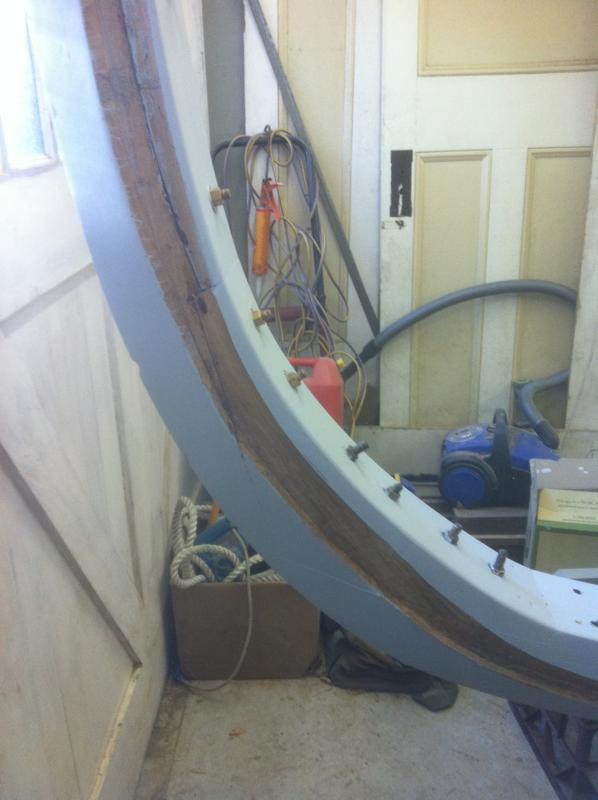
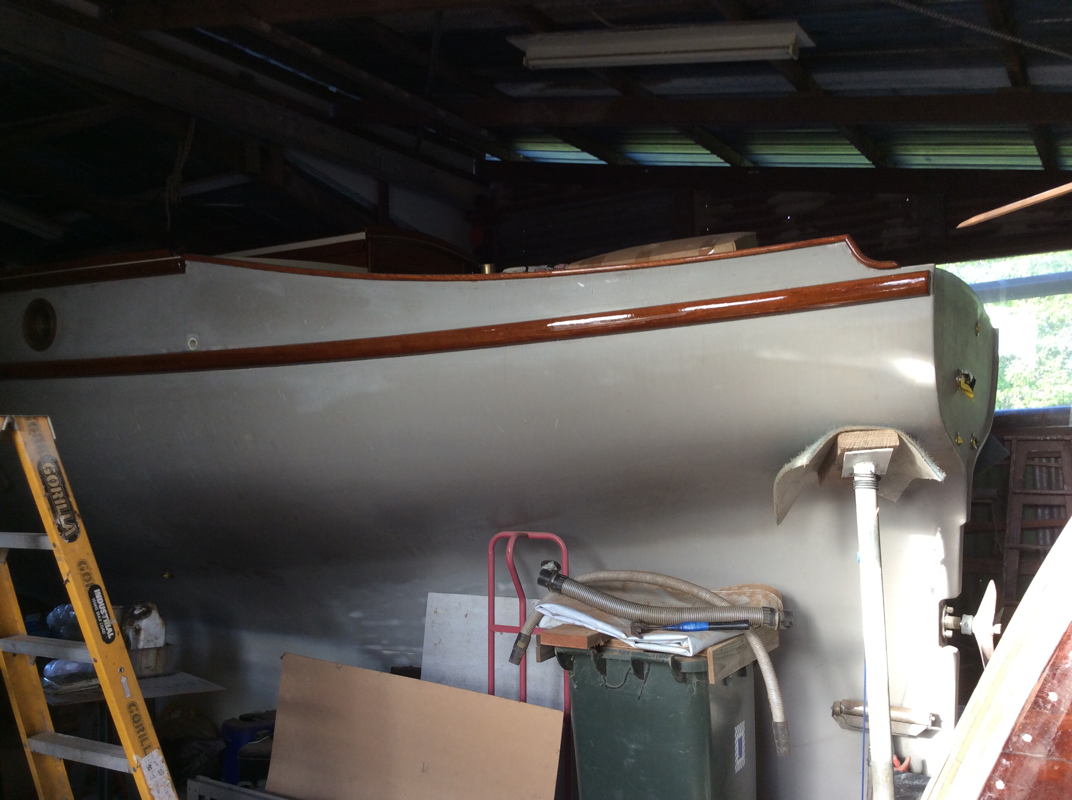
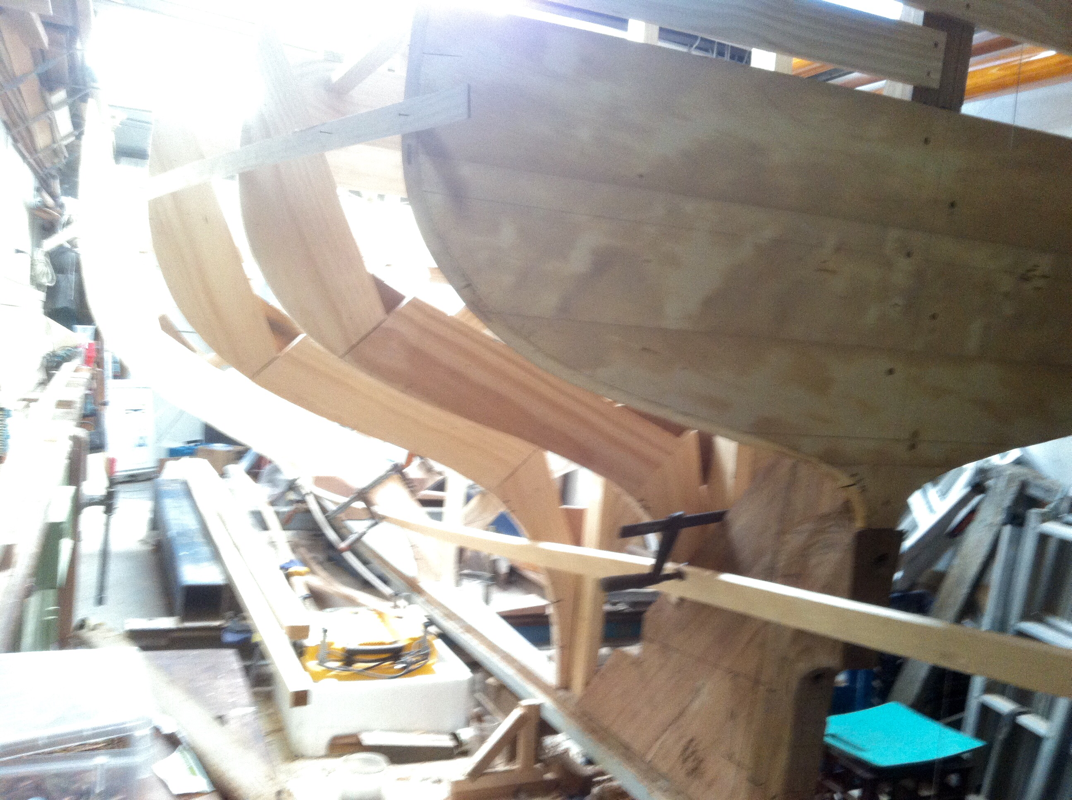
In the meantime, shipwright and mate of my son Jordan and myself, Marcus Cranny borrowed my Mylar lofting tracings and started to build his own Ranger up at Murwillumbah. Marcus has laminated the hull in Australian Cedar on a Blackbutt backbone and is doing a superb job being an excellent craftsman. The boat currently needs only deck gear and rig to be complete, but Marcus first has to finish a Lobster boat for a customer.
In the meantime, shipwright and mate of my son Jordan and myself, Marcus Cranny borrowed my Mylar lofting tracings and started to build his own Ranger up at Murwillumbah. Marcus has laminated the hull in Australian Cedar on a Blackbutt backbone and is doing a superb job being an excellent craftsman. The boat currently needs only deck gear and rig to be complete, but Marcus first has to finish a Lobster boat for a customer.

I think Marcus will be in the water well before me.
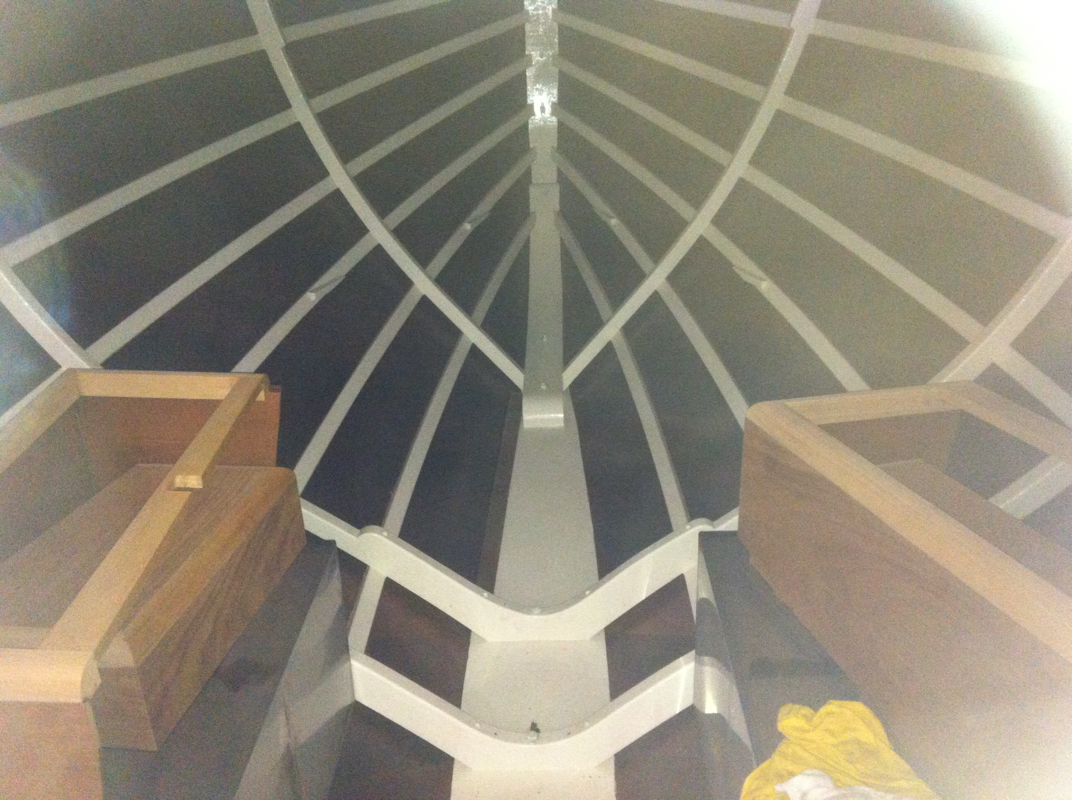
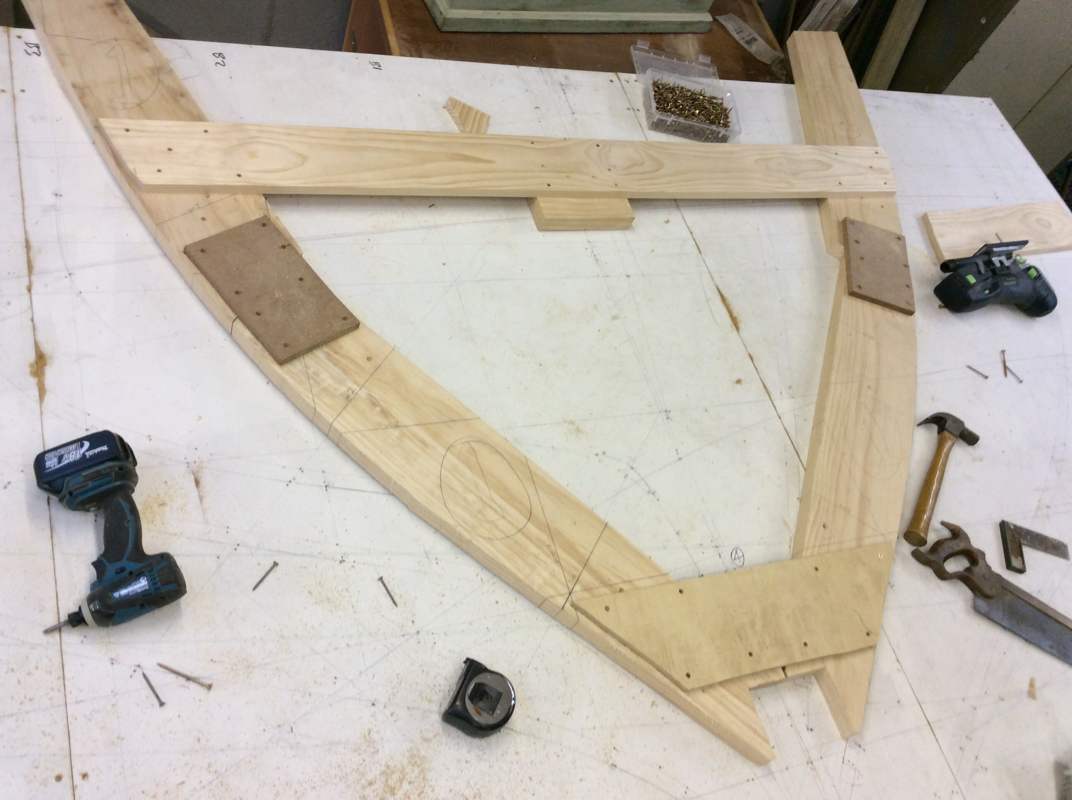
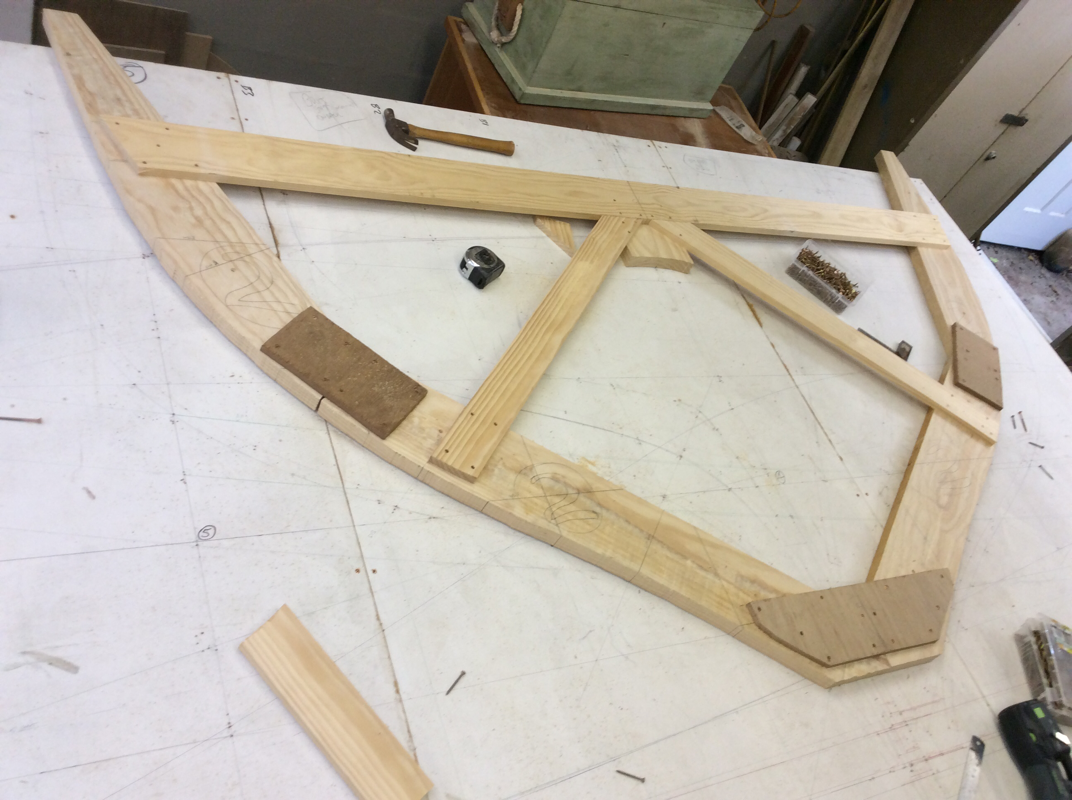
Before setting up the sternpost I laid out the body plan part of the loft floor on sheets of mdf at bench height because of lack of floor space, and assembled the moulds directly on the body plan.
Before setting up the sternpost I laid out the body plan part of the loft floor on sheets of mdf at bench height because of lack of floor space, and assembled the moulds directly on the body plan.
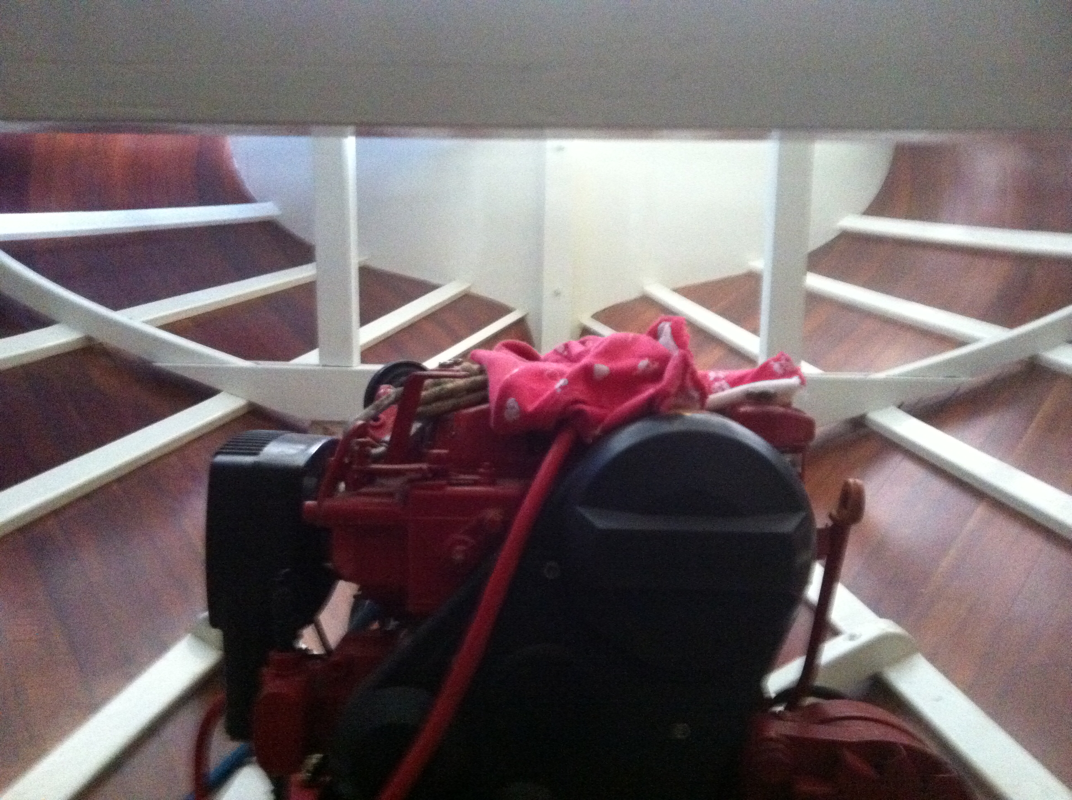
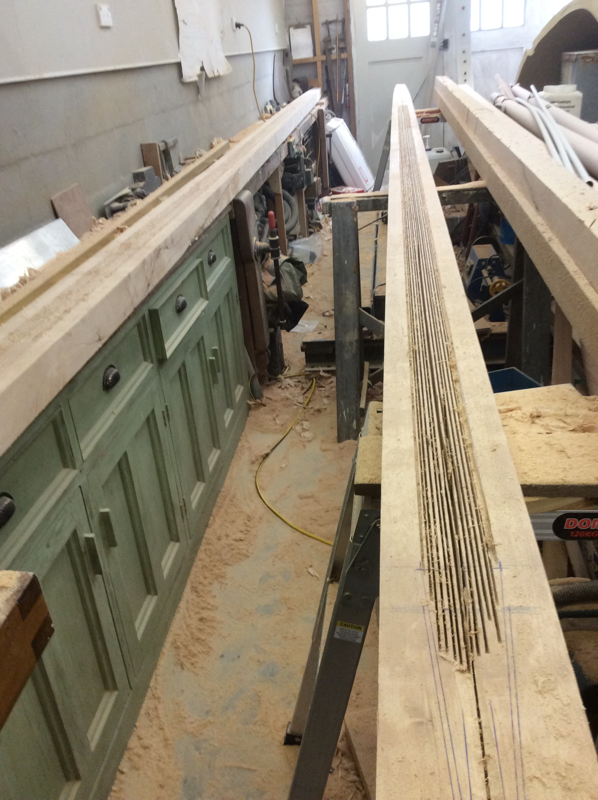
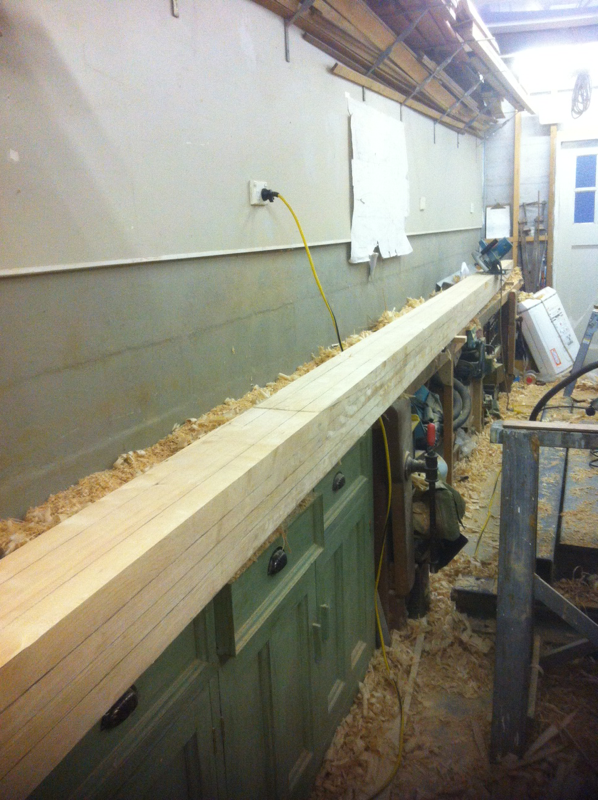
But I realised that if I set them up on the keel, I would not have enough room to build the mast and spars on the benches running along the side of the shed. I didn't want to launch the boat and then spend a few more months before rigging and going sailing, so I decided to do the mast and spars first. I bought some excellent 6"x3" Sitka Spruce in 20' lengths from Rod Henderson at Anagote Timbers in Marrickville.
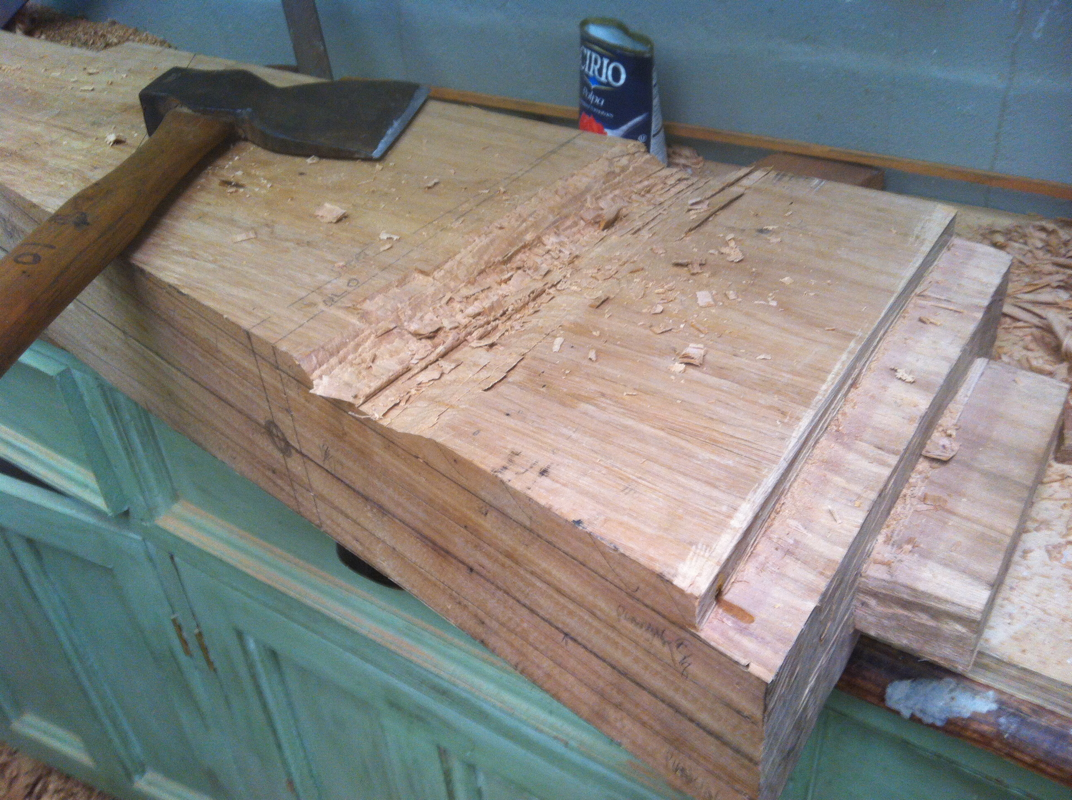
I selected the joining surfaces to keep the inside of the tree to the outside of the spar, trued them up, marked the taper on each section and cut 12:1 scarf joints and glued them together with WEST System epoxy and Microfibres. The mast is therefore made from four pieces of timber, with the scarf joints staggered away from each other.
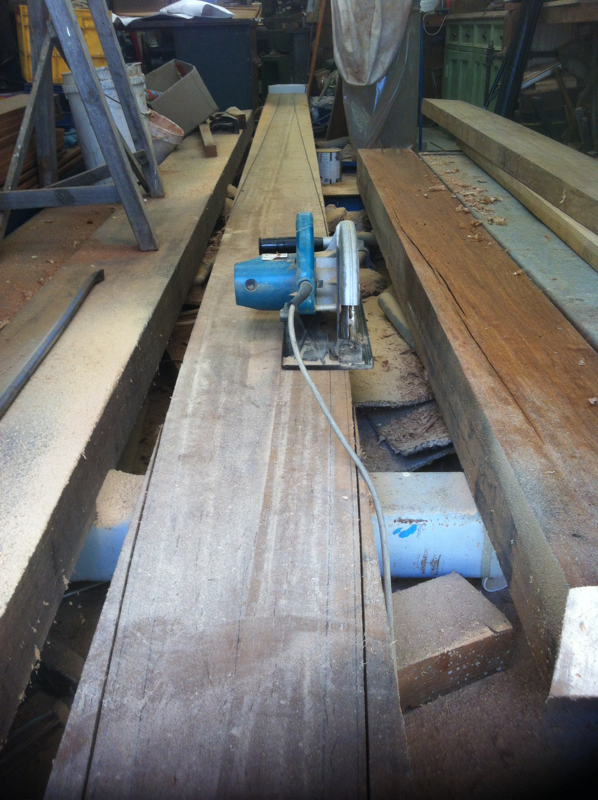
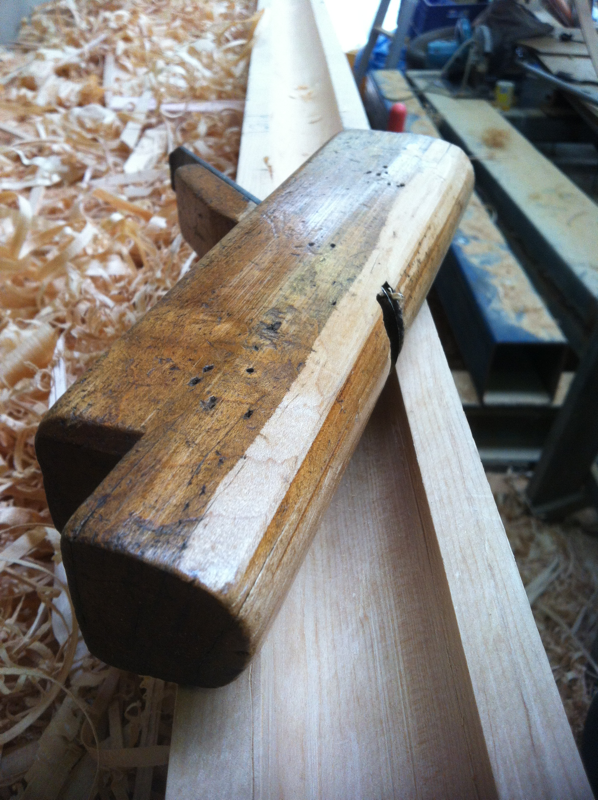
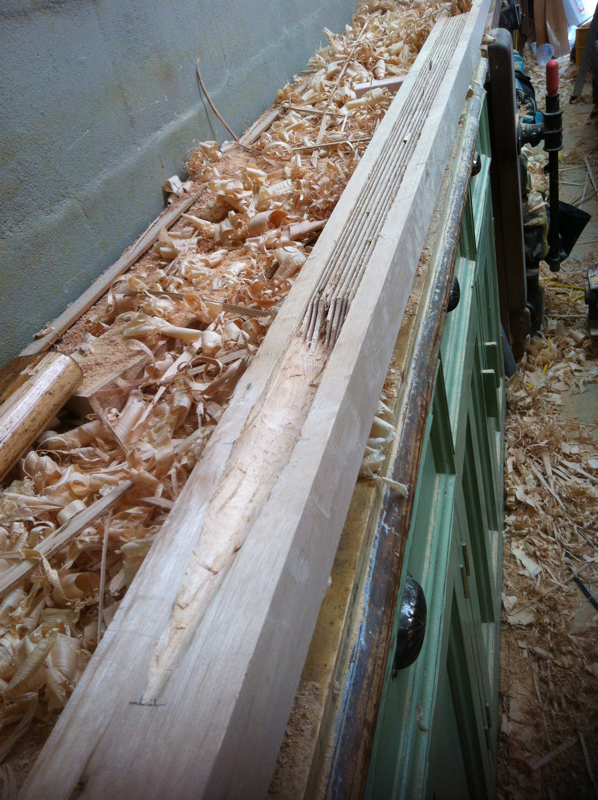
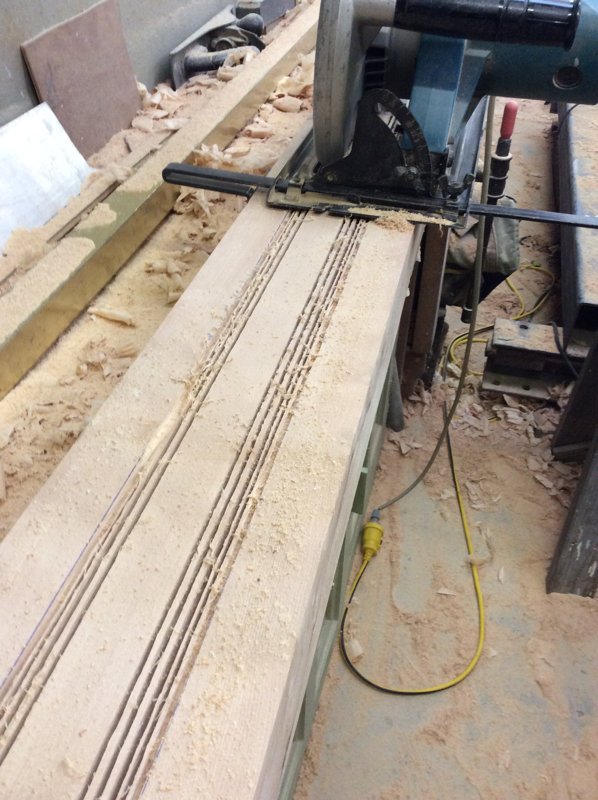
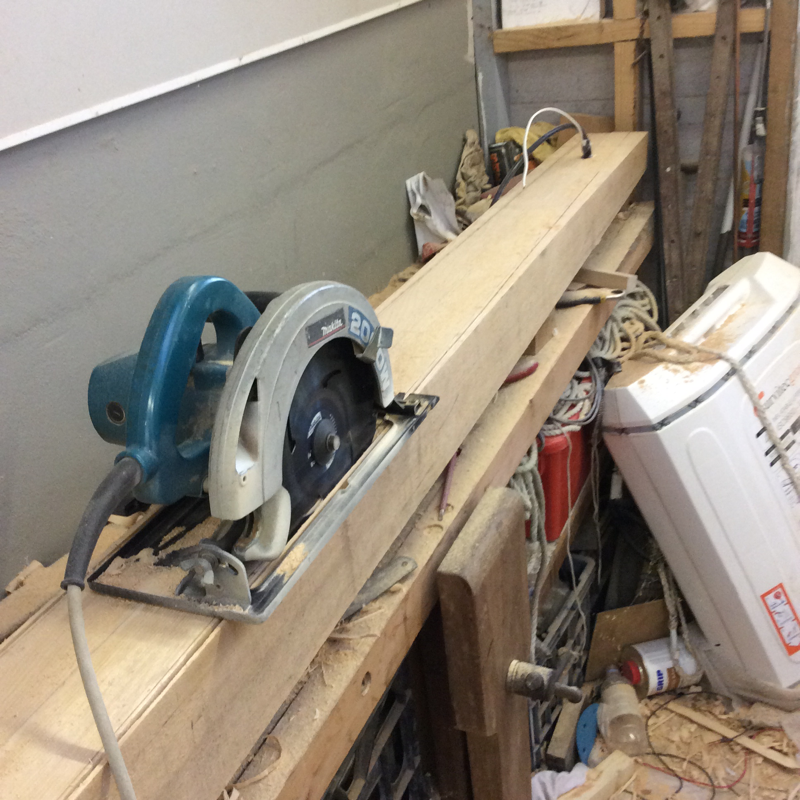
Each section was then individually hollowed, calculated to leave the wall thickness at a conservative 25% of overall diameter, first with a series of progressive saw cuts, then with a core box plane and a round-soled plane.
Each section was then individually hollowed, calculated to leave the wall thickness at a conservative 25% of overall diameter, first with a series of progressive saw cuts, then with a core box plane and a round-soled plane.

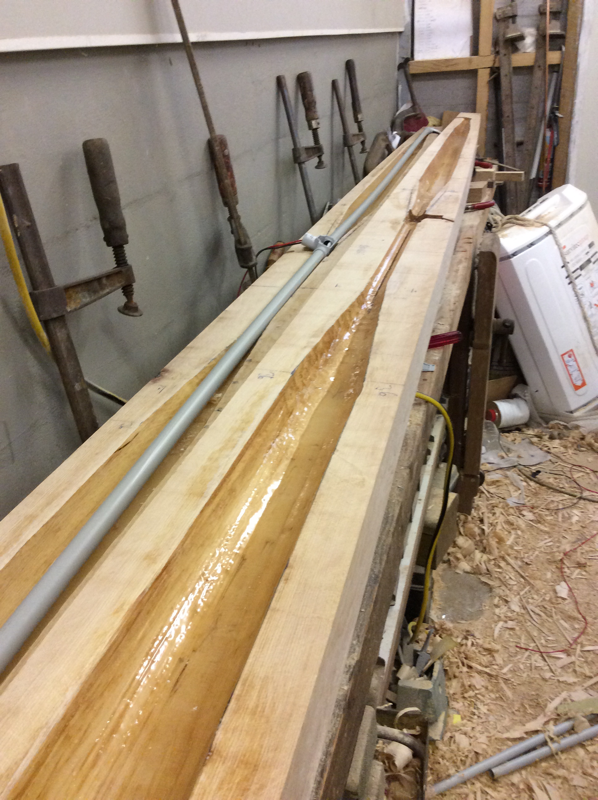
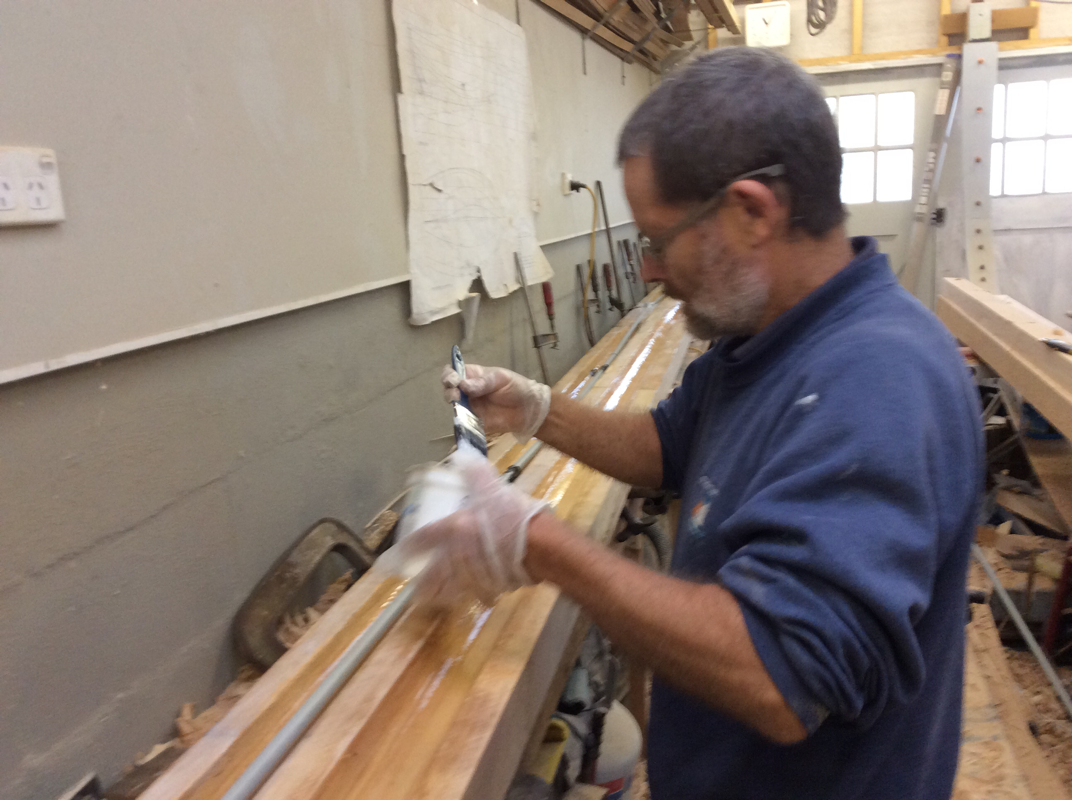
The hollows were then sealed with epoxy, and masthead and steaming light wiring and radio antenna cable were fitted in a plastic conduit bonded to the mast wall with Sikaflex.
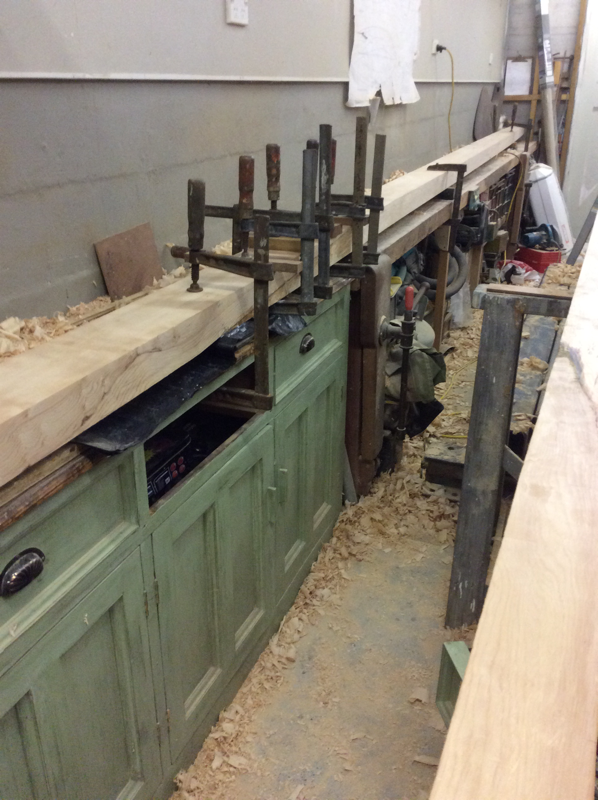
Then the two halves were glued together.
Then the two halves were glued together.
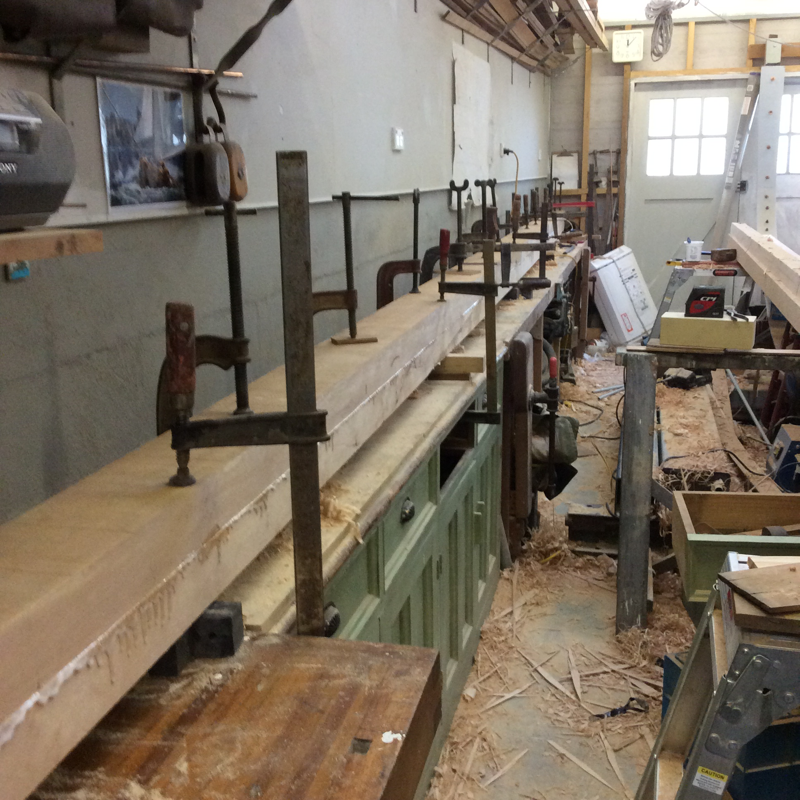
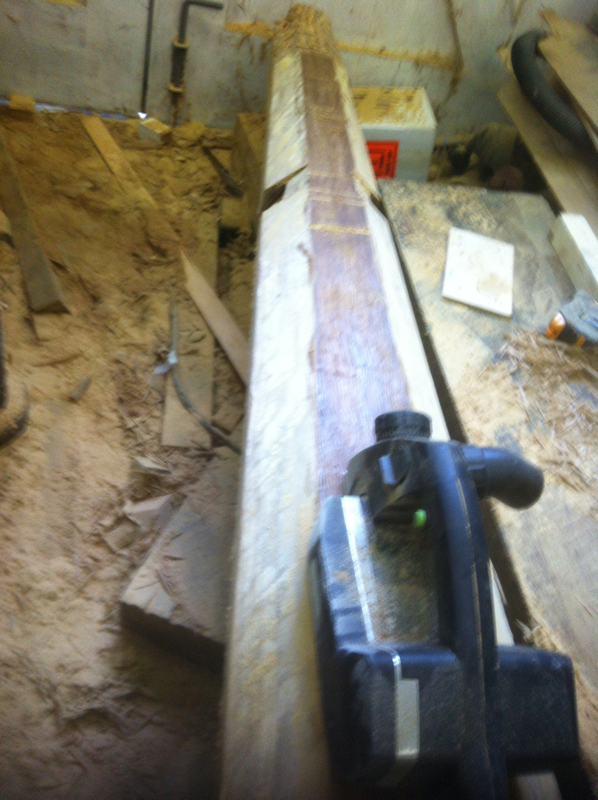
I used a laser level to ensure the mast was chocked up so the joint would be perfectly straight, with a dry run to ensure it would work.
After the glued dried, the sides as yet untapered were marked and cut and planed, the mast was marked for eight-siding, the corners cut of and the mast planed octagonal. Then it was planed 16-sided, then 32-sided, then planed and sanded round.
After the glued dried, the sides as yet untapered were marked and cut and planed, the mast was marked for eight-siding, the corners cut of and the mast planed octagonal. Then it was planed 16-sided, then 32-sided, then planed and sanded round.
The boom and gaff were made in similar fashion. after varnishing, all three spars were suspended up near the ceiling to one side of the workshop.
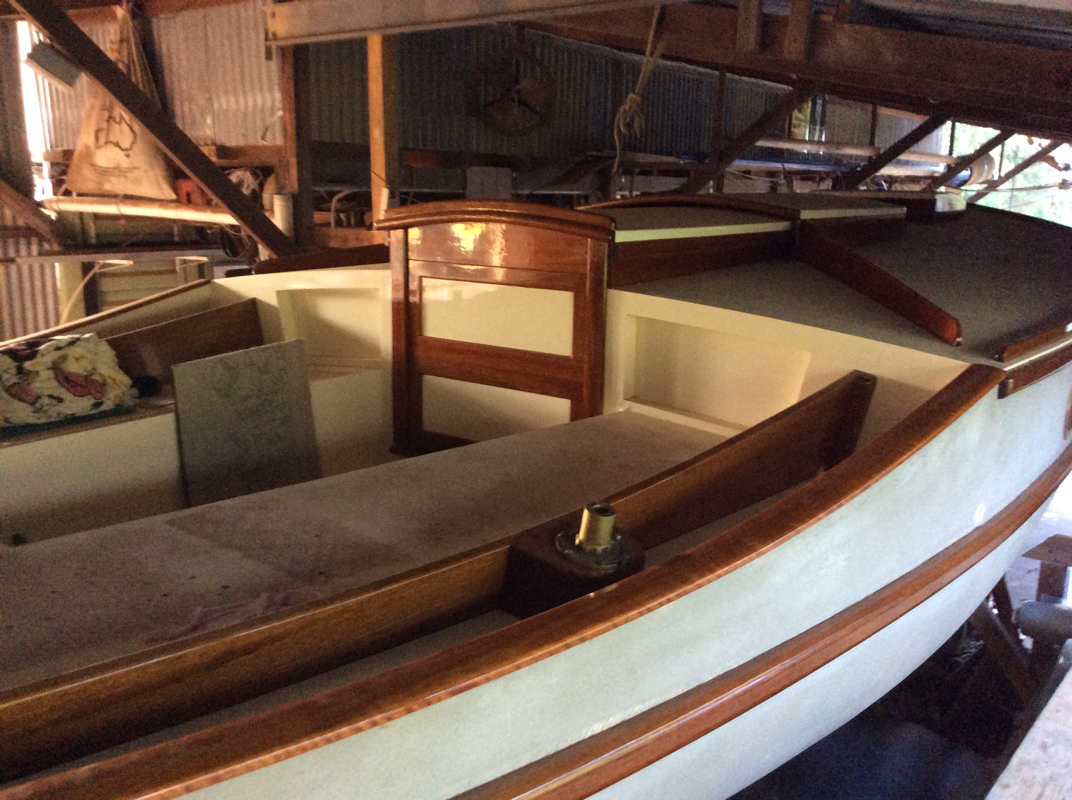
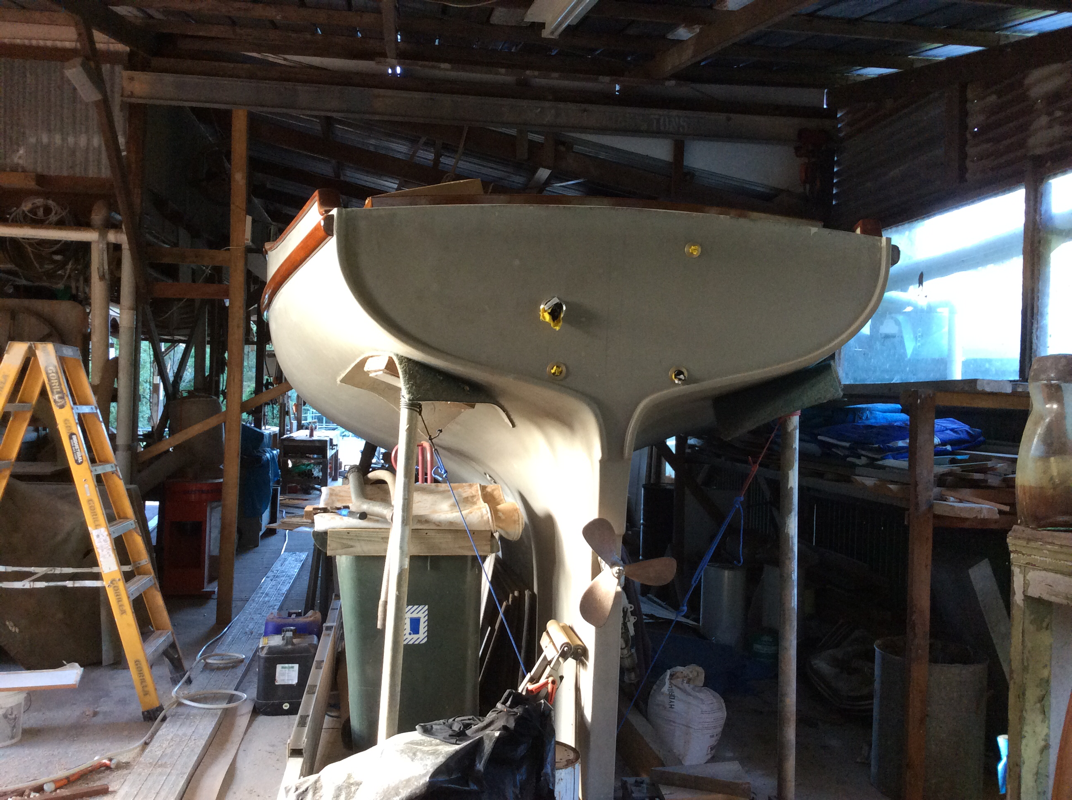
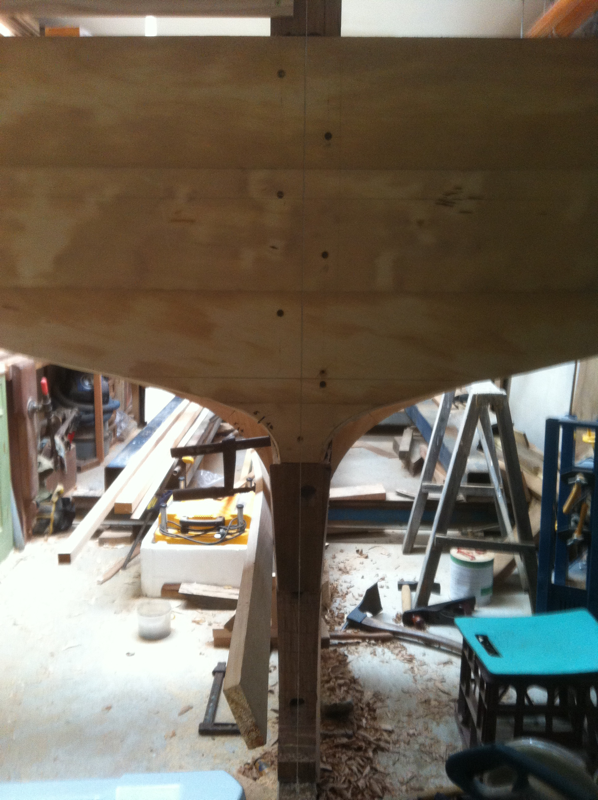
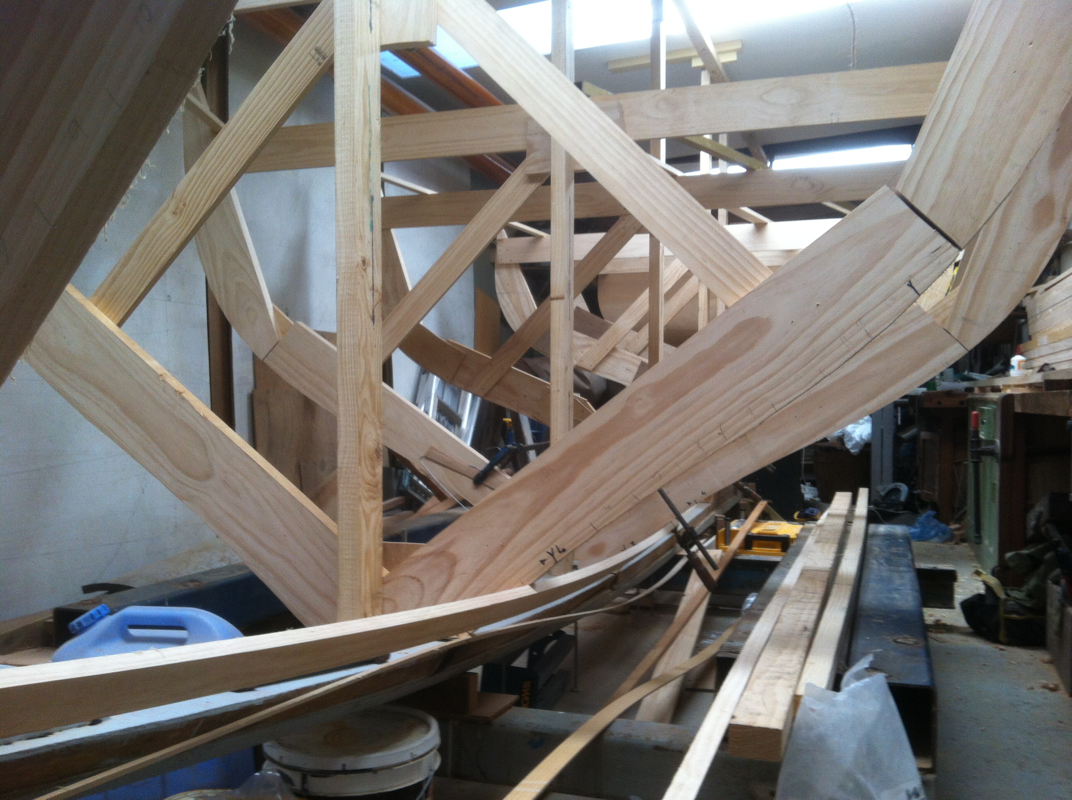
Now I could erect the sternpost and the moulds, using a laser level for speed and accuracy.
Now I could erect the sternpost and the moulds, using a laser level for speed and accuracy.


This is how it looks in May 2016. I'll either keep adding to this or start up a blog for the future. Stay in touch!
