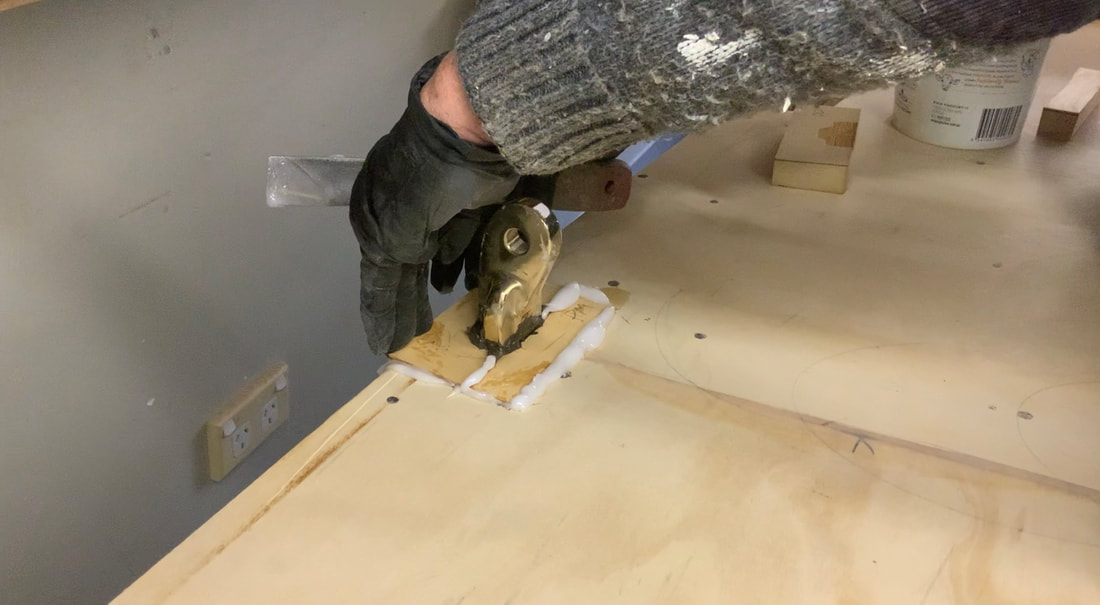
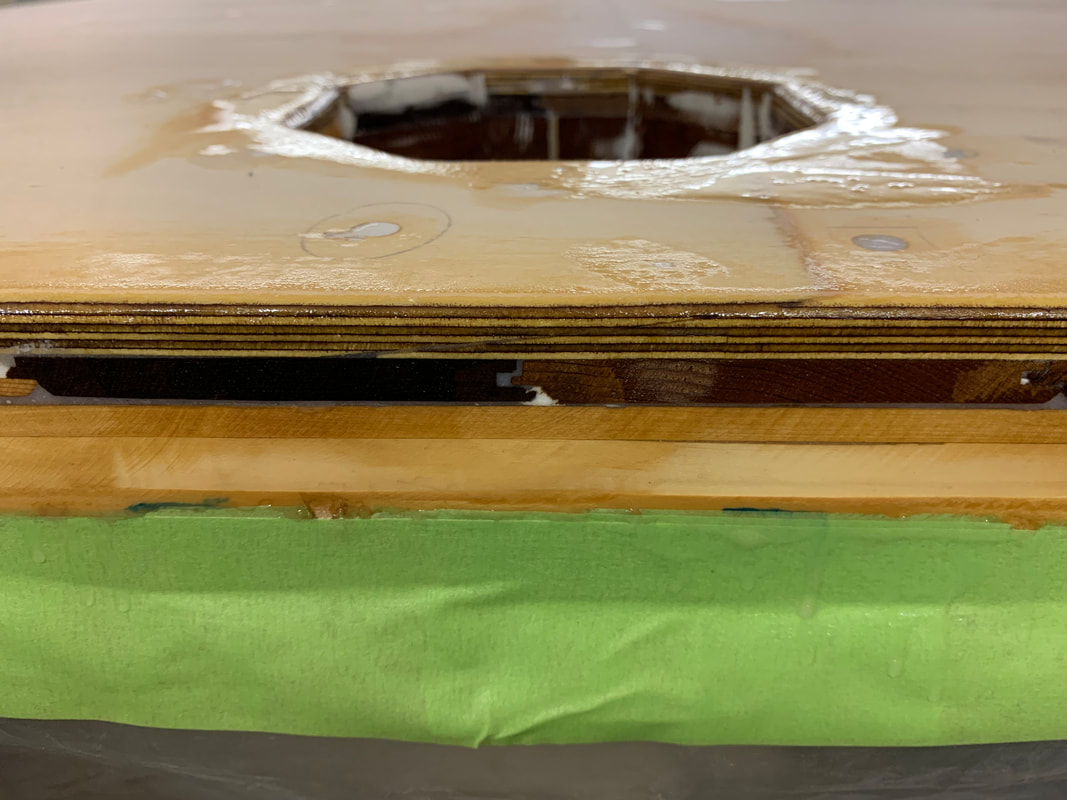
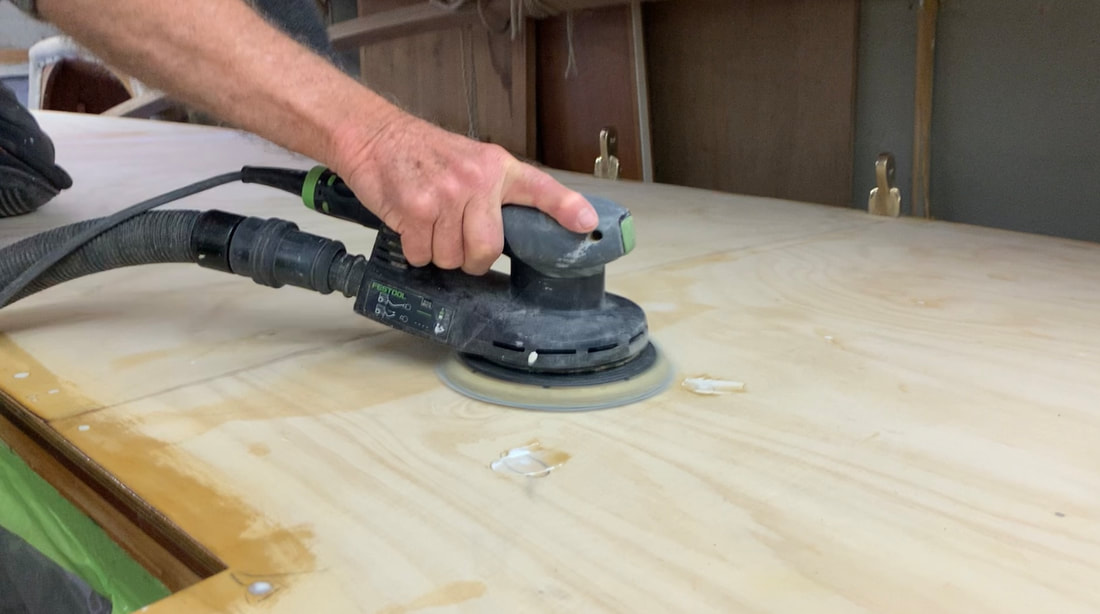
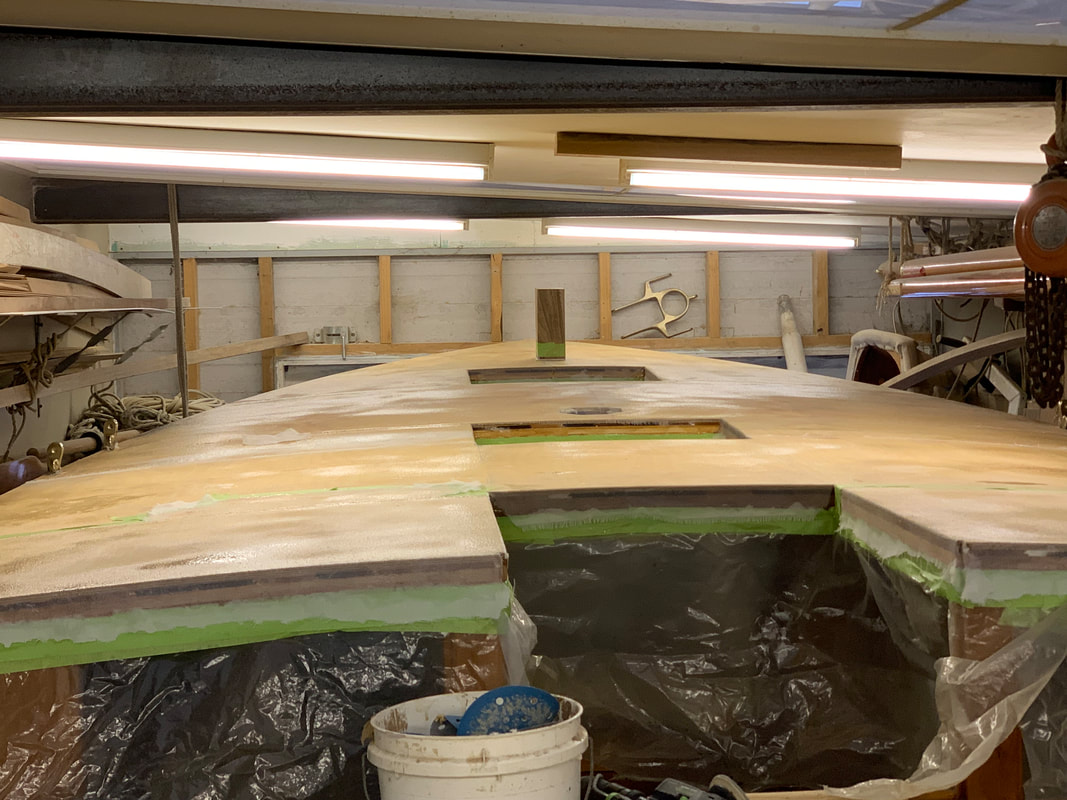
 It took 3 days with other commitments, but I managed to sheathe the deck. I laid it in 8 separate panels, carefully planned to minimise the length of the joins, with the dynel cloth being exactly one metre wide. When I laid more than one contiguous panel on the one day I simply located the two pieces of cloth closely together with the narrowest of overlaps. When I started again the next day I sanded a feather edge on the old panel and placed two layers of masking tape around 1/2" (12mm) from the edge so the new panel would overlap slightly. But as usual, preparation is the key to a successful outcome. I had kept the deck plywood just clear of the 6 chainplates, I made up pieces of Huon Pine as packers around the chainplates and glued them in with epoxy, with Sikaflex Pro on the surfaces that touched the bronze chainplates, as in the first photo below. The reason for this is that chainplates that penetrate the deck are generally a common source of leaks. If the deck plywood is against the chainplates moisture will enter the end grain of the plywood and inevitably rot. In our case, any moisture that does find its way down the chainplates will find the extremely rot-resistant Huon Pine. Teak could also be used here. The other photo below shows another essential preparatory step: the plywood edges at deck edge and hatches received two coats of epoxy resin before the cloth went on. if this is not done, the plywood end grain has a tendency to soak up the resin from the cloth and leave the cloth resin-starved. In the second photo of the hatch opening just abaft the mast hole you can just make out the scarf joint in the plywood, and the cedar tongue and groove under-layer on the Celery-Top Pine laminated deck beam. The perimeter of the deck edge and all hatch openings also needs to be masked and protective plastic sheeting hung to protect the topsides and interior from epoxy runs. And of course all sharp edges have to be rounded over for the cloth to lie over, and all fastening holes need to be filled and sanded. tThe next step is to fair and fill the cloth overlaps, and scour and sand the deck ready for more coats of clear epoxy and hi-build epoxy, before finishing with deck paint. When I've got the hi-build epoxy on I'll post a video of the whole process of laying the deck on Smithy's Boatshed Channel on YouTube, and post it here. In the meantime there's a short video on the dynel sheathing process on Facebook and Instagram, on my Ian Smith Page (Facebook) and IanHughSmith (Instagram)..
0 Comments
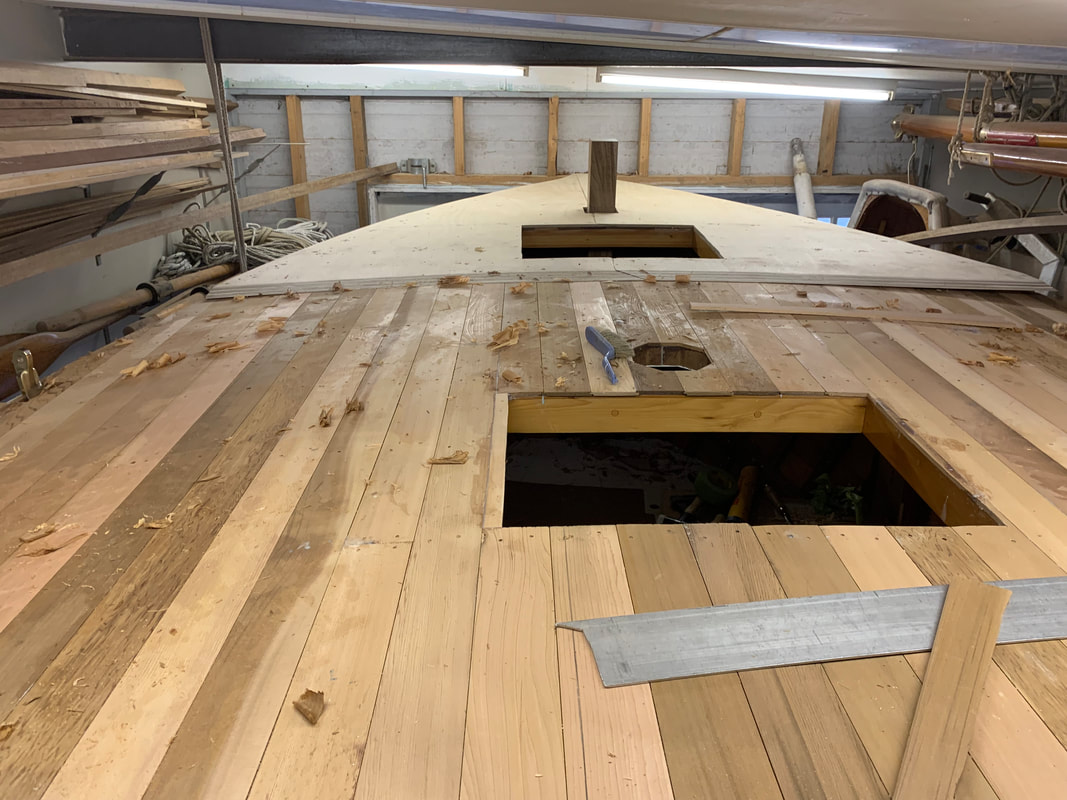
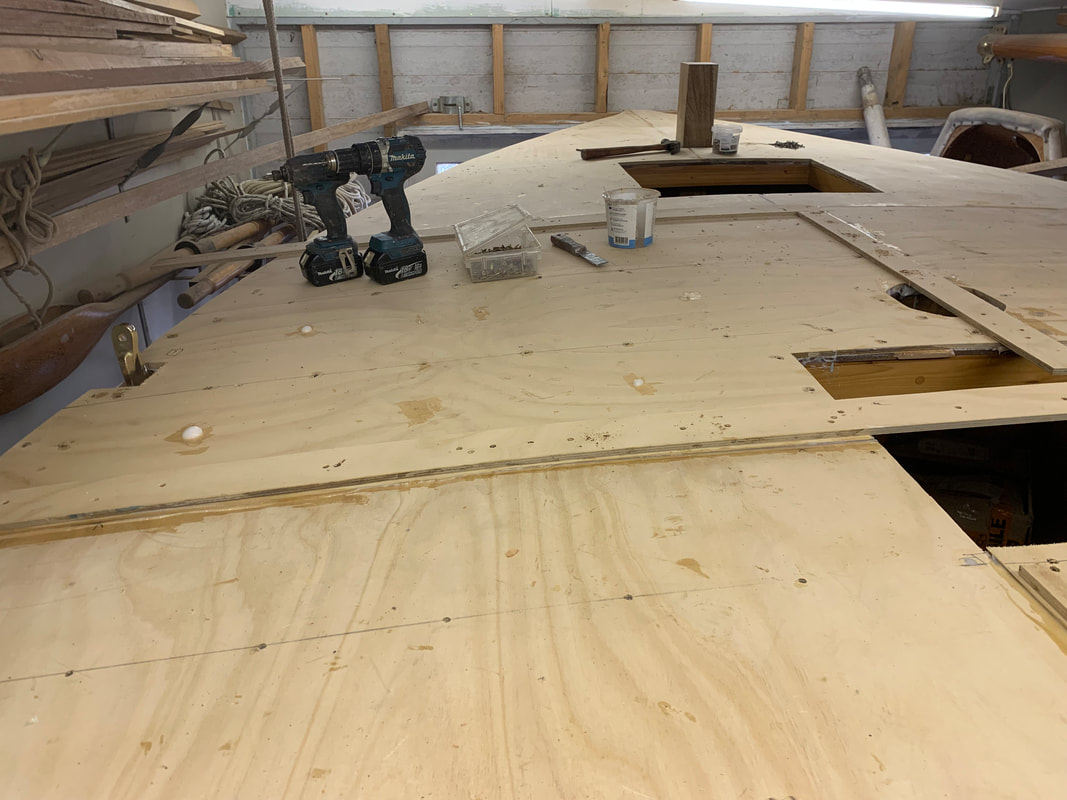
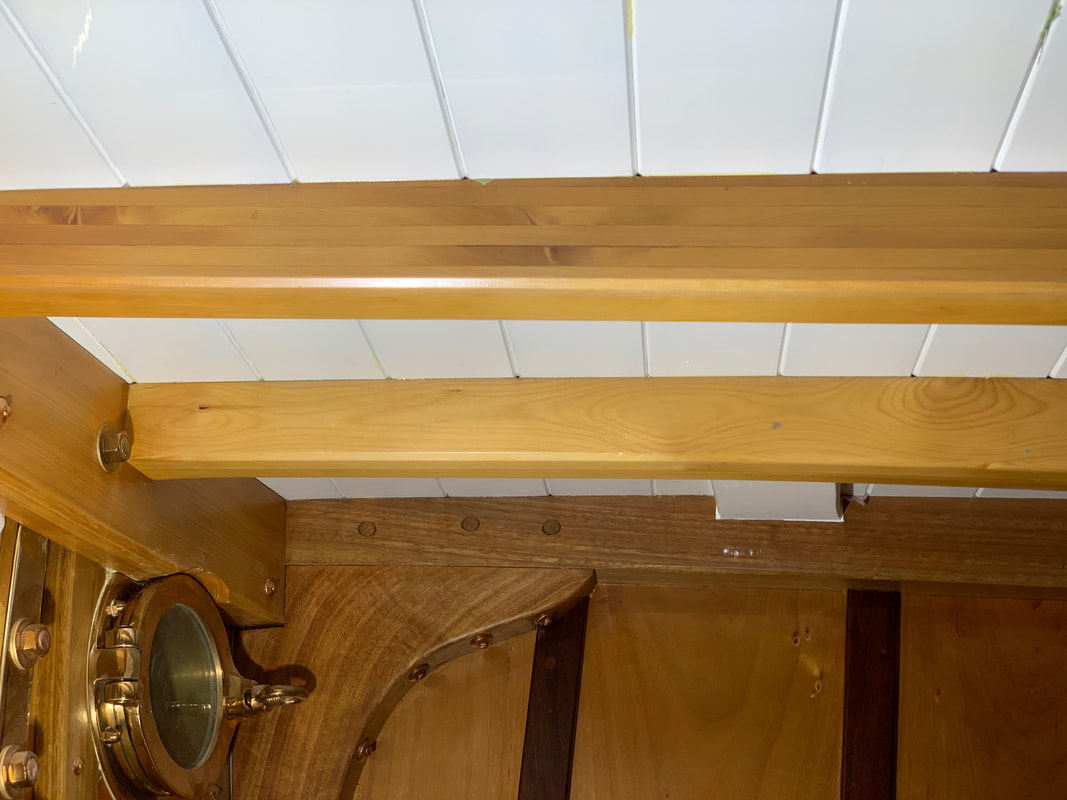
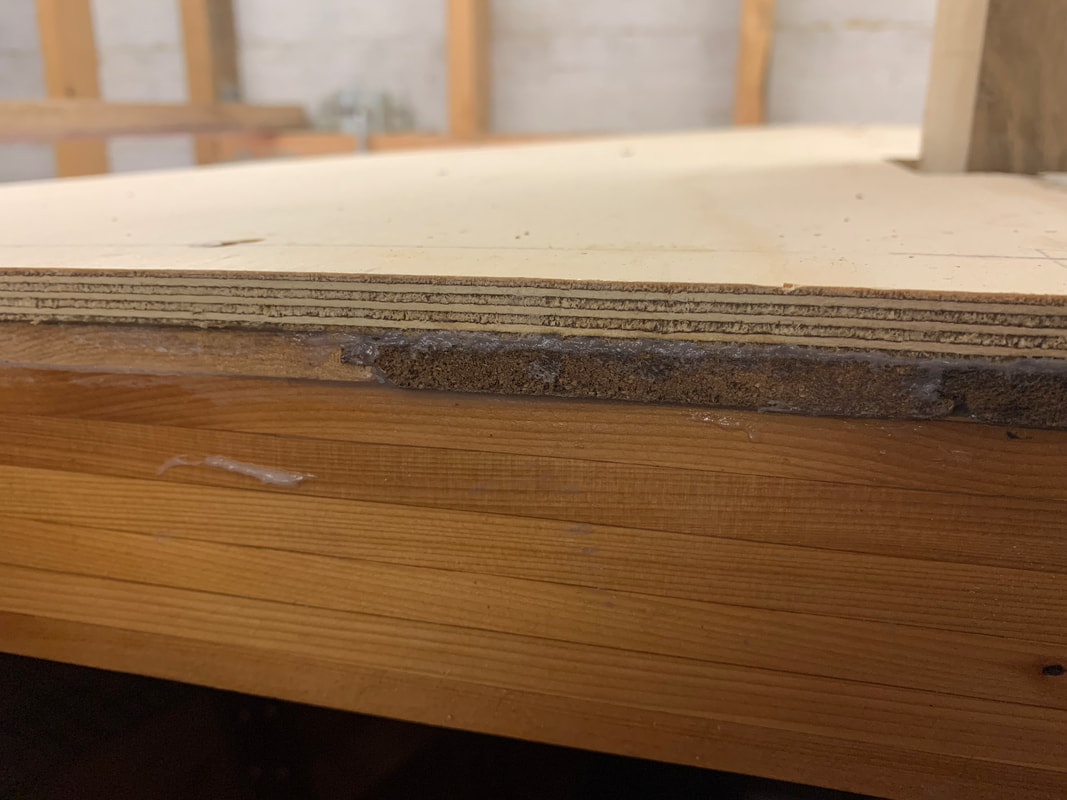
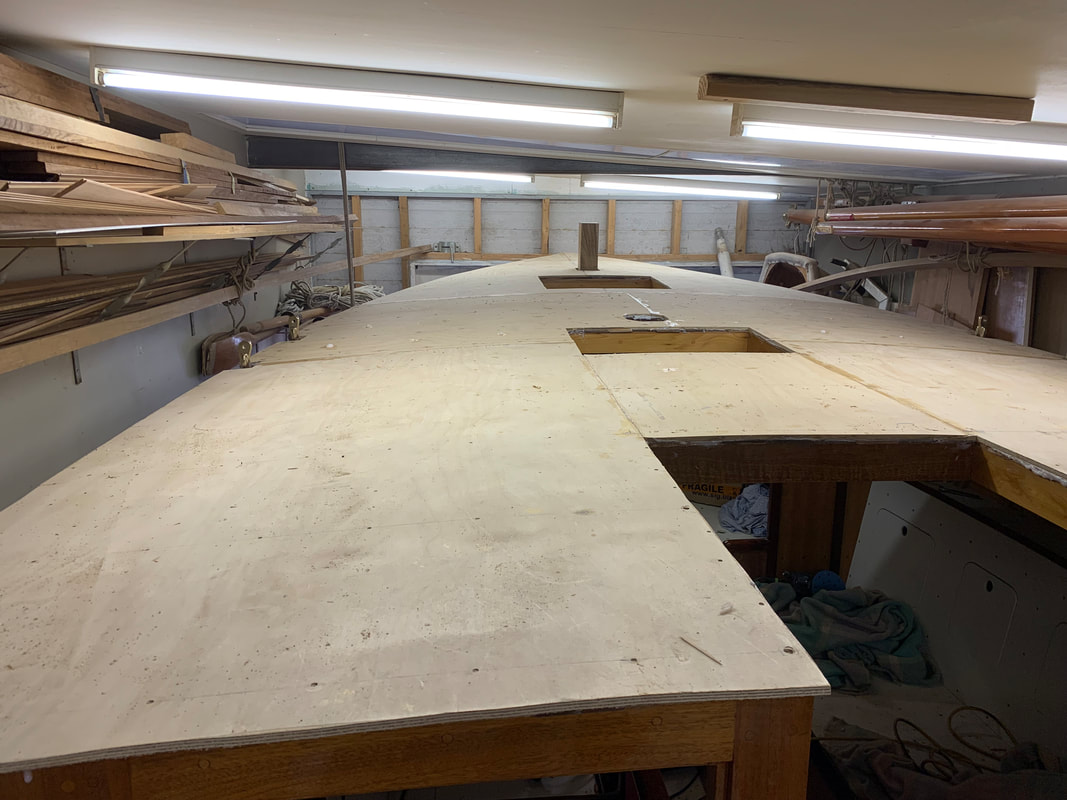 As I described in the previous post, the deck is a combination of a layer of (9mm tongue-and-groove Western Red Cedar with a layer of 9mm (more like 10mm actually) Hoop Pine Marine Plywood over it. That layer now is all fitted, seven pieces in all, scarfed together with 75mm (3 inch) scarfs at every panel joint. Each panel was glued down with WEST System epoxy resin thickened with Microfibers and fastened through to the deck beams with a few 1 1/2" (38mm) silicon bronze woodscrews and many 1 1/4" (32mm) monel ring nails. The first shot above shows the Port forward panel glued and fastened down, and the Starboard forward panel being dry fitted. You can see the 8:1 scarf joints ready to receive the next panels. The second shot shows the last panel to be glued and fastened just fitted with ply scraps used as packers to spread the load of temporary screws right through the three perimeter scarf joints. The lumps of glue you can see are emerging from the relief holes, 9 or so holes drilled in each ply panel between the deck beams so that excess glue can squeeze out and not be trapped in pockets between the layers. Above left is a shot taken inside the cabin to show how the painted tongue-and-groove looks. Above right is a shot of the deck layers at the forward hatch opening. Of course this edge will be trimmed flush and the dynel cloth that will sheathe the deck will be wrapped over the edge (and covered with Australian Red Cedar trim). So that's the next stage, trimming all edges, fairing out any bumps at the scarf joints, filling all nail and screw holes, and sheathing with dynel cloth in WEST System epoxy resin. The next post will have details of the whole deck process in my next video, Episode 22 in the Carvel Planking series. Oh, and the Spotted Gum for the deadwood below the keel has arrived from the North Coast, and it's beautiful timber. It's now stored cosily under the boat until it's time to start to shape it. Below is the timber arriving on the truck.  |
AuthorIan Smith, Boatbuilder (ret'd) Archives
January 2024
Categories |
 RSS Feed
