|
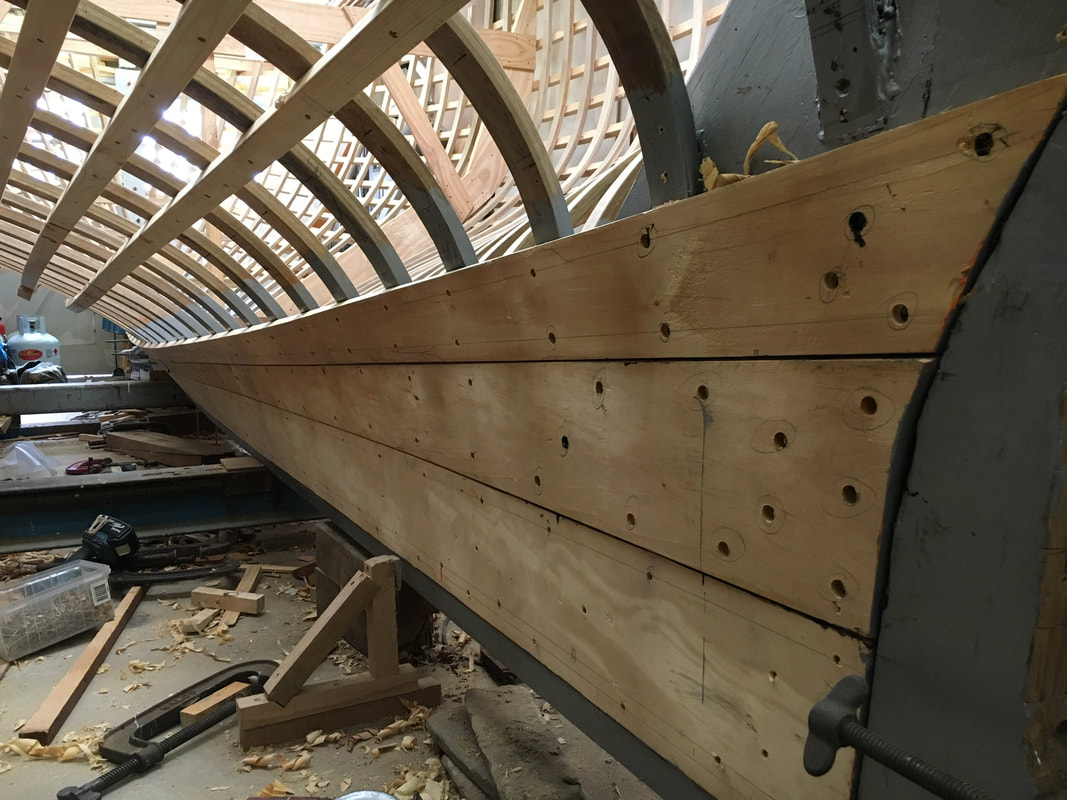
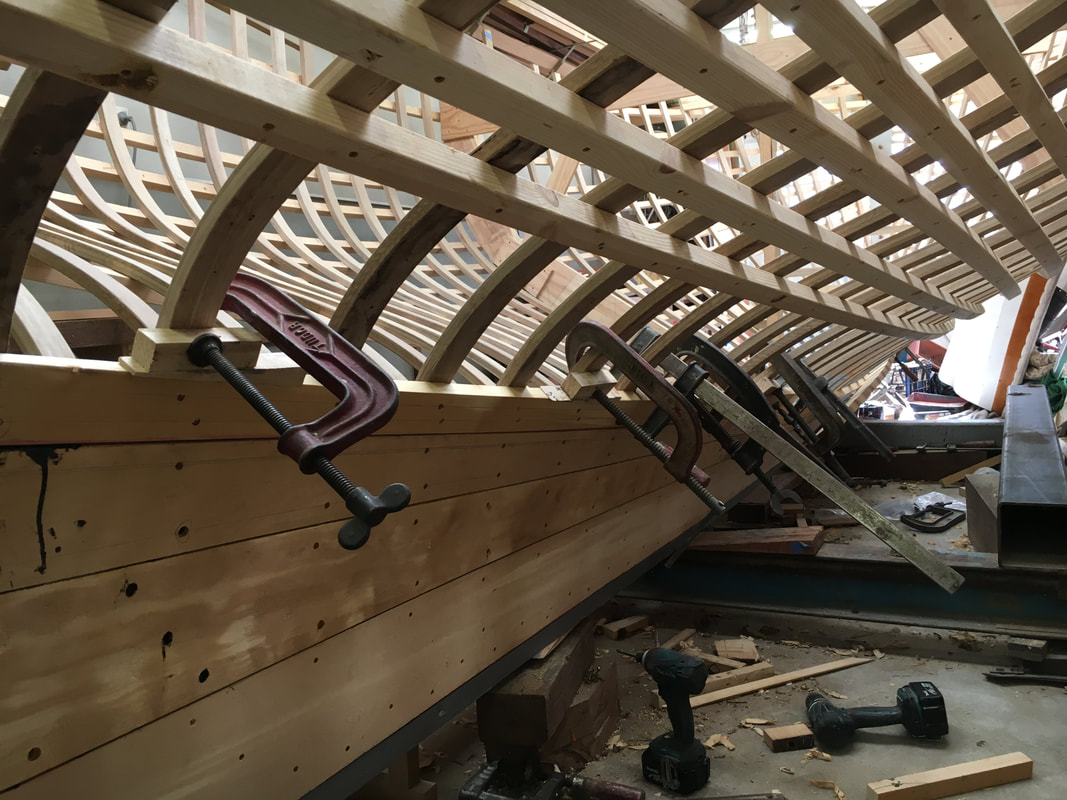
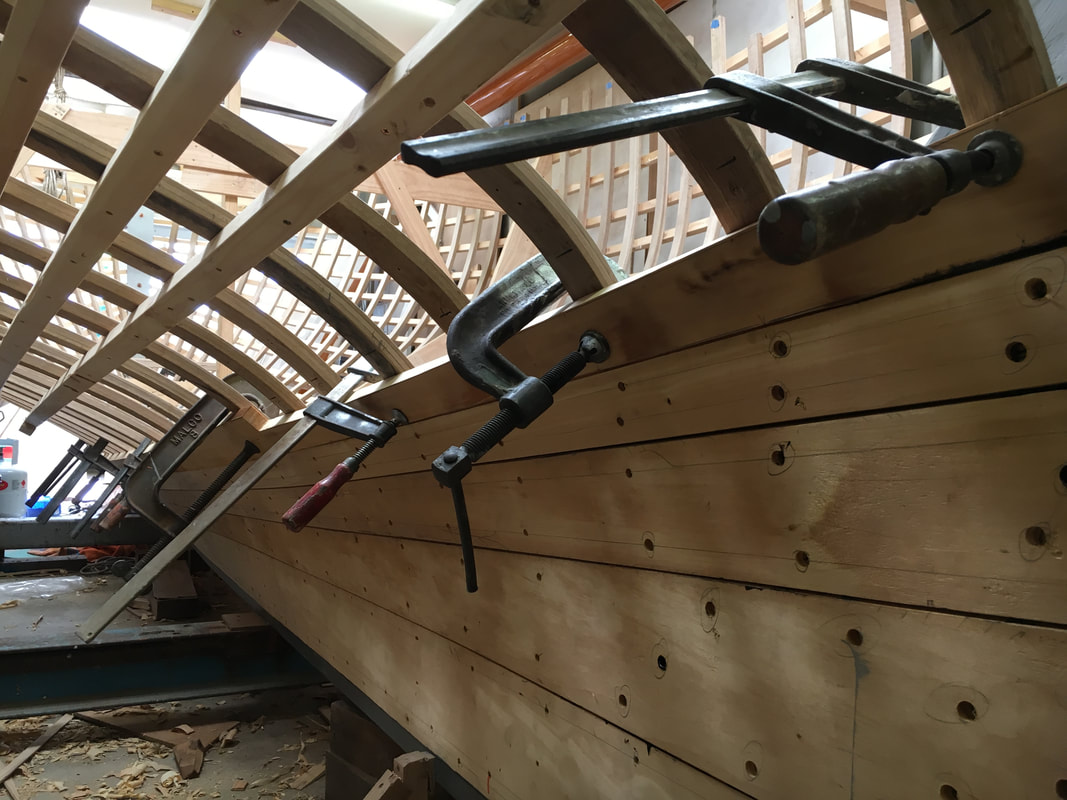
The second round of planking was a stealer almost 8" wide at the sternpost and tapering to 1 1/2" at its forward end amidships. As I mentioned, I snapped the first attempt through not steaming the plank, so the replacements were steamed in the plastic tubing as pictured in an earlier post. The third plank (the second to go well forward) was notched over the stealer (pictured in the third photo) and scarfed on the boat to make up the length. I've decided to scarf all planks as butt blocks are often a problem longterm on carvel-planked boats. At least on these low planks I am locating all scarfs over a planned floor timber which will mean there will be plenty of fastenings through each scarf as a backup for the epoxy glue. I will post detailed photos and descriptions of the scarfing process in a later post. The third photo shows the aft end of the fourth round of planking aft with its notched scarf cut to receive the forward section of the plank. The fourth plank (fifth if you count the stealer) has just been steamed in two sections with the planned scarf joint well forward (see the fourth photo). The next plank to fit is the difficult short stealer which will literally have to be carved out from thicker stock because of the severe twist and curve as it fits into the tight hollow of the tuck. Next post will feature this stealer. A couple of weeks ago I visited Simon Sadubin and Tom Coventry at Sydney Wooden Boats (see www.sydneywoodenboats.com.au) at their invitation to have a look at Kilkie, one of the original Ranger class which they are working on. They had stripped all anti-fouling and I was able to have a good look at the plank lineout used by the original builder. It was not really a surprise to find that other than small variations in plank widths, the plank lineout is the same as I have planned for my boat. The garboard tapers most of the way to close to the stem, the next plank is a wide stealer tapering to amidships, the next is a full-length plank notched over the stealer, the next is full-length and allows for a short stealer in the hollow under the tuck. It shows that for a given hull shape there is usually an obvious way to do it, the main variation being available plank widths.
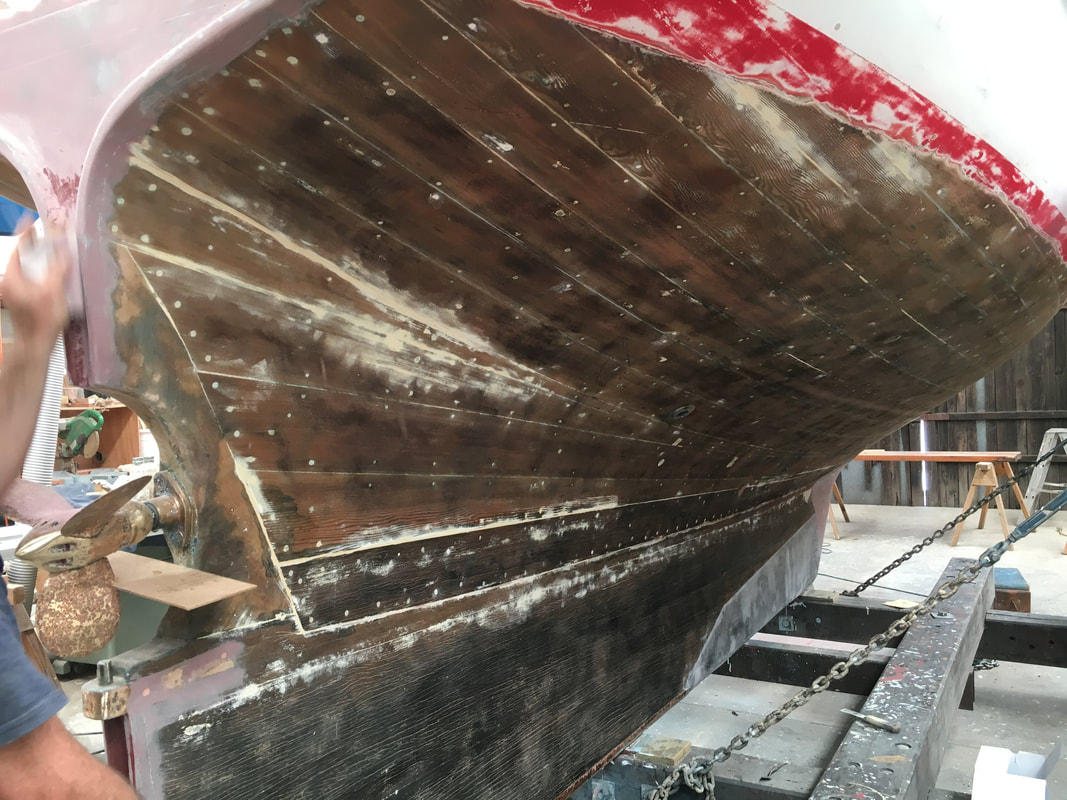
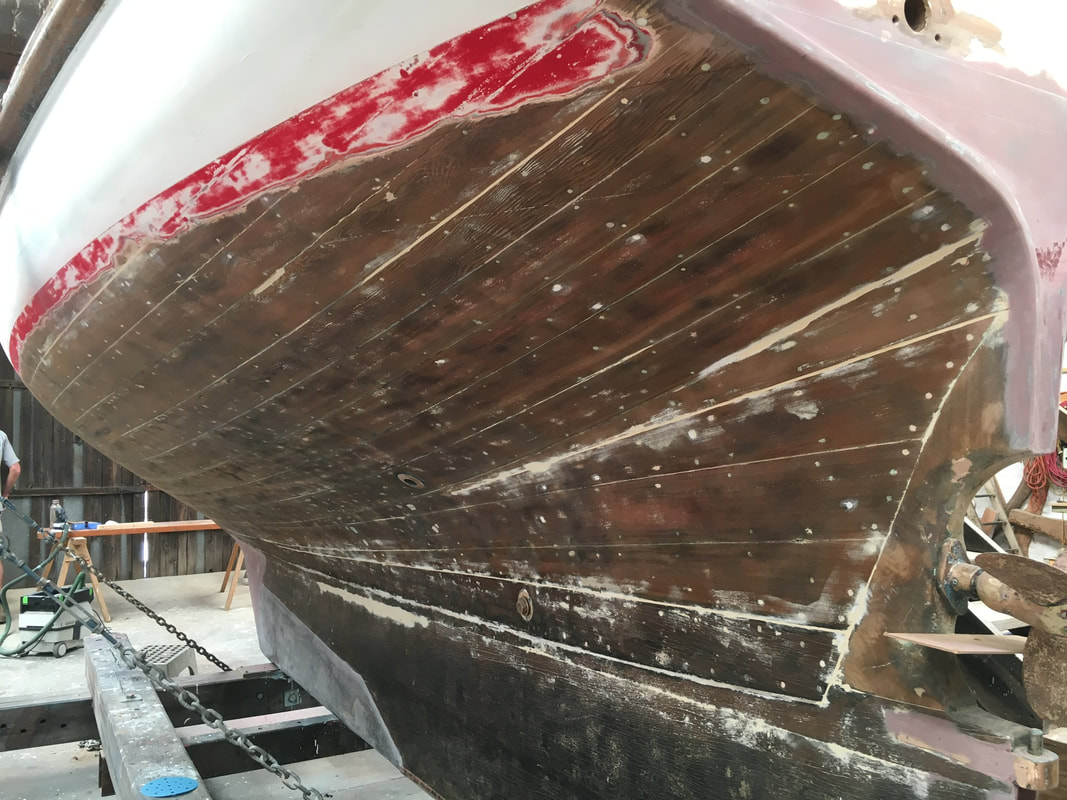
Note the deadwood and ballast keel which I have yet to add to mine. In fact, it will be the last thing as I do not have enough height in my shed.
0 Comments
Before the planks in any carvel-planked boat are fitted, any joints in the backbone structure of the boat that cross the rabbet line need to have stopwaters fitted. That is, any joint between two backbone members (such as the keel and the forefoot, or the keel and the sternpost) that crosses the rabbet line, therefore crossing the line between the outside of the planking and the inside of the planking) need to be blocked otherwise there is a pathway for water to enter the boat. Stopwaters are made from any durable softwood, and are driven into holes drilled through the joint, starting exactly where the joint crosses the back rabbet line, that is the line where the inside lower edge of the plank will sit. The holes are drilled a little undersize, in our case 11/32" for a nominal 3/8" stopwater. The timber intended for the stopwater is machined oversize and overlength, and shaped roughly round. The timber is then driven through a 3/8" hole in a steel plate or a plumber's pipe-flaring tool, which shaves off the excess timber and compresses it a little. The stopwater is then driven into the undersize hole in the backbone structure, then the excess on each side is chiselled back so as not to protrude beyond the rabbet surfaces. Do not be tempted to use store-bought dowels, they are made from the wrong timber and will likely not expand as the water reaches it, which is how the softwood stopwaters work. With those fitted, it's now back to planking. Watch this video which goes through the whole process. |
AuthorIan Smith, Boatbuilder (ret'd) Archives
January 2024
Categories |

 RSS Feed
