|
Sidetracked again, I've put together the final episode from the footage filmed in 1999, the the Sydney Wooden Boat School Summer School Class built two clinker dinghies. In this episode the Huon Pine snub dinghy gets its stringers, risers, thwarts, knees and rowlock blocks and has a trial launching into salt water, and the crew has a sausage sizzle.
0 Comments
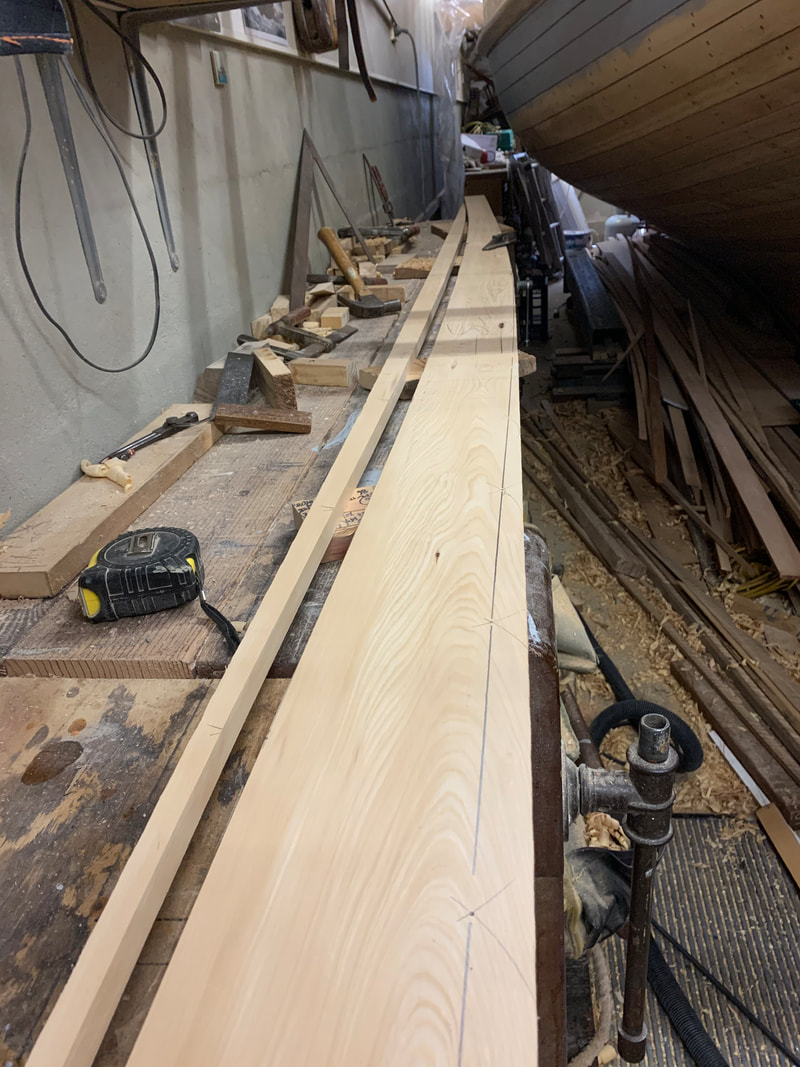
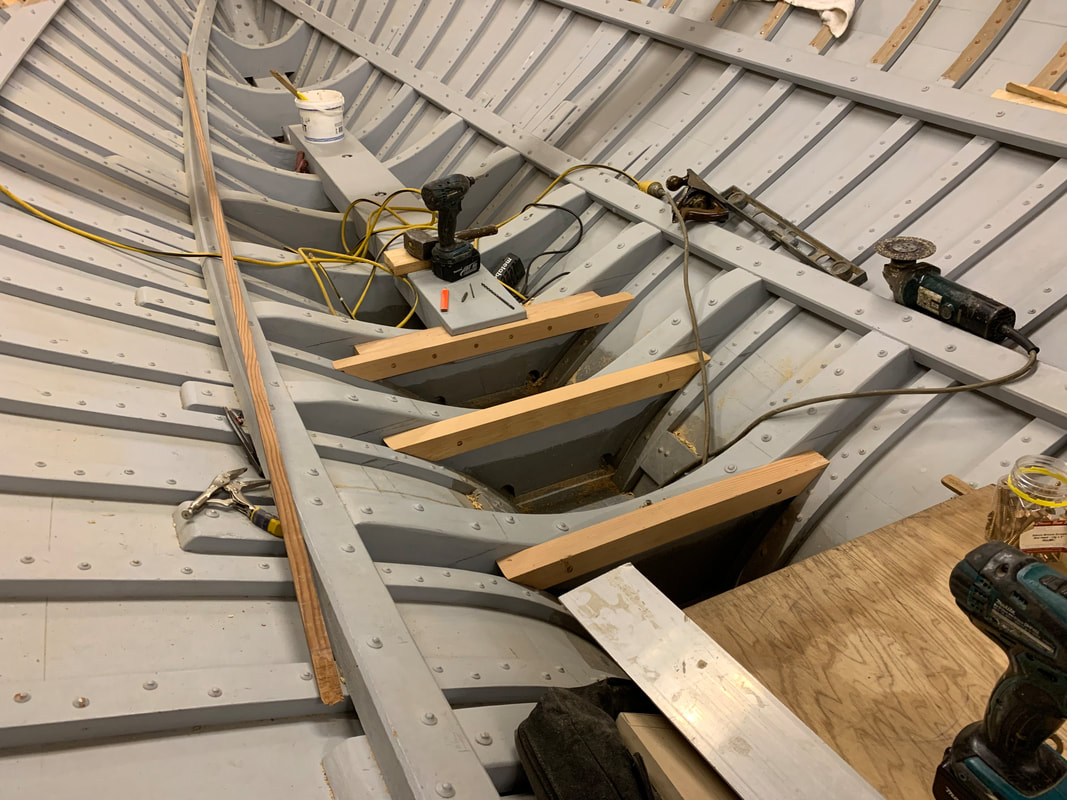
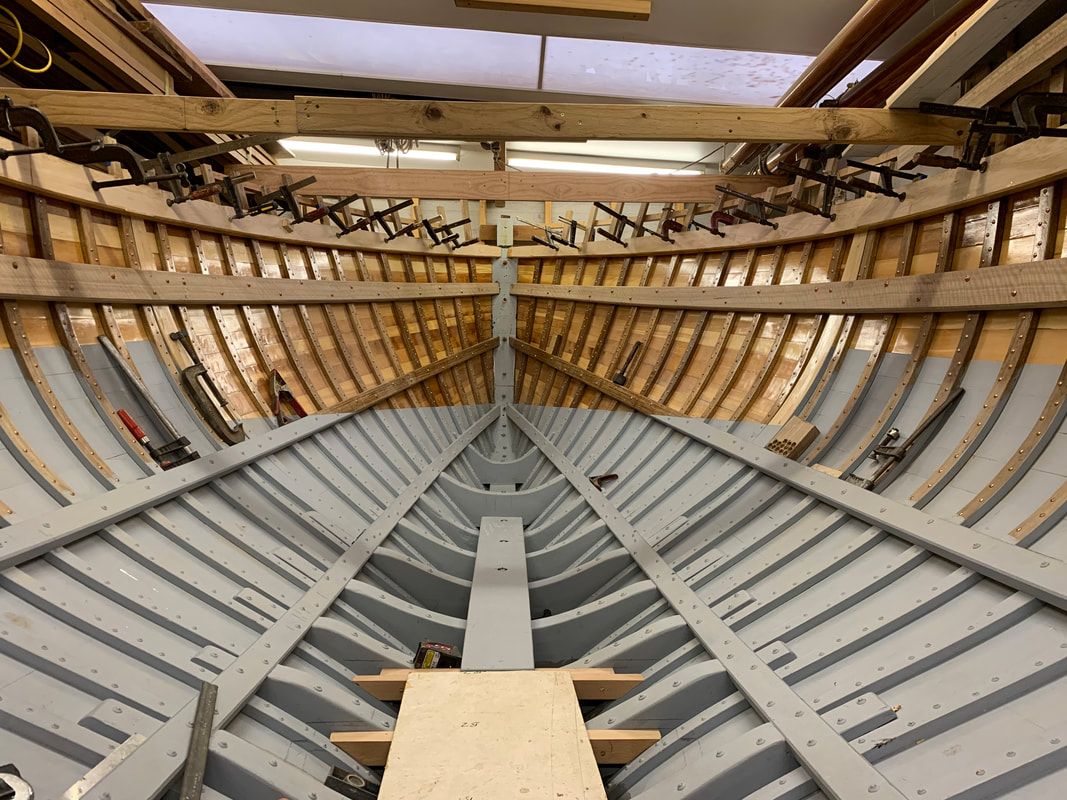 Being a raised-decker, the Ranger has an upper sheer clamp to support the deck beam ends in the forward part of the ship. Some of the Ranger class have sheer clamps in Spotted Gum same as the lower clamps, but some have sheer clamps in Oregon (Douglas Fir). I preferred to use another Tasmanian pine, Celery Top Pine which is roughly the same strength as Oregon, but just a little heavier and way more durable, second only to Huon Pine. It is somewhat similar to American Pitch Pine. I was unable to source any at the designed thickness of 1 1/2" (38mm), but there was some available at 3/4" (19mm) so I decided to laminate it in two thicknesses. Length was also a problem so each layer has a scarf joint, staggered of course. The first photo shows the glued-up sheer clamps ready to fasten off. It was still necessary to steam the forward parts of the 3/4" laminates because of the full deck line forward. As I did with the lower sheer clamps I steamed them in a polyethylene bag on the outside of the hull, and allowed them to dry for several days before gluing them together with epoxy. 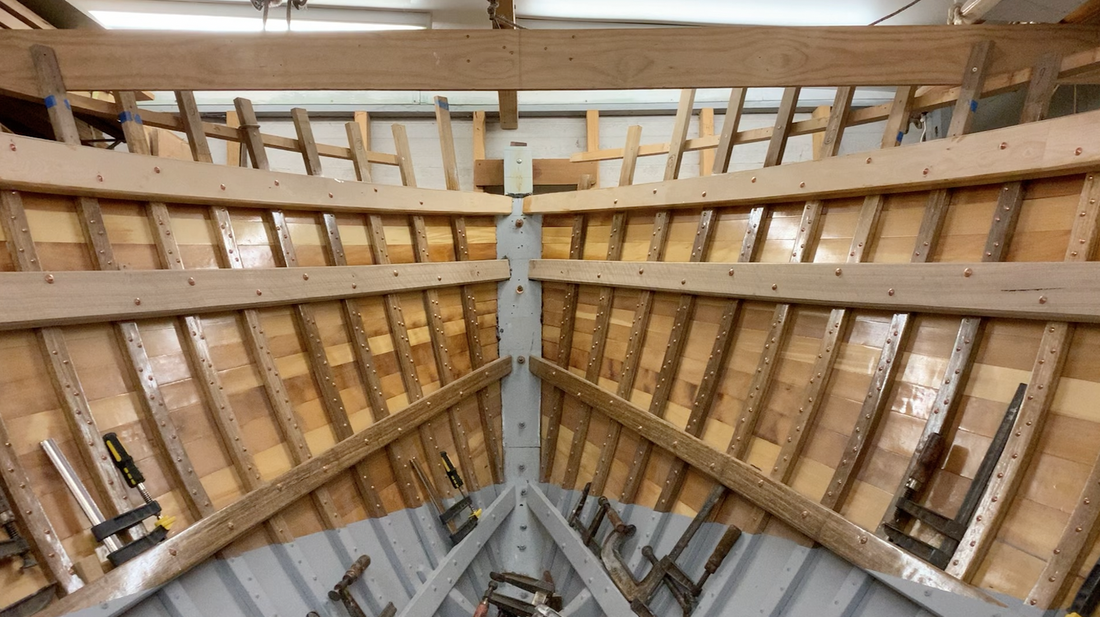 I fastened them off with 4" x 8g copper nails and 16mm (5/8") roves, reeled (staggered) as is normal practice. The photo below shows one of the 3/4" laminates being prepared on the bench. Because of the big shoulders of the boat the sheer clamp had to be cut from wider timber because it actually bends down as it approaches the bow, in spite of sweeping up when the boat is viewed in profile. I spiled the shape of each part. I was able to get the 4 1/2" (115mm) wide sheer clamp out of 6" (150mm) stock. The other photo below shows the beginnings of fitting sole bearers for a temporary sole to make it easier to walk around inside the boat. 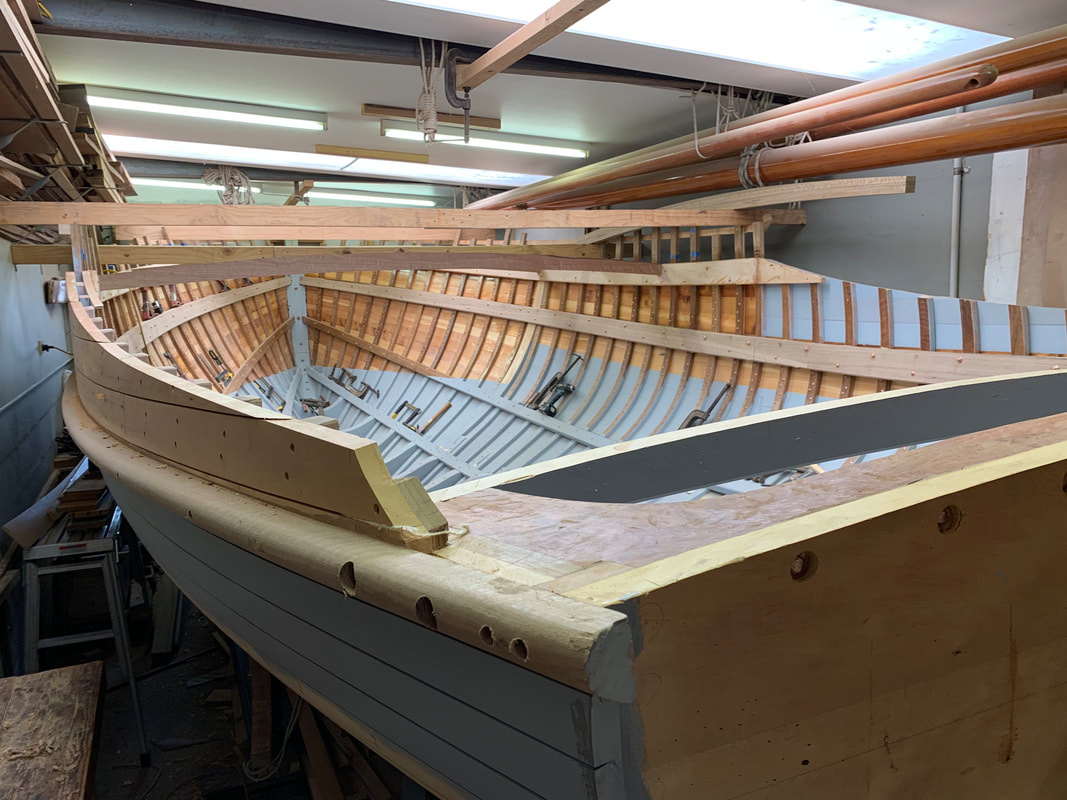 The above photo shows the boat as it is today, with two of the solid Spotted Gum King Beams dry fitted (with half-dovetails- I will film and describe this process in a video eventually - and it is already covered in the Carvel Planking section of my book WOODEN BOATBUILDING - THE SYDNEY WOODEN BOAT SCHOOL MANUALS ). And the aft deck beam, quarter knees and the tuck beam (at the top of the tuck or transom) are permanently fitted. You might notice I have also cut the curve into the planking on either side of the cockpit and trimmed off the frame heads there. This has really made a difference to the look of the stern of the boat, as has trimming the transom down to the curved camber line. One of the things I learned when working professionally is that trimming rough edges is usually a small job that makes a big difference, so we usually made sure we were able to do something like this just before the owner visited. Or more commonly, paint something, a change in colour is noticeable and the owner feels like progress is being made. It is not a matter of being dishonest, but most owners do not appreciate that some jobs take a long time for very little visual result, so make sure you've done something that looks like a lot of progress has been made and they will be happy. 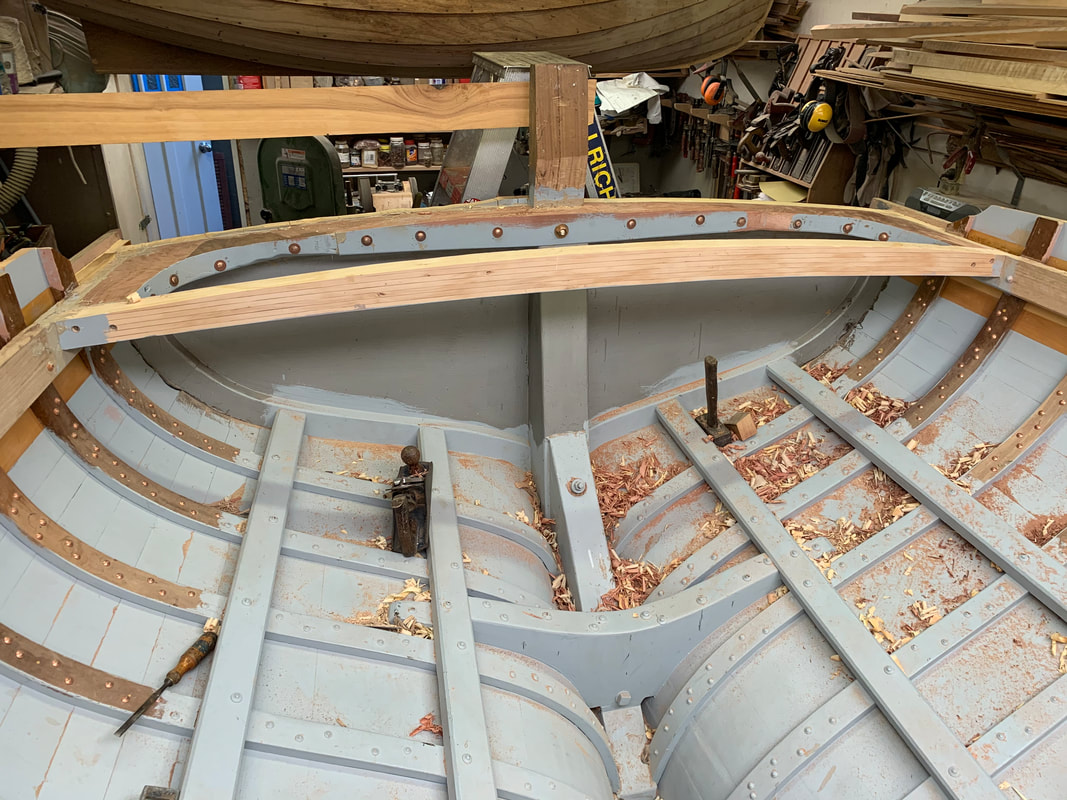 Another view of the aft deck beam (laminated Celery Top Pine) , quarter knees (grown Blue Gum) and tuck beam (Jarrah), all fastened with 3/8" (9mm) copper rod peened over bronze washers. The tuck beam will anchor the mainsheet horse. The Starboard side is only roughly faired. I worked up a sweat fairing the Jarrah and Blue Gum (both tough eucalypts) on the Port side with a Stanley No 4 1/2 which has the right amount of heft.
|
AuthorIan Smith, Boatbuilder (ret'd) Archives
January 2024
Categories |
 RSS Feed
