|
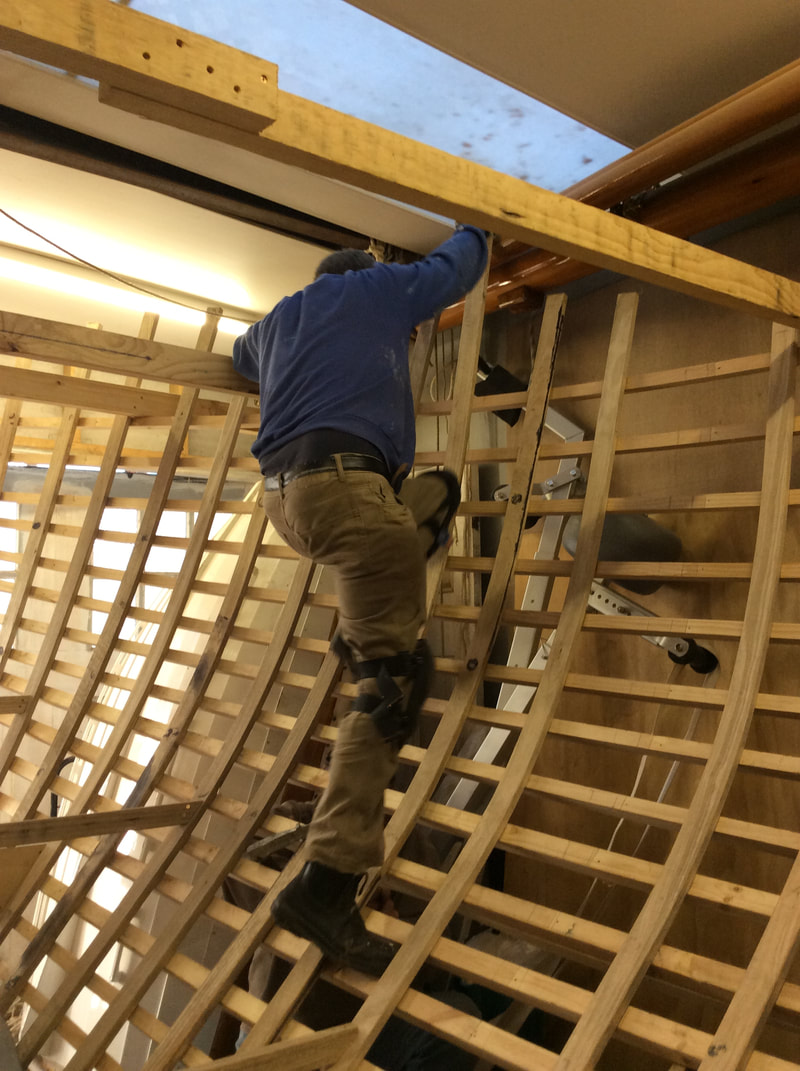
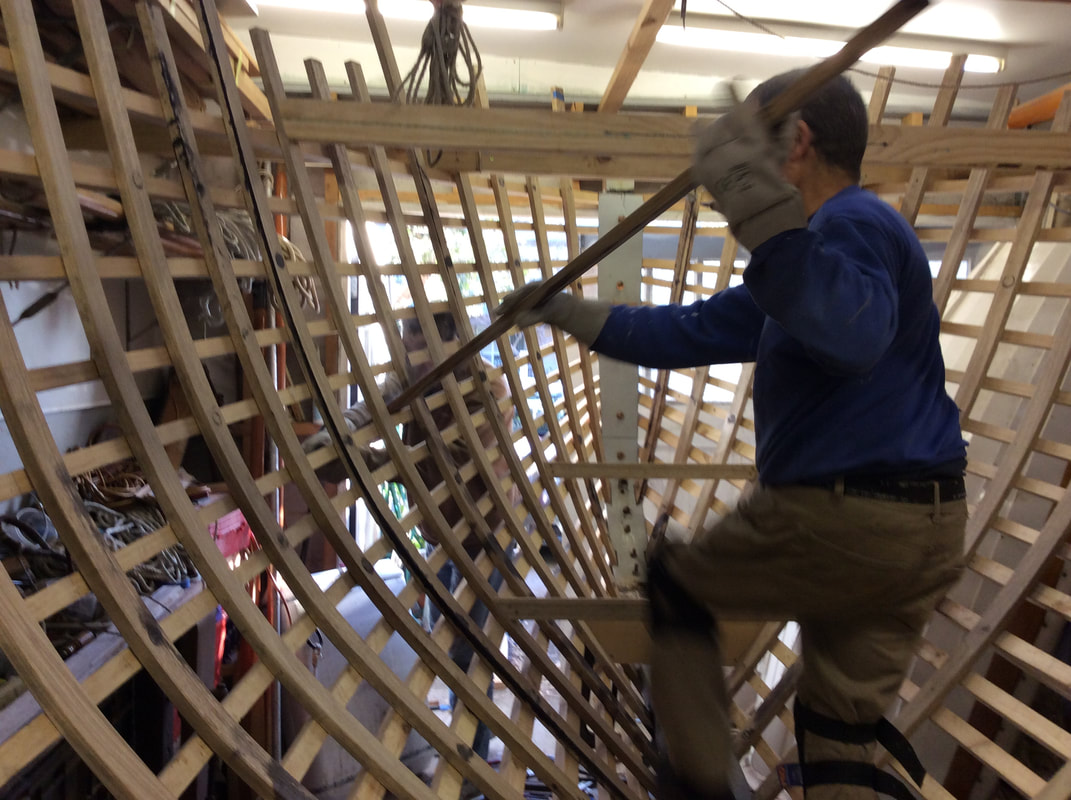
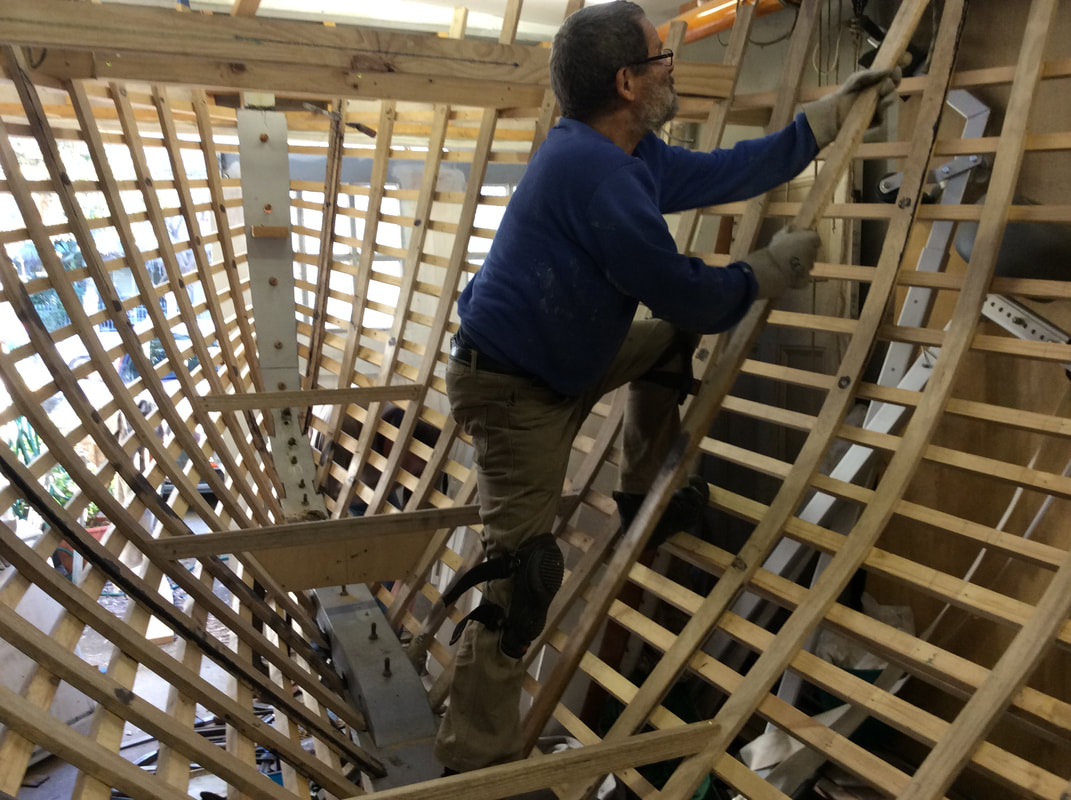
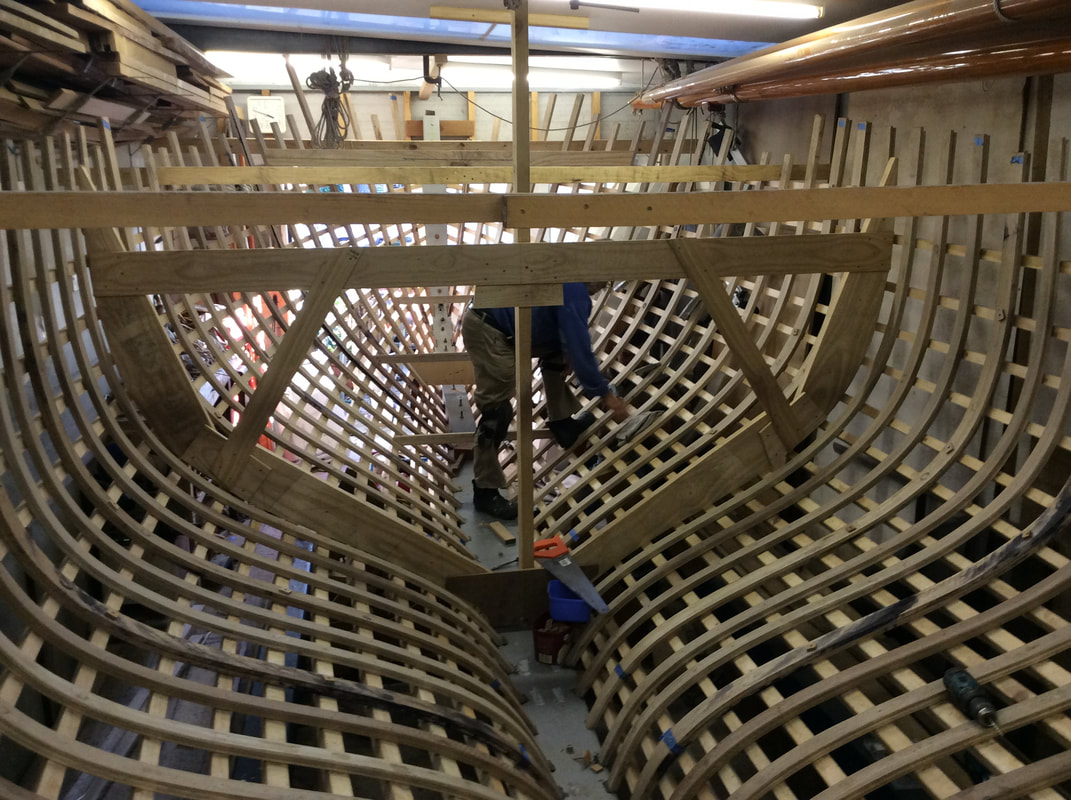
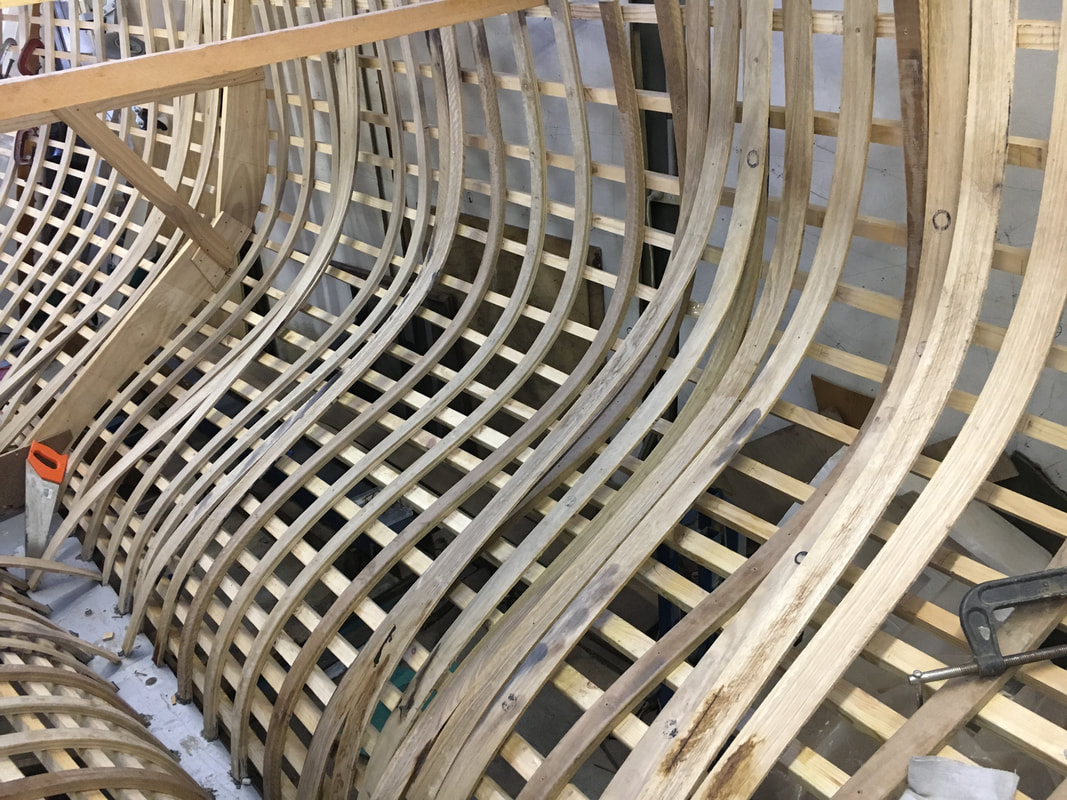
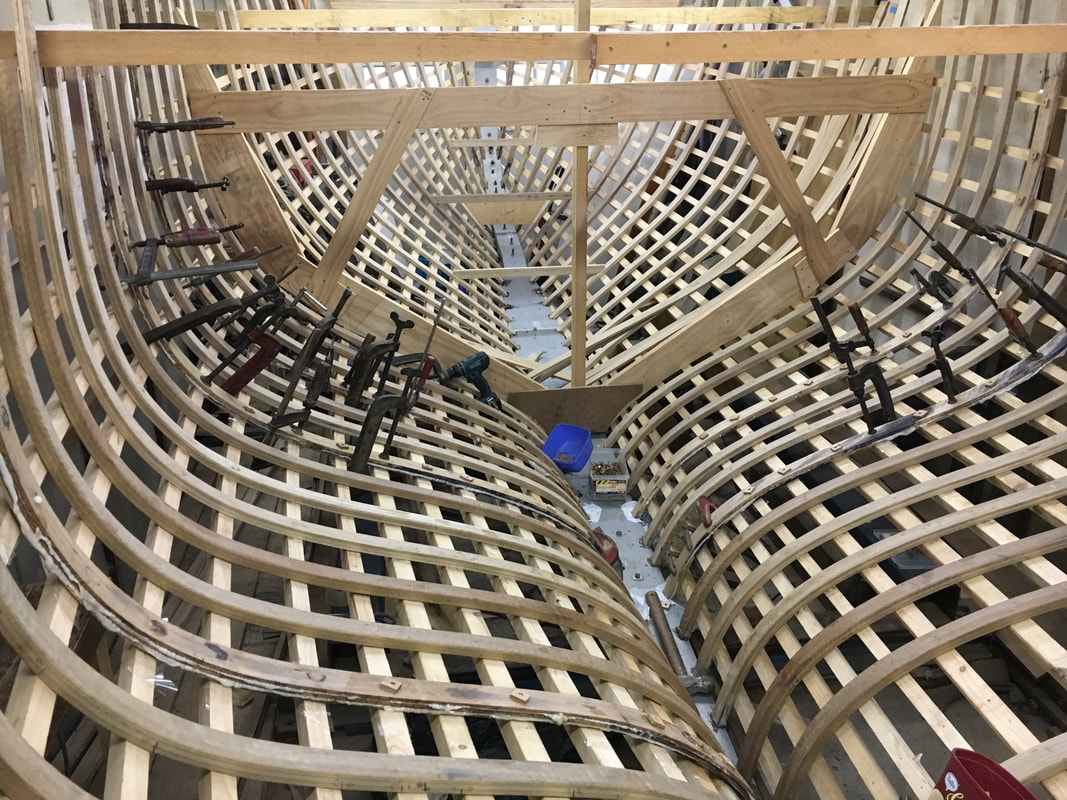
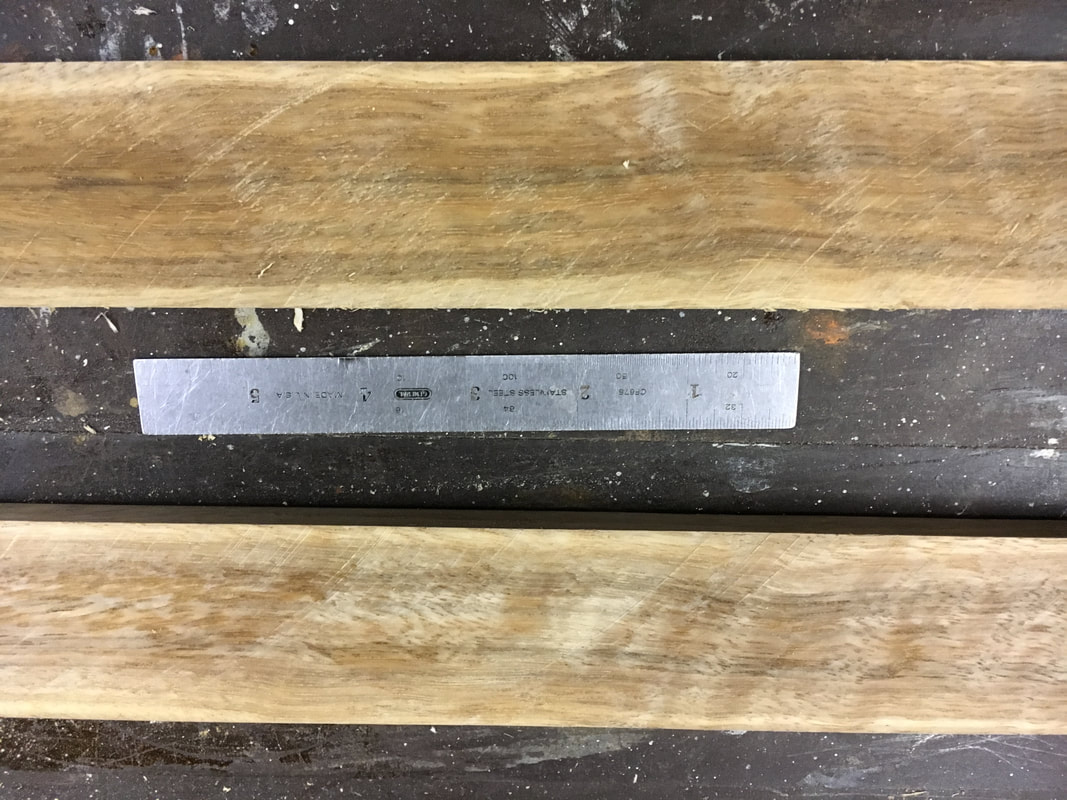
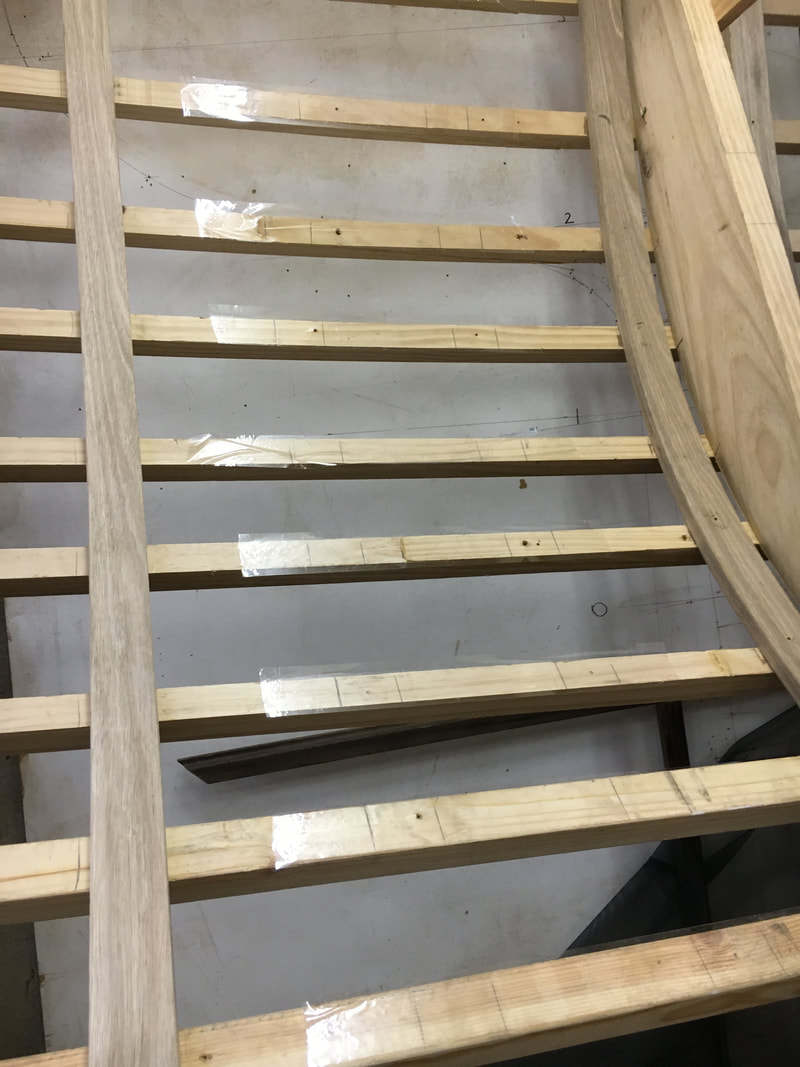
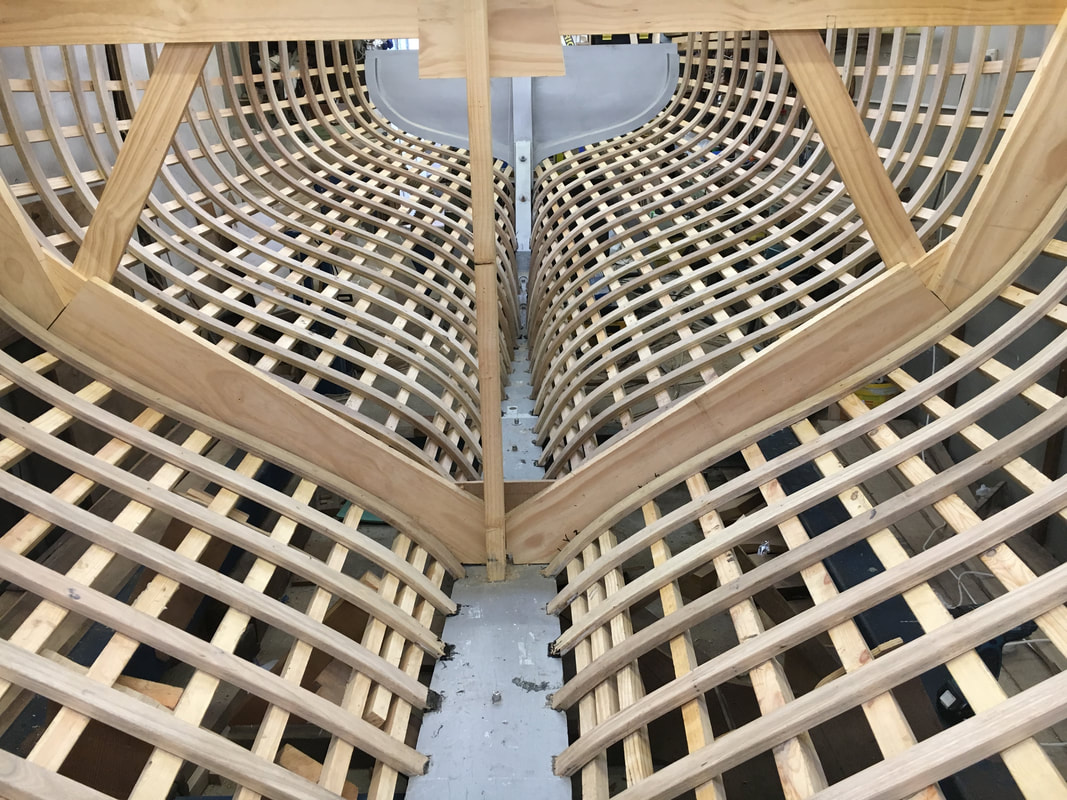
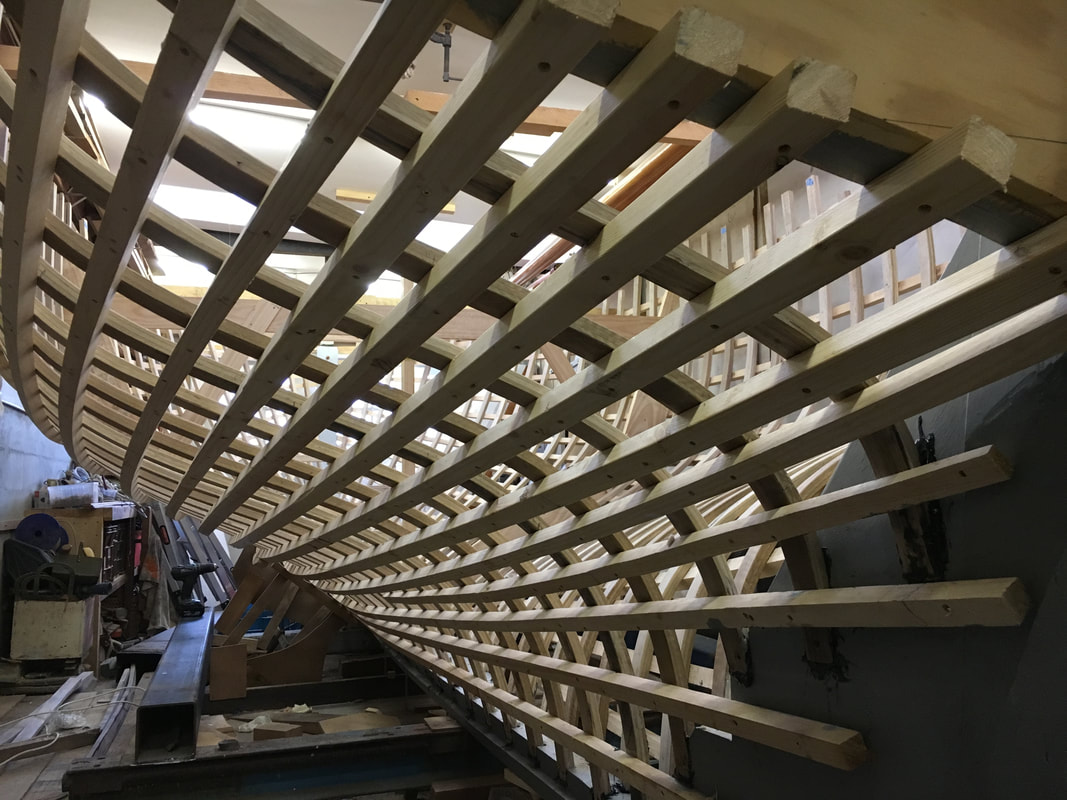
After the first few I put in with Tricia's help to check the systems (see previous post) I steam-bent in all of the ribs in two sessions, both taking up most of a working day, both days with a different helper. In the first session my old sailing and boatbuilding mate Peter Widders helped out, and for the second session another old mate and colleague since the days we both helped set up River Quays Marina at Mortlake in 1989-90 Jeff Thomas joined me. Have a look at this YouTube video of the first day. You can see that as previously mentioned, the ribs forward are each bent in as a single piece of Spotted Gum 2" x 7/8", but the ribs from amidships aft are bent in two laminations , and the aftermost third are in three laminations. The following photos show ribs of both types being bent in, and some closeups of the multi-part process of bending, drying, gluing, cleaning up and final fitting. In the second-last photo I have taken off the clamps and separated the laminations so they can dry out. In the last photo you can see several laminated ribs clamped and screwed in with ample WEST System epoxy glue. Though I have always preferred traditional work, much of my career involved laminating boats with epoxy and I have always used and been happy with WEST System. Regardless of the brand you use, make sure you follow the manufacturer's instructions! During the 1980's I spent a bit of time trouble-shooting with home builders for WEST System epoxy, and the two biggest problems were not doing enough lofting and preparation, and not reading the instructions on the container! I made sure the surfaces to be glued were dry by separating the laminations the day after steaming (they held their shape quite closely) then leaving them for up to a week after steaming to dry, and helping it along by applying hot air from a heat gun to all joining surfaces before scratching them across the grain with 40-grit paper, dusting off and then brushing on a coat of liquid epoxy without additives, then brushing on a thick coating of epoxy with Microfibres added to a consistency that was just brushable. The photos below show some laminations ready to apply glue, and a shot of a little experiment I did. I don't know where I picked it up, but I either read or someone I trusted told me that green (unseasoned) timber was seasoned in the steaming process, and my rib material was very green when sawing up with dark and wet surfaces. Now a bit of surface seasoning may happen in very thin ribs or laminations, but I took a section of one of the broken 7/8"-thick ribs and ran it through the table saw about 8mm (5/16") in from one surface, and the timber was still quite wet about 5mm (just under 1/4") in from the edges. You can see the lighter edges and the darker wet centres in the photo. Marine Mythbusters! I tested several offcuts from above the gun'l level to destruction, and all separated by tearing up wood fibes from either side of the glue line on more than 65% of the surface area which is about as much as you'll get on any well-glued surface. It is vital to apply some plastic tape to each ribband in the way of each rib about to be glued because the ribband are temporary and must be able to be removed! Did I mention that the laminated ribs have to be sawn wider than their finished dimension? In my case the Spotty was sawn 63mm thick (just under 2 1/2"), and after gluing each rib is removed from the boat, one side is planed with a power plane to remove glue dags and misaligned timber, then the rib is run through a table saw set to just over 2" to get an even width. That surface is then lightly touched up with a power plane and the whole rib is sanded and all corners slightly arrissed (rounded over). The shots below show every rib fitted for good into its heel pocket bedded in blackjack (pitch), and held by a permanent copper nail driven through the heel, and screws through each ribband from outside. I just love the shape of all of those curved lines. Next: the planking!
1 Comment
|
AuthorIan Smith, Boatbuilder (ret'd) Archives
January 2024
Categories |


 RSS Feed
