|
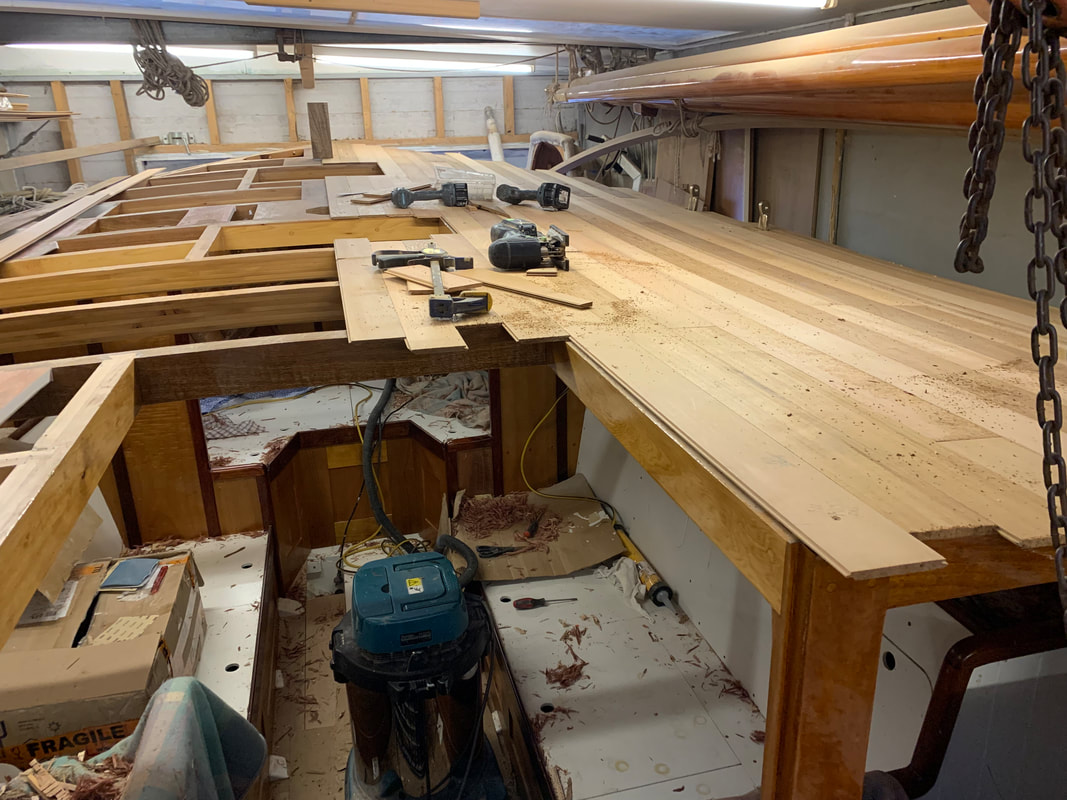
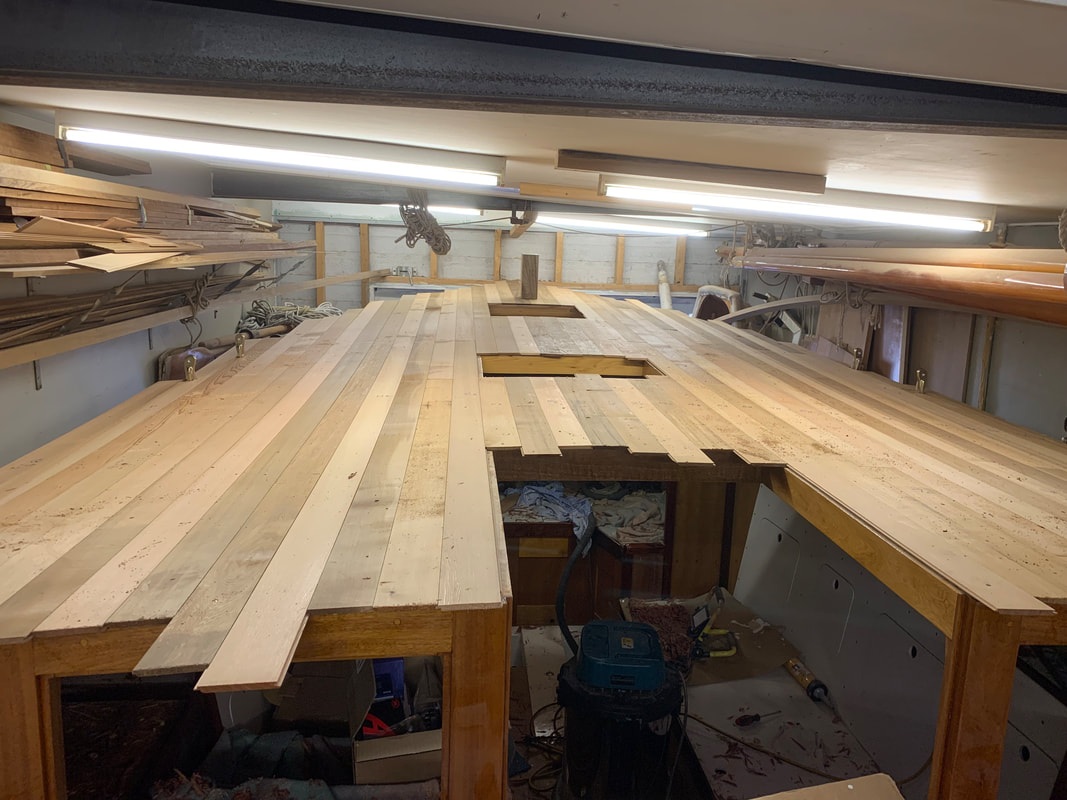
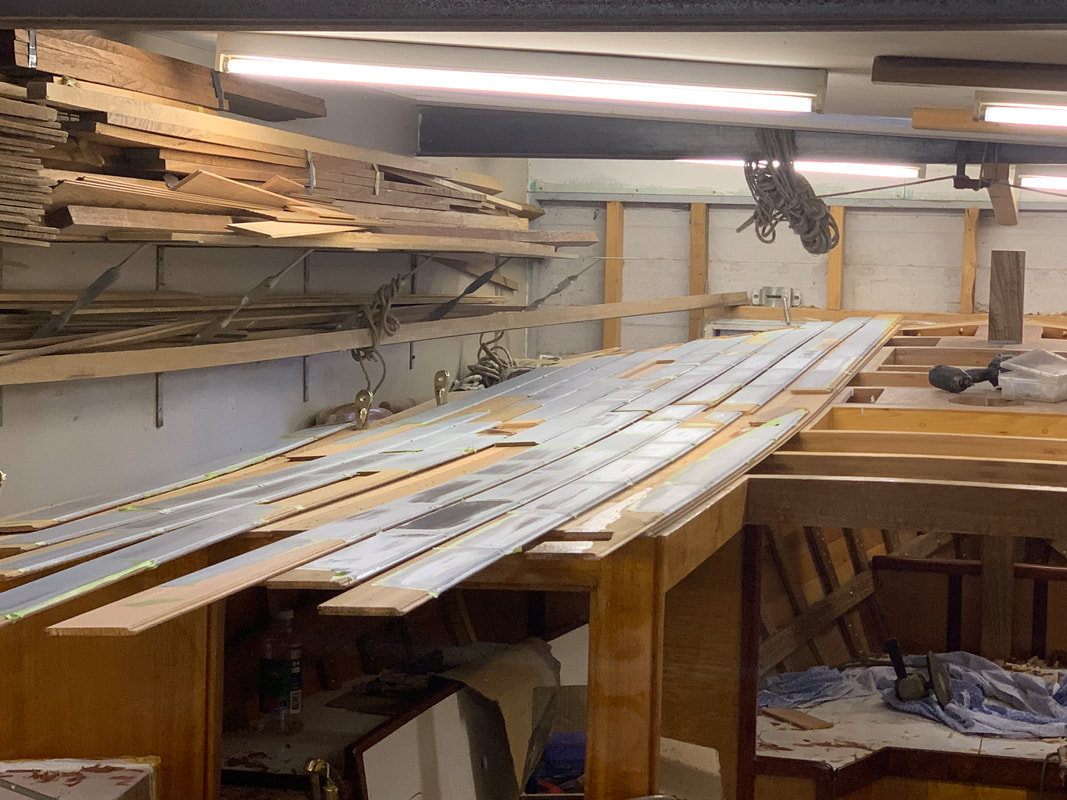
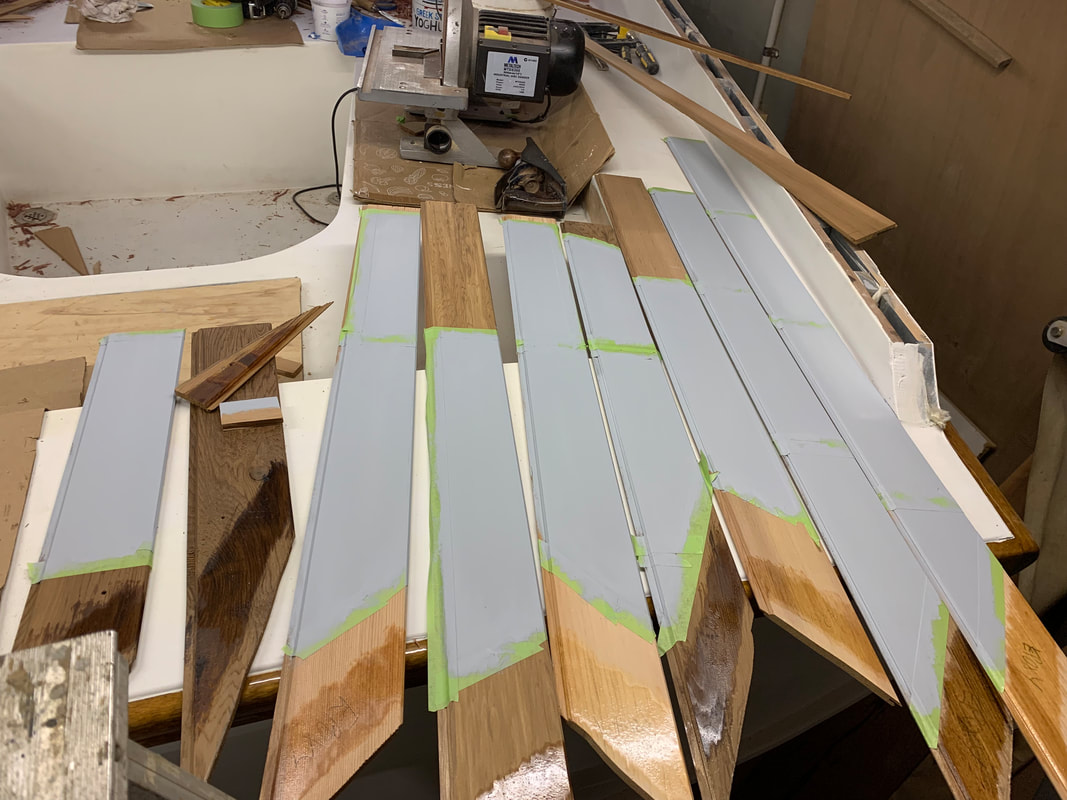
The deck is going to be in two layers, 9mm (3/8") Western Red Cedar tongue and groove, with 9mm Hoop Pine plywood on top, WEST System Epoxy-glued together. The T&G has a V-joint showing underneath. I've dry fitted the entire deck, held with temporary screws on every third or fourth beam, starting from the centreline and moving first to Starboard and then back to Port. I've done everything I can think of that would be easiest done with the deck off. I've got another few days before I fit it permanently so I'll keep trying to think of anything I've missed. When the deck is completely finished and sheathed I'll put together a video which will include the sorts of things I'm talking about that are best done before the deck goes on. Part of the job was to trim the top of the stem which had been left long and through-bolted to the front wall of the shed. When I cut off the stemhead and freed the bolt the boat did not move a millimetre, so it's being capably held by the four screw props under the bilges. The underside of the deck is going to be painted gloss white where visible, and this is always easier to do before installation, rather than painting overhead. There'll be two coats of International Yacht Primer, two of International One-Up and two coats of white gloss enamel. I removed the deck planks starting from the outer Starboard and worked back until I removed all of the short centreline planks between the hatches as well. I simply don't have the room in the shed to remove the lot and spread it out in the shed, so the longer Starboard side planks are all all being painted while laying on the dry-fitted Port side of the deck, and the shorter planks are in the cockpit and down below on benches. The 3rd and 4th photos show the first coat of grey Yacht Primer. Before removing the dry-fitted planks I carefully marked in pencil the location of all beams and the rest of the structure, and then taped off all the areas which are not to repainted because they will be glued down. You might also notice clear epoxy coating on the ends of most short planks. This area will mostly be glued but there is a gap in the gluing where the ribs are, between the planking and the sheer clamp, and I did not want to leave this area bare. It was easier to epoxy just beyond the likely area, compatible with the glue, rather than try to paint it because of the near-impossibility of marking it accurately. Once the final gloss coat is on, I will carefully tape the edges of the glued areas and the beams and other structure to make cleaning off the glue squeeze-out easier. Once the Starboard side deck is on I will take up the dry-fitted Port side and lay the planks individually on the glued Starboard deck so that they can be painted in turn.
1 Comment
James Moloney
6/26/2023 05:12:16 pm
Hi Smithy. My name is James. My father in law is John Gale. The grandson of Cliff Gale. He turns 80 next month. Would there be any possibility that he could visit your work shop and see his grandfather design? He was a boat builder himself in his time and has resigned to building models in his garage workshop. Would love to hear from you. Leave a Reply. |
AuthorIan Smith, Boatbuilder (ret'd) Archives
January 2024
Categories |
 RSS Feed
