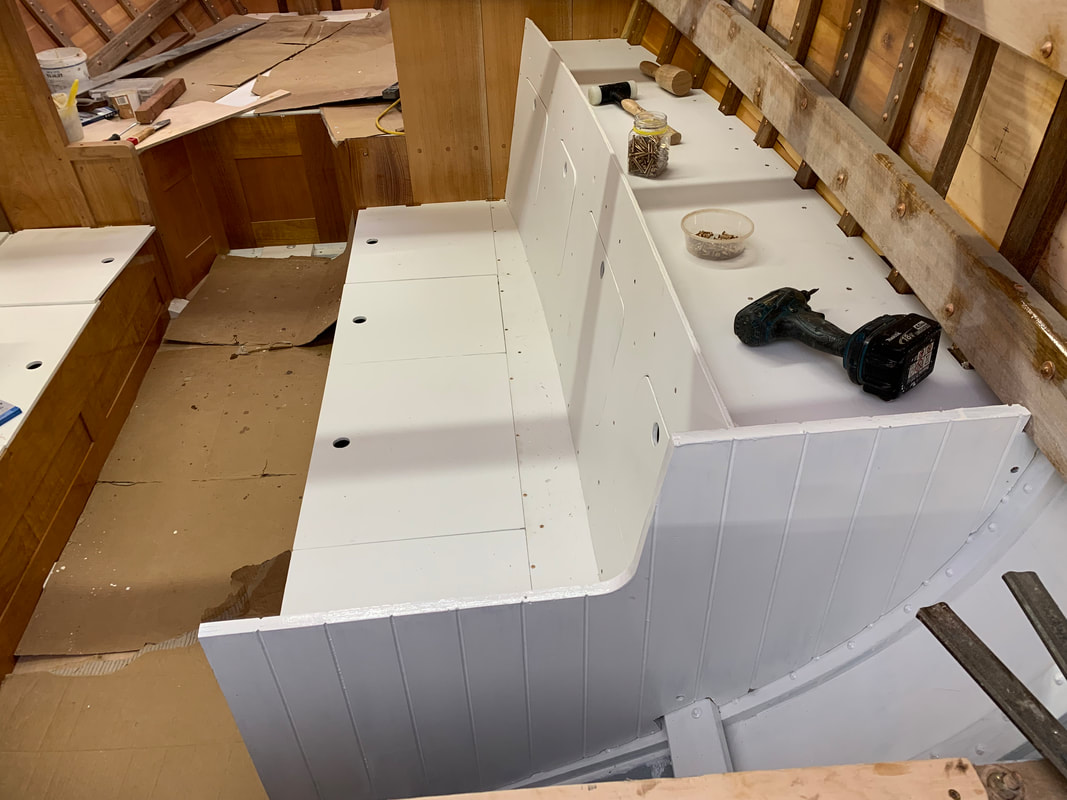
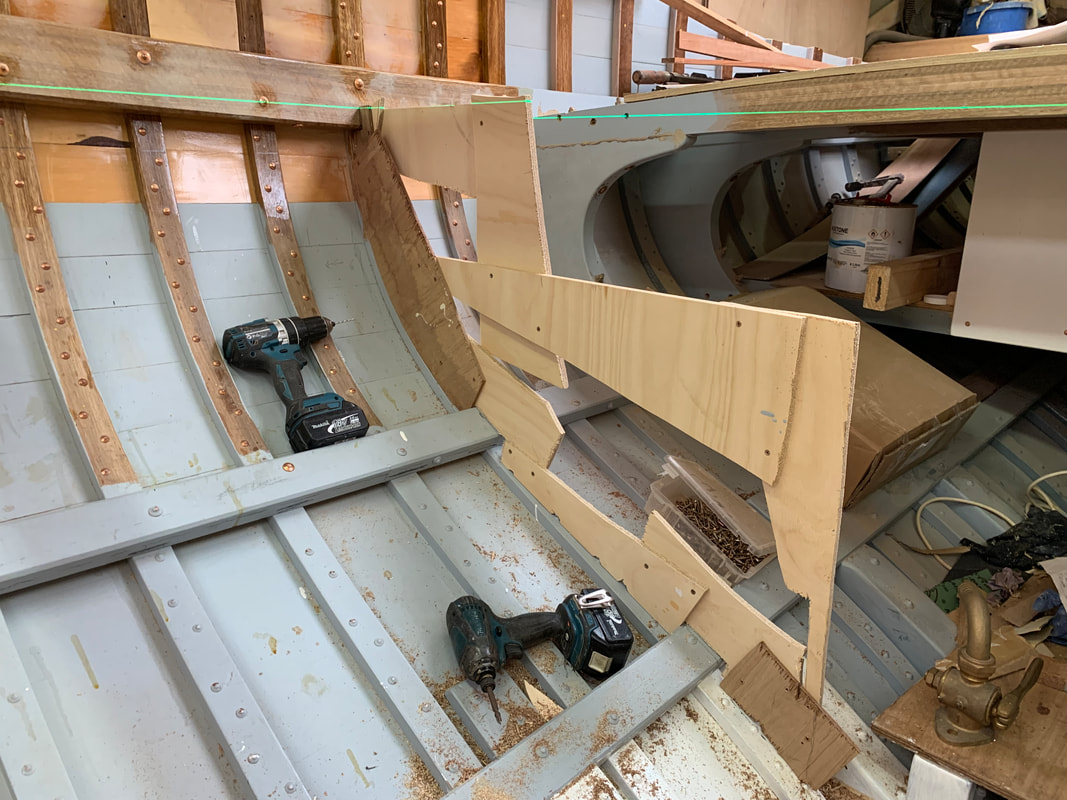
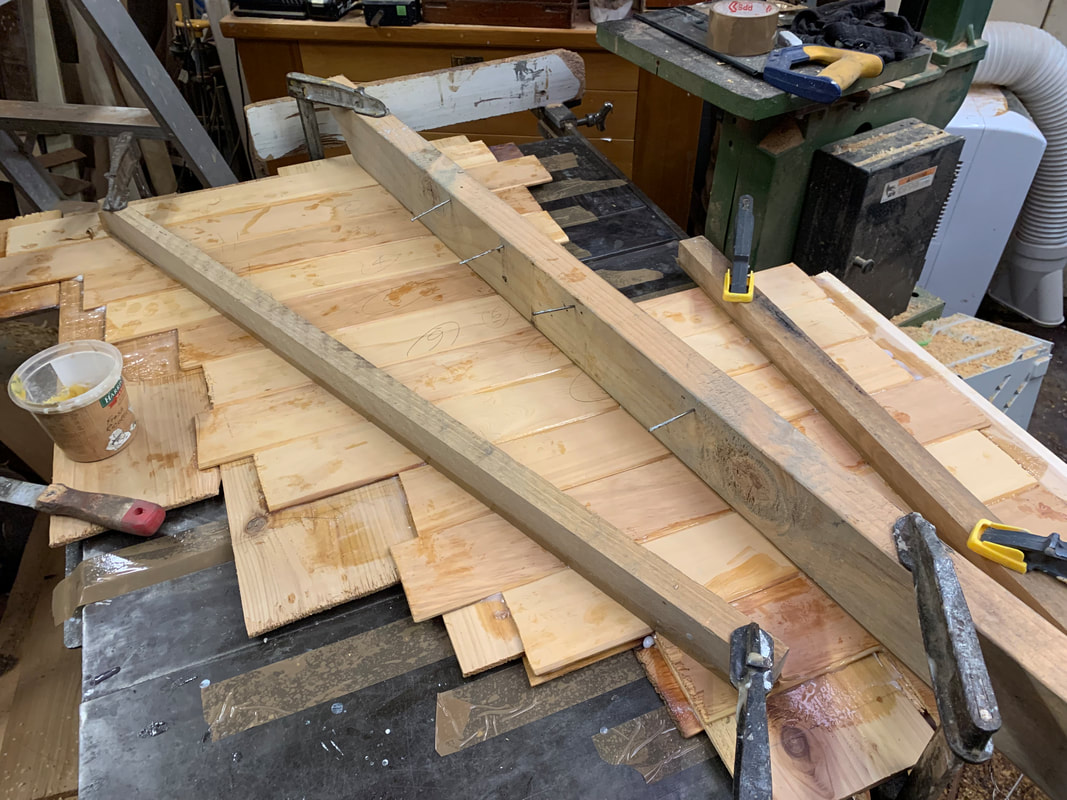
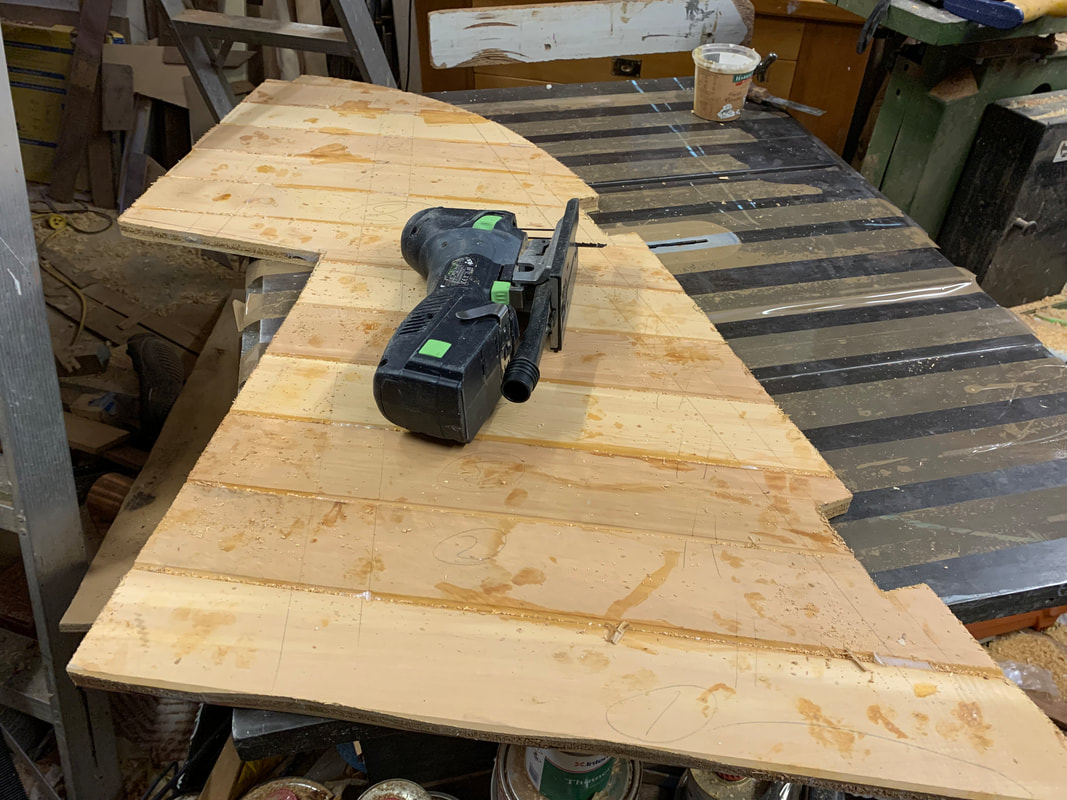
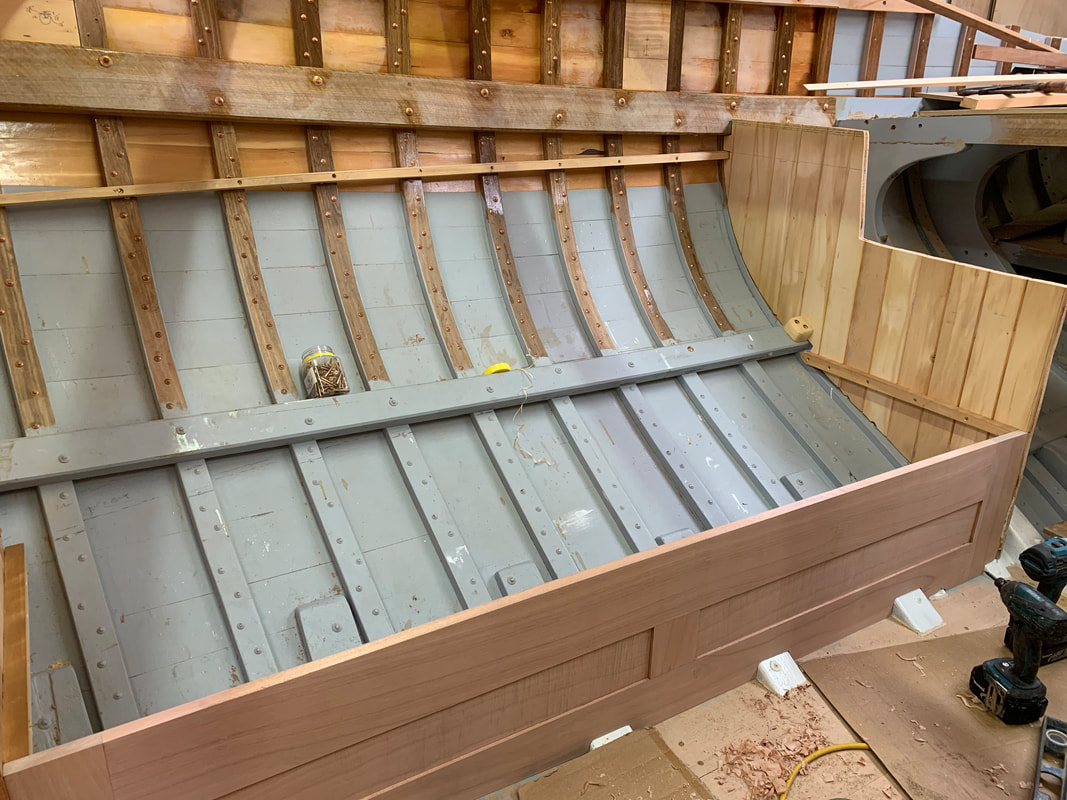
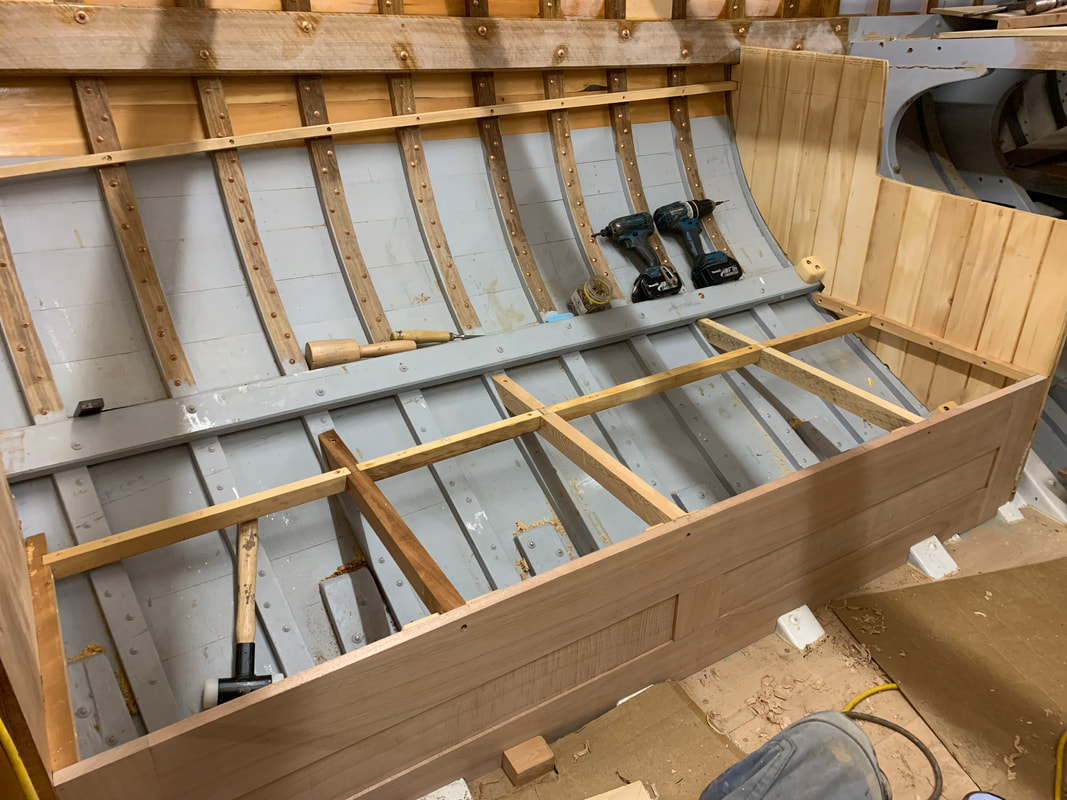
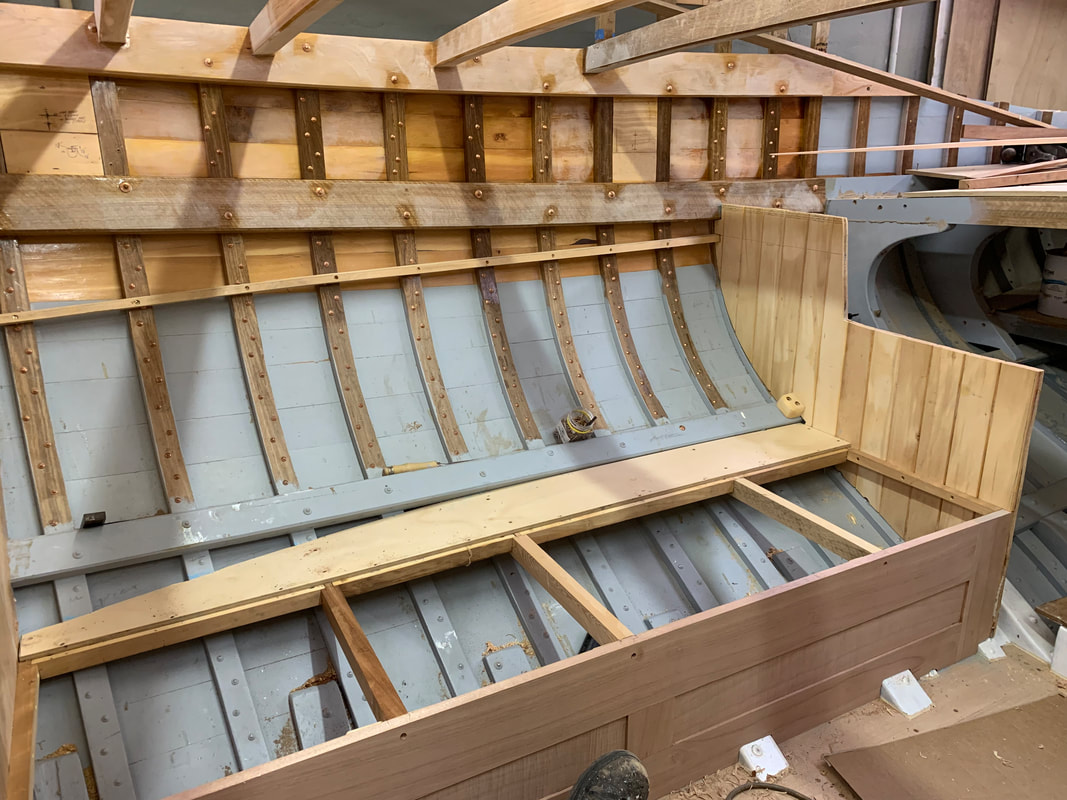
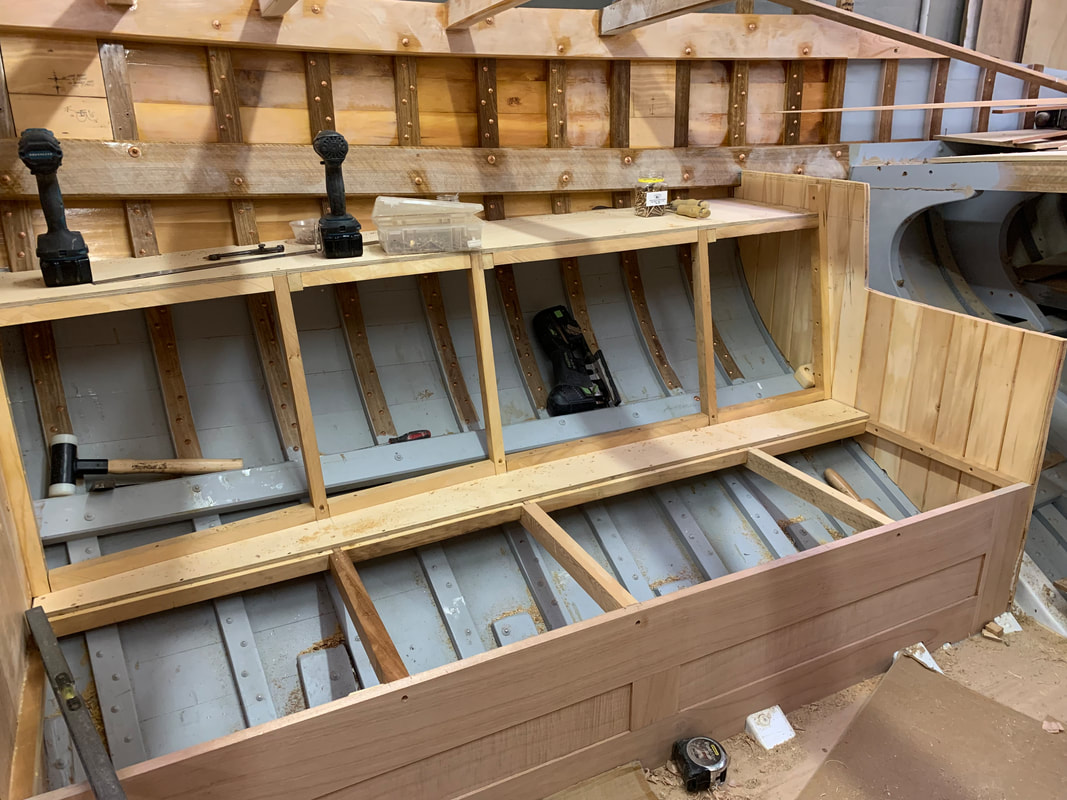
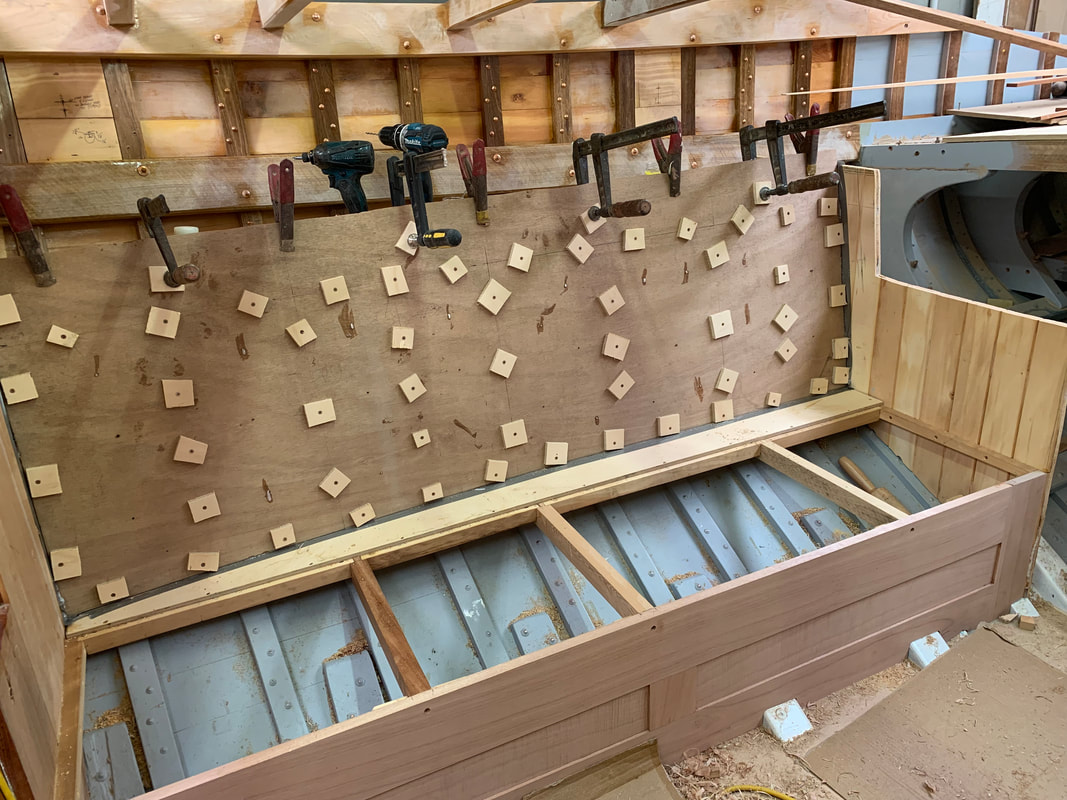
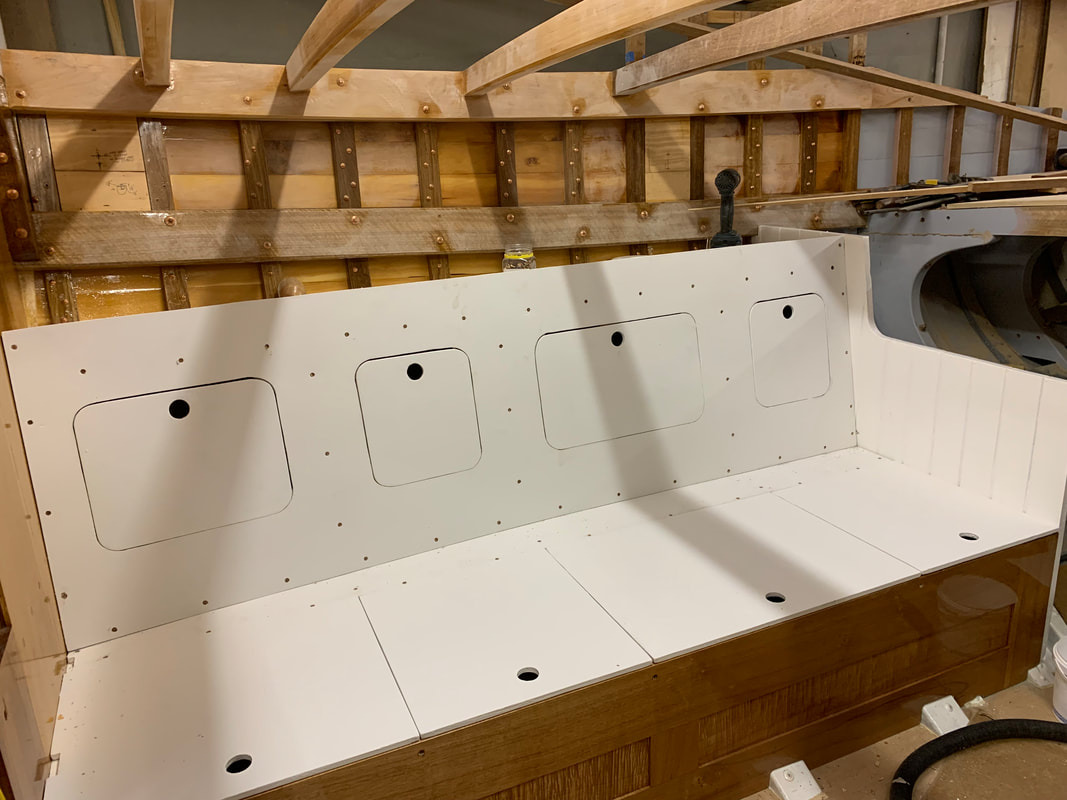
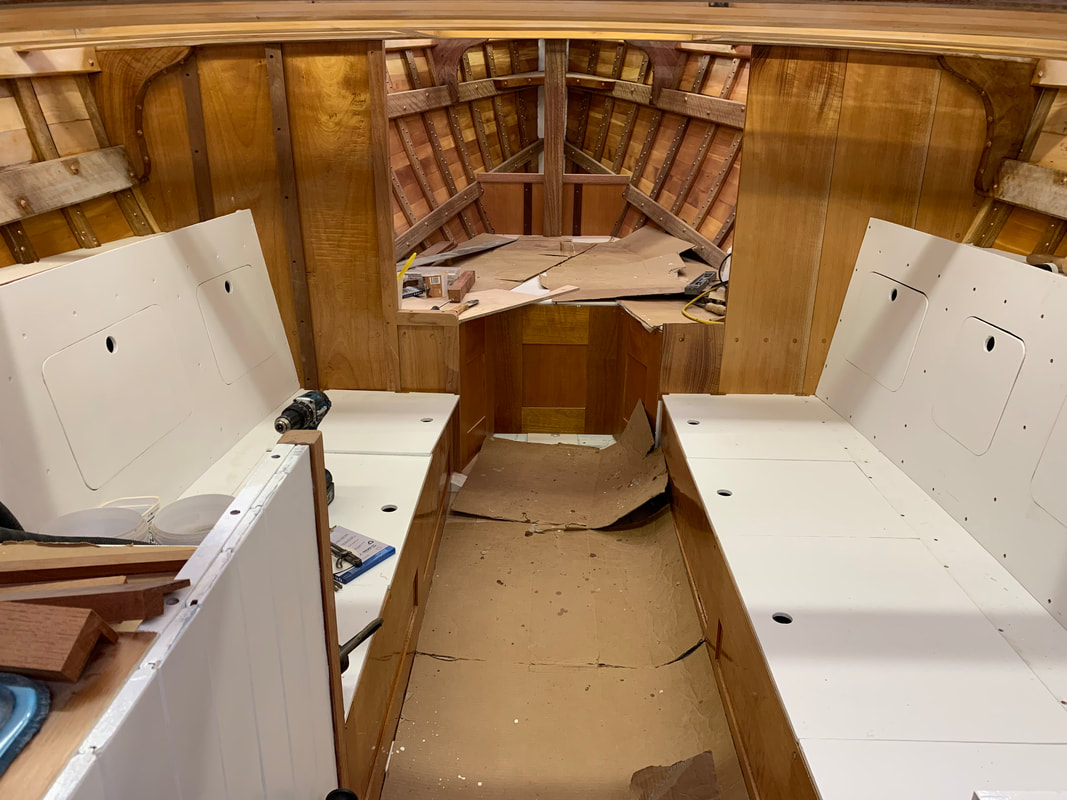
 It was finished a bit later than I thought it would be, but 5 weeks in November and early December had to be devoted to repairs and maintenance on Britannia my historical 18-footer replica. But now the starboard bunk is in, with just some finish painting and Australian Cedar trim to go. The partial bulkhead at the aft end of the bunk had to be made first, and then the bunk framing was attached to it. The bulkhead is built up from 3 layers, 1/4" (6mm) vertical staving on the outside layers, made from Huon Pine offcuts, with a horizontal layer of 6mm Western Red Cedar in the middle. I built up a pattern from plywood offcuts screwed together which was easier than building it from lighter ply and sticks because the pattern had to be more or less free-standing as this bulkhead is mostly supported by the bunk framing which did not yet exist. I had a dry run in assembling the three layers to make sure the timber was covering the necessary territory, then glued the layers together with WEST System Epoxy on my protected flat saw bench, clamped down with stiff sticks, Then the pattern was laid on it and the bulkhead was marked, cut out and fitted with several trial fits. Then I began to build up the bunk framing, again from Huon Pine planking offcuts. The end cleats to support the bunk front were fitted first, then I fastened in the bunk front which I had built up rail, stile and panel style from Queensland Maple in the same manner as the Port bunk front described in a previous post. The horizontal framing went in, then the outermost section of the bunk top plywood was fitted against the hull. Then the upper plywood shelf with its supporting structure was fitted. The backrest was made from two layers of 4mm plywood glued together in situ, with plastic tape around the edges to prevent it sticking to the bunk top and bulkheads. All of this structure is simply screwed together so that it can all be dismantled for access to the hull in future without destroying it. The 10mm (3/8") plywood used in the bunk top and shelf would have taken the slight fore and aft curve of the backrest, but the cutouts for the access hatches (see below) would have straightened out once cut. The two layers of 4mm ply hold the slight curve. 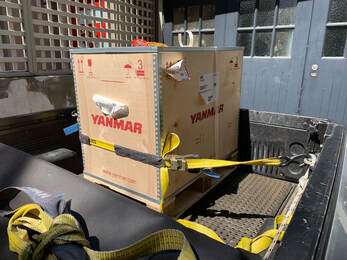 Once it was all together I dismantled it and primed and painted the parts, including the hull side behind the backrest before fastening it all back together and bedding the parts touching the framing and stringers on low-modulus SIKA PRO polyurethane sealant. Of course there is still final paint coats to go and then the trim from Australian Red Cedar.
I'll be putting together a video, Episode 14 in the Carvel Planking series, on Bulkheads and Furniture and posting it here and on YouTube Ian Smith Boats channel shortly. Next I'll be fitting the water tank under the galley and a few other operations necessary before fitting the engine to the boat. I have purchased the engine, a Yanmar 2YM 15 HP and it's sitting in its box in the shed.
0 Comments
Leave a Reply. |
AuthorIan Smith, Boatbuilder (ret'd) Archives
January 2024
Categories |


 RSS Feed
