|
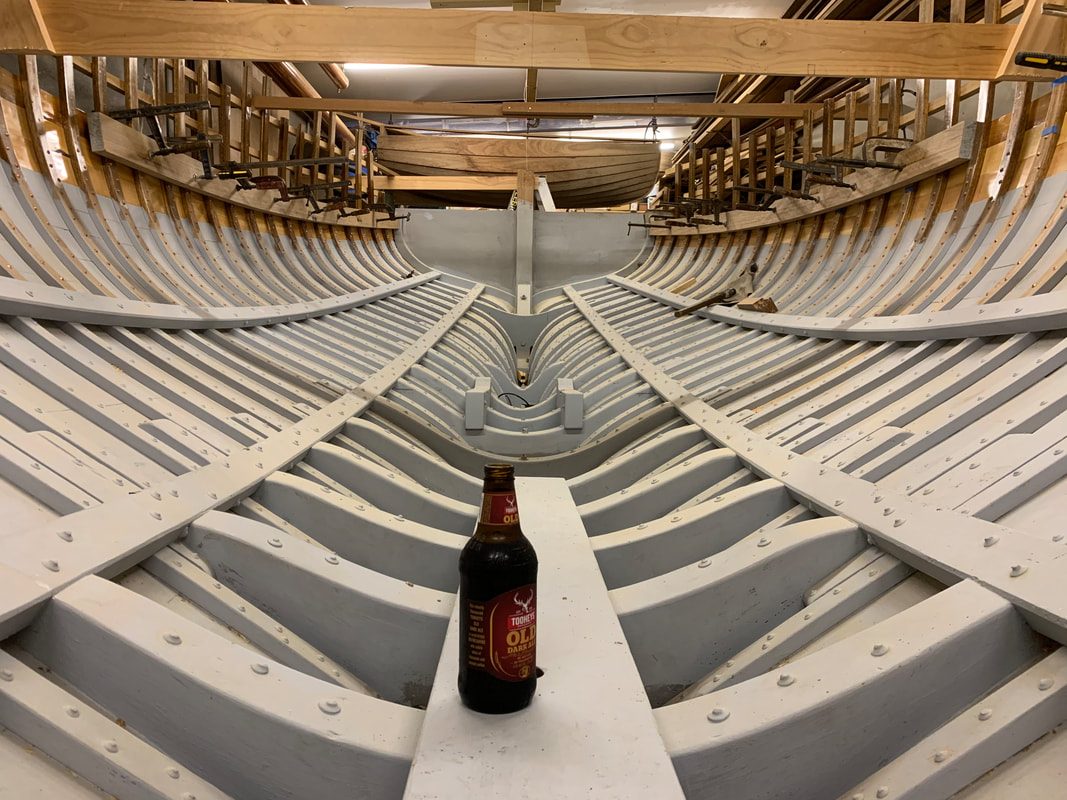
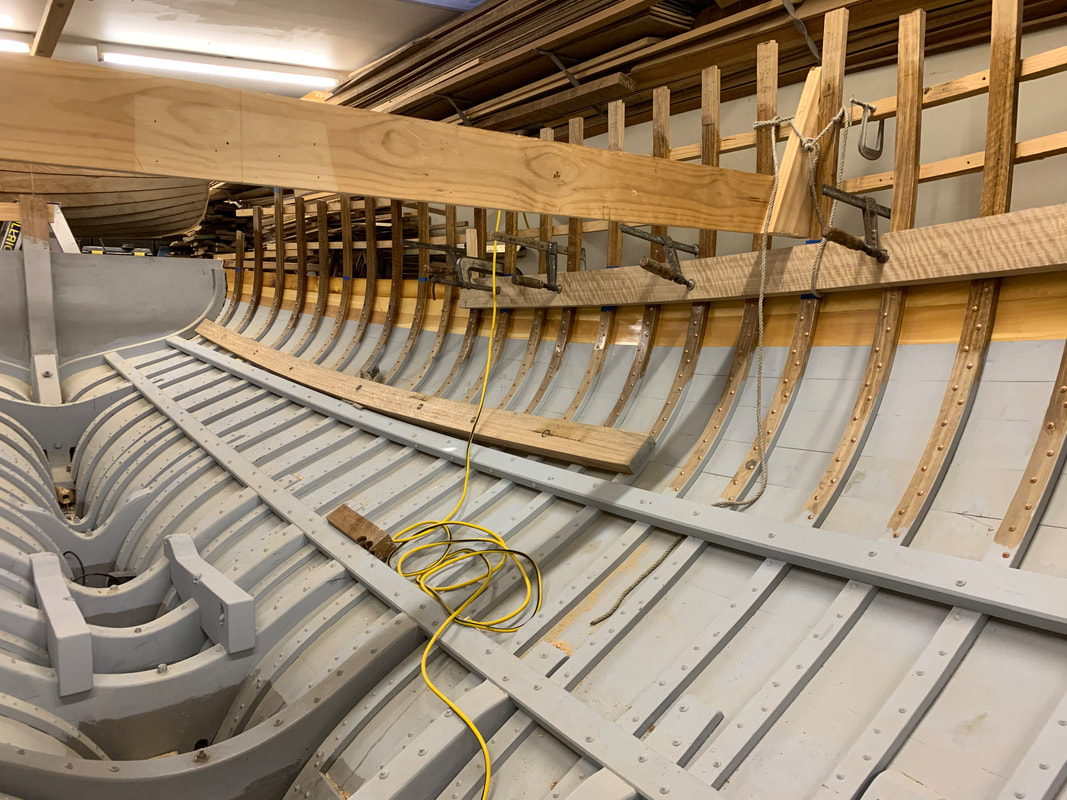
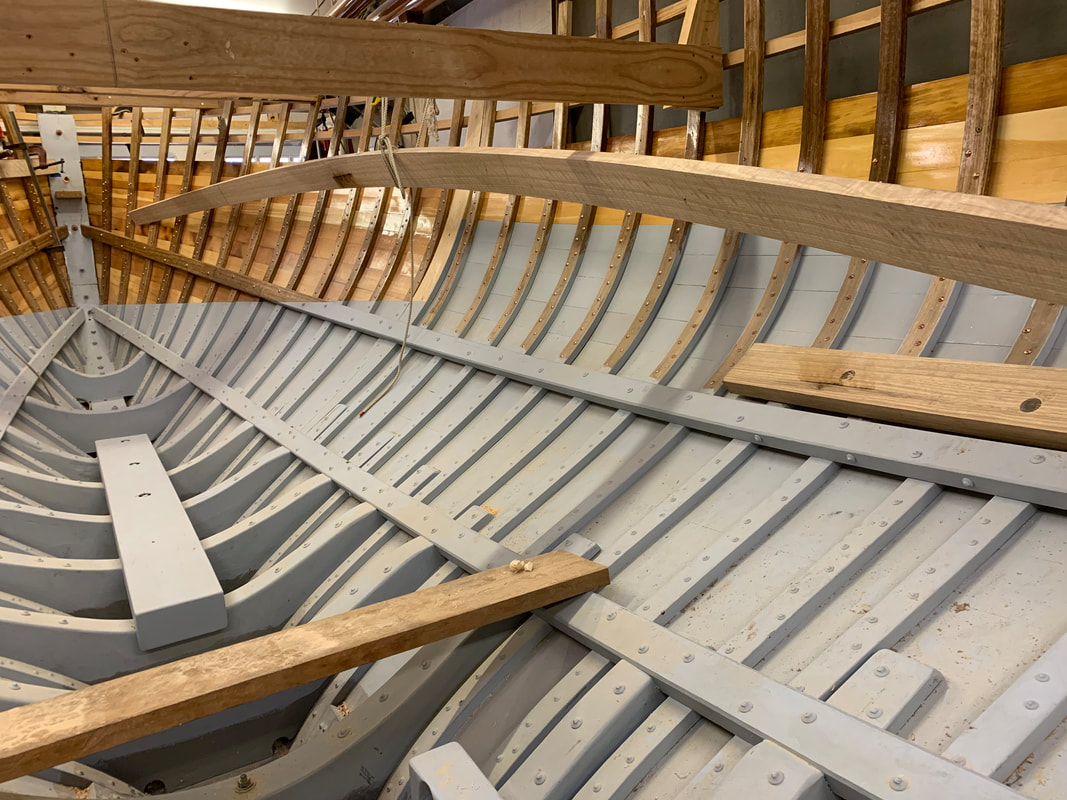
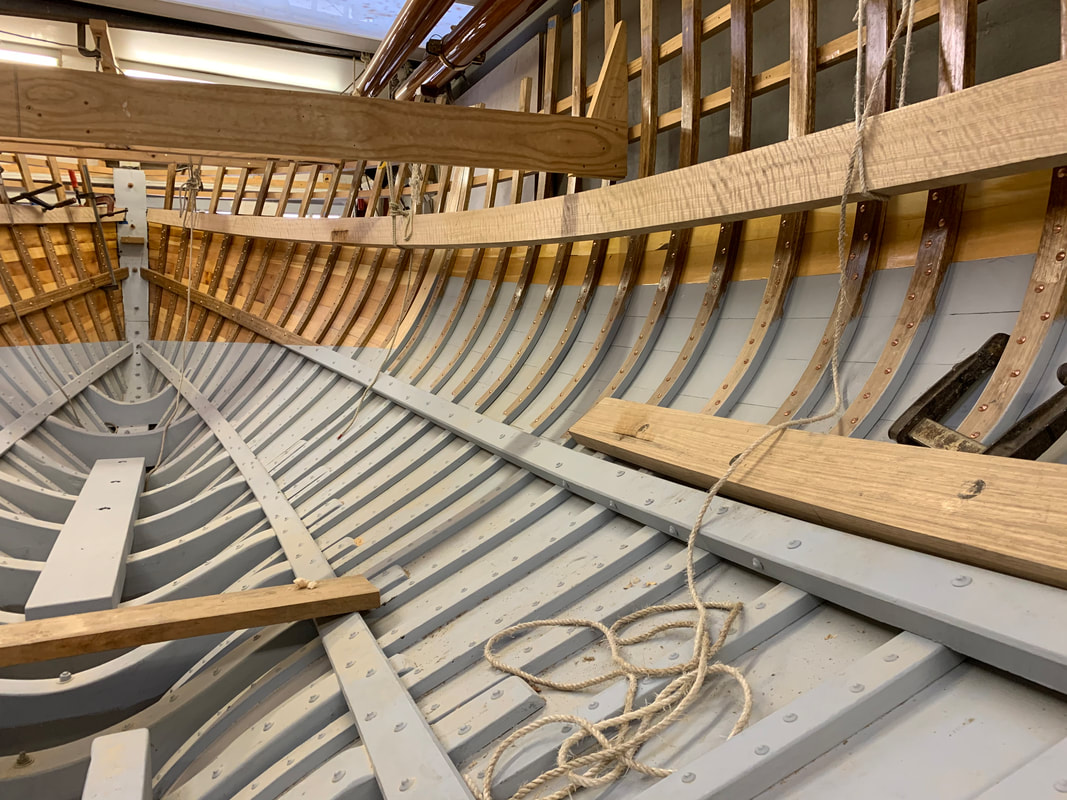
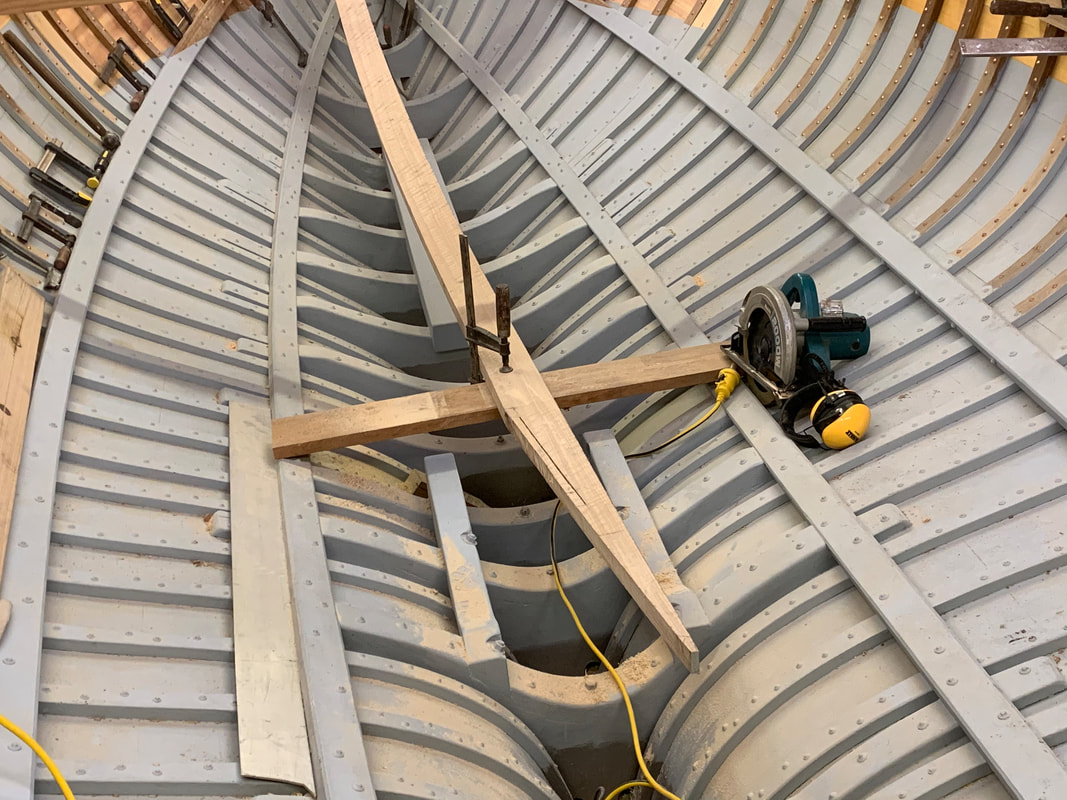
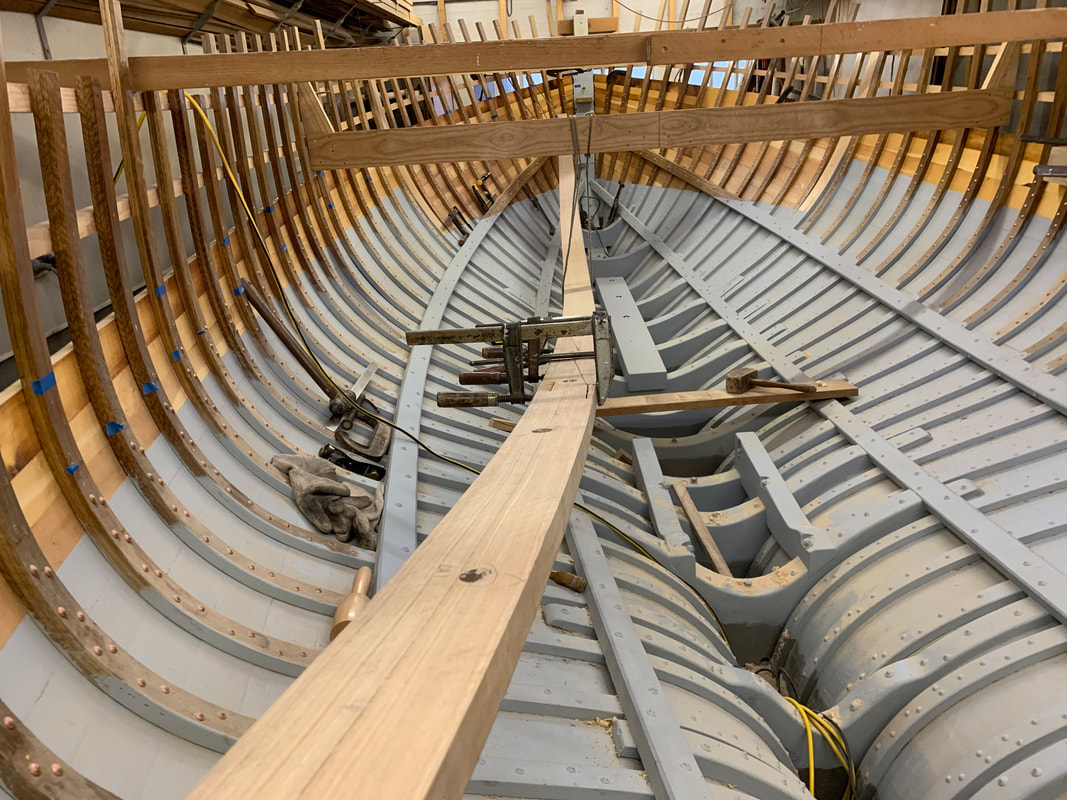
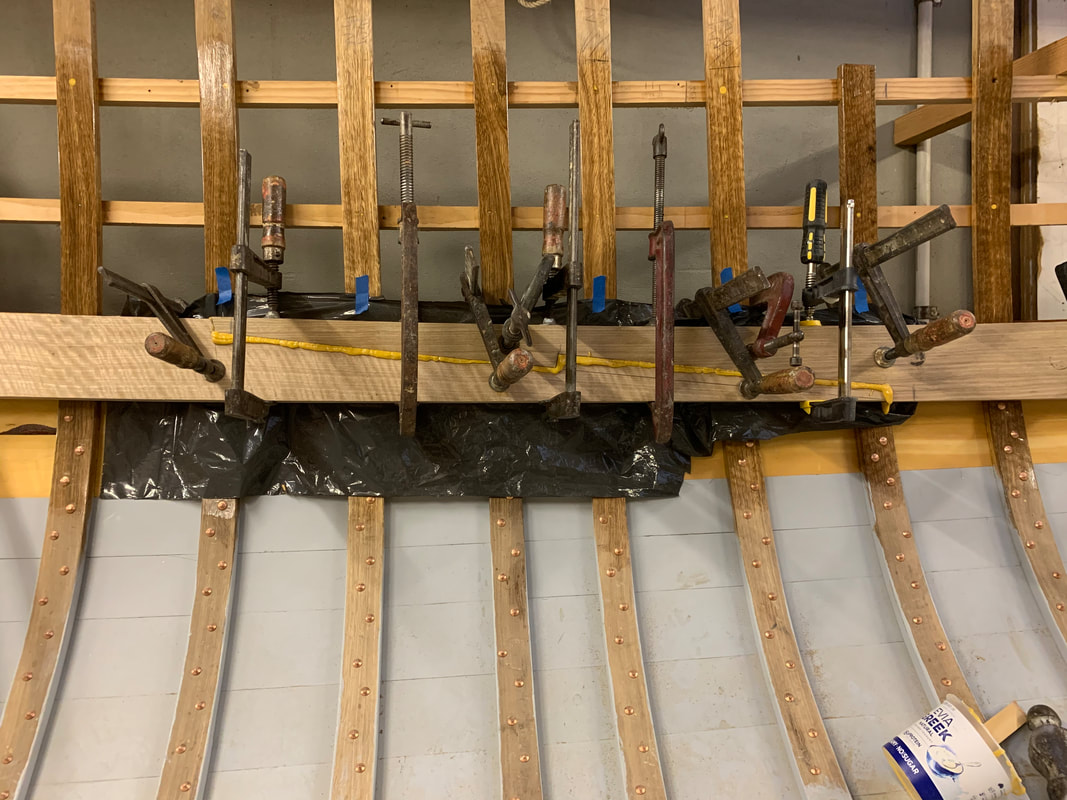
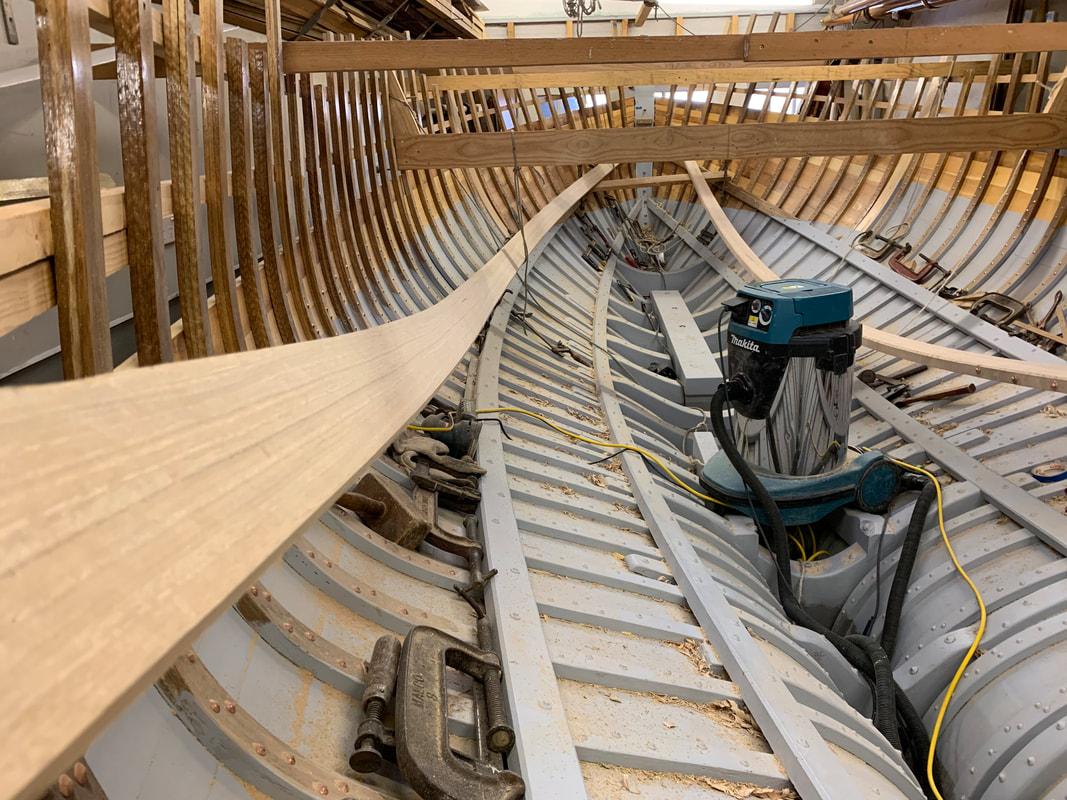
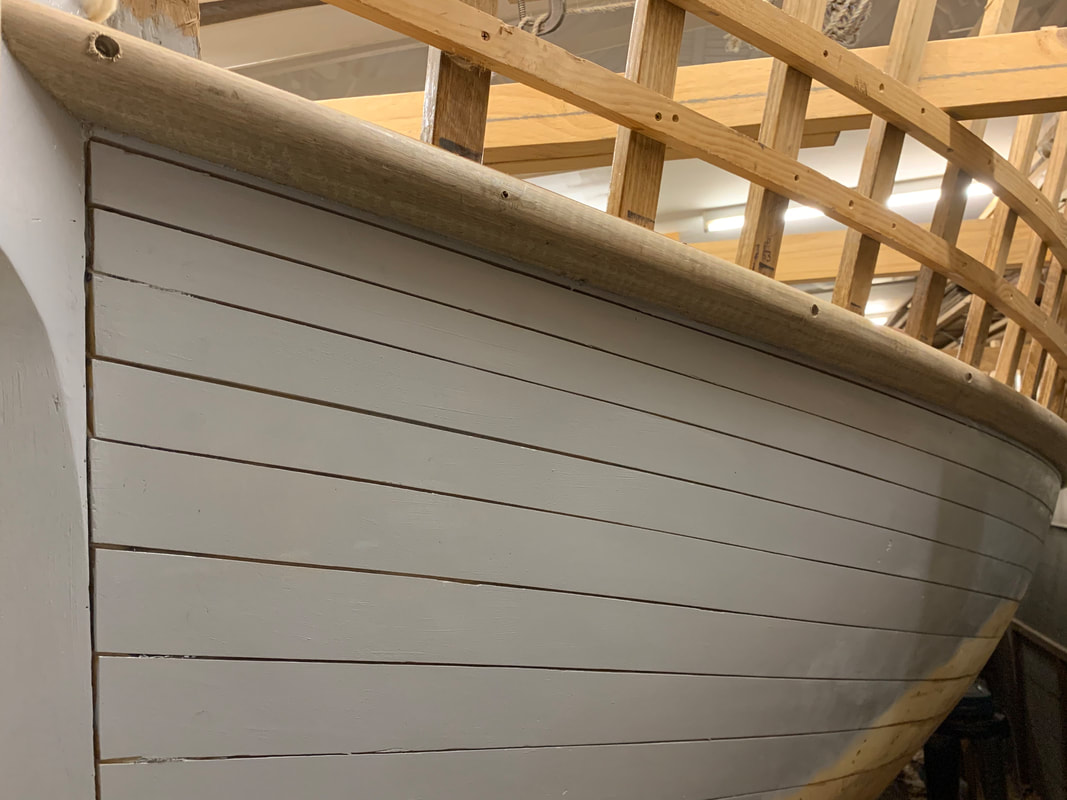
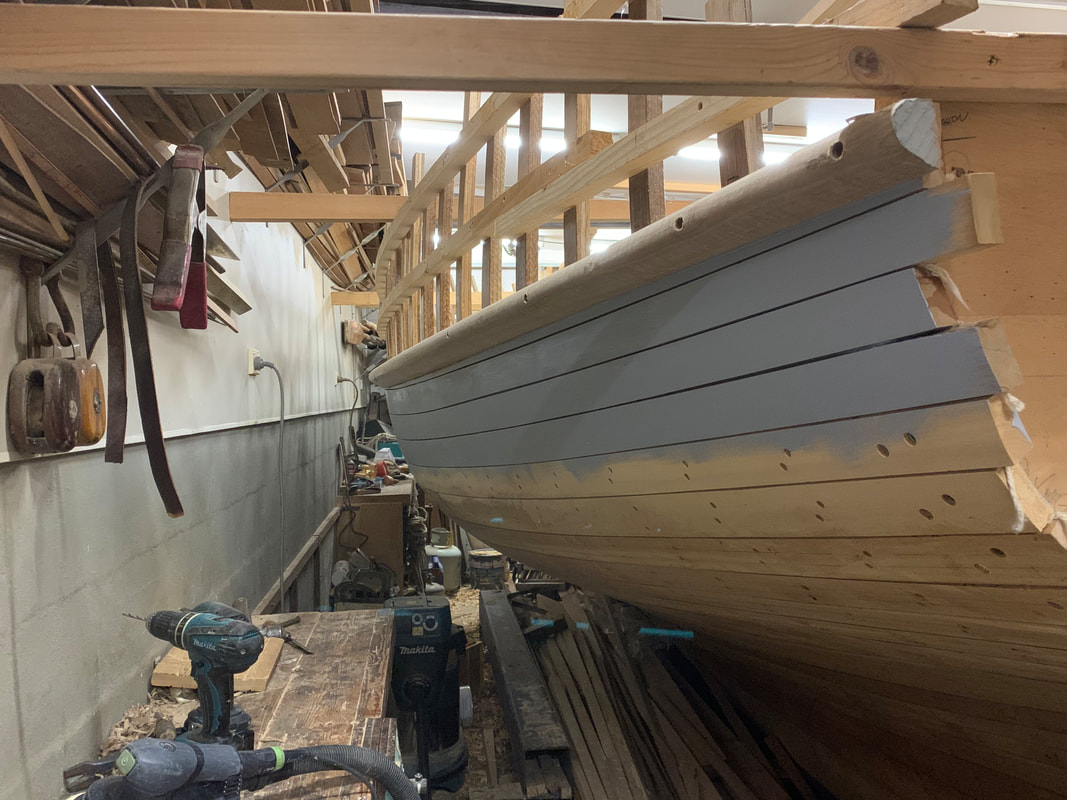
With the lockdown keeping me home most of the time in late March, April and May I've been able to put a bit more time in on the build, and the planking is up to the lower sheer (remember she's a raised-decker). I've also fitted the lower sheer clamp on the inside and the lower sponson (Port side only ATM) on the outside. 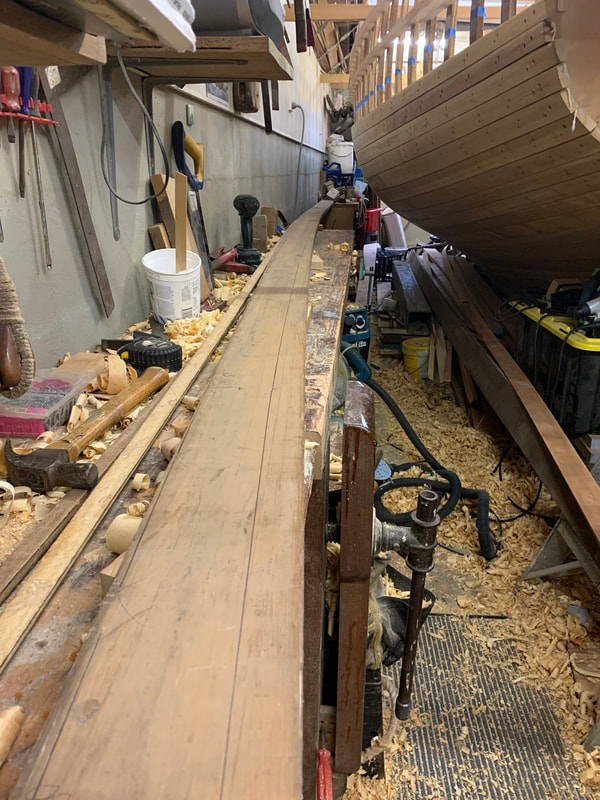 Above is a shot of the Port lower sheer plank being marked out. I'd been saving this piece of Huon Pine (and a similar sister) for this purpose. The plank already had much of the right curve so very little edge-set was necessary. It doesn't show in this shot but it's actually quite S-shaped, the forward end curves down because the hull is so full in the forward quarters, and the aft end curves up. 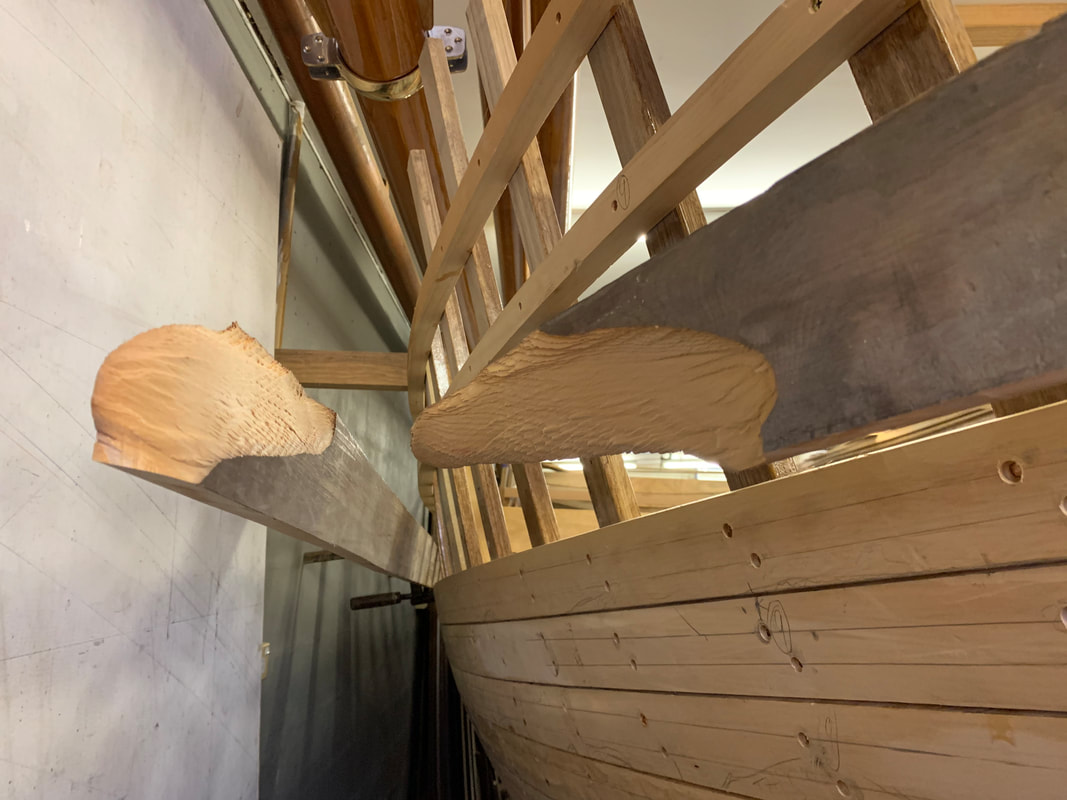 A minor setback occurred with the Starboard plank, it snapped on the first trial fit. I fixed it by scarfing in a new section about 6' long. At this point I decided to fit the inner sheer clamp while I could get easy access for clamps. There is a fair bit of shape in this, so though it is no wider than 4 3/8" (110mm) amidships I spiled it from 6" (150mm) stock. It was in two sections 18' and 10', the big overlap allowing for a long locked, stepped scarf. I steamed the longer forward pieces in situ in a bag (see earlier post on steaming planking) but bent them around the outside as it is easier to bend timber around the outside of a curve than to force it out to a curve. I steamed the shorter aft pieces in the bag on the floor of the shed and pulled them out after a bit over an hour, lifted them into the boat and clamped them in place inside. The first picture shows both aft pieces clamped up, and the beer I enjoyed after a satisfying day's work. The second picture shows the forward Port section clamped in place with the aft section just below it, showing the bend that has been retained after cooling and drying. These are heavy pieces of Spotted Gum so working alone I had to get creative with ropes and clamps. Have a look at the fiddleback in the second picture, I can't wait to get some varnish onto that! I marked for the locked stepped scarf using witness marks on a batten (I'll show this in a video I'm preparing on Stringers, and it is described in my Wooden Boatbuilding book, see www.sydneywoodenboatschool.com.au ). I cut the scarf on the longer piece in the boat and carefully test fitted them together. The scarfs were epoxy glued in situ with plastic sheeting behind. Once dry I drilled and fitted 6 large copper nails vertically through each scarf and roved them over underneath, then cleaned up the glue dags, sanding the whole length of each piece and chamfering the upper and lower edges. I then primed the back of each piece with several coats, finishing with 2 gloss coats with an anti-mould additive. 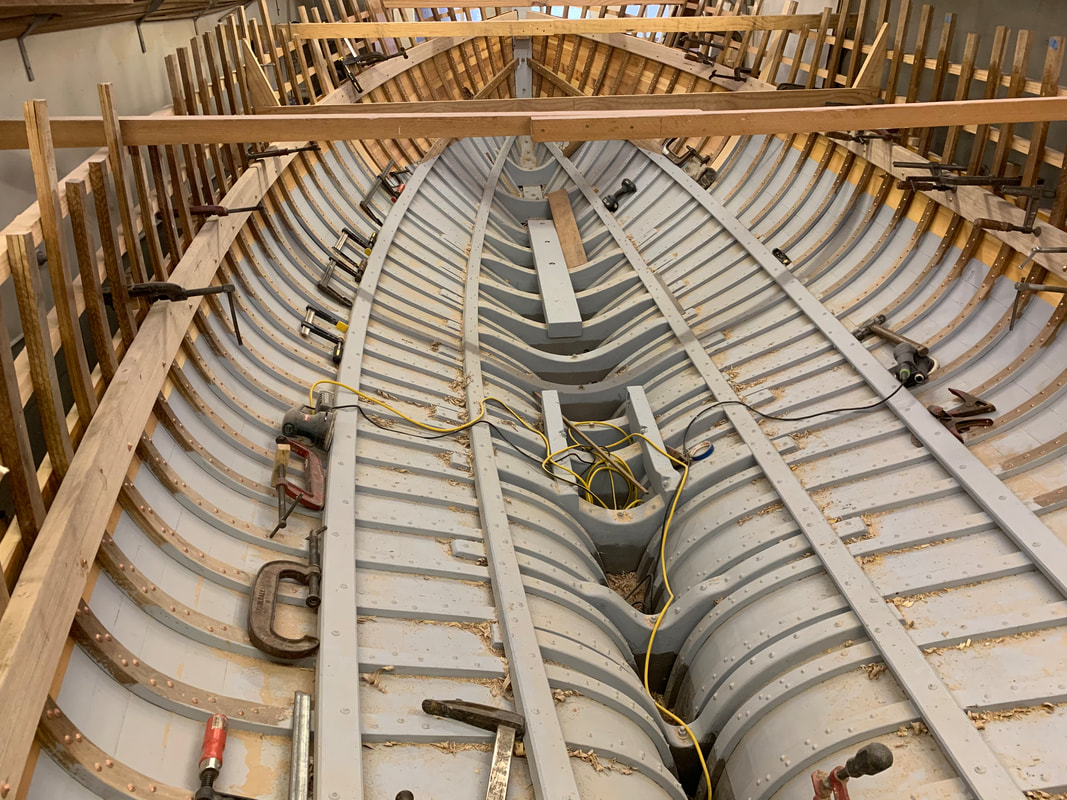 I clamped them up for the final time with polyurethane sealant under each end and fastened them off with 4'"x 8g copper nails with 5/8" roves on every second rib, locating all about a third of the width from the bottom. Nails through the outside sponson will go through every other rib about a third of the width from the top, see photo below. 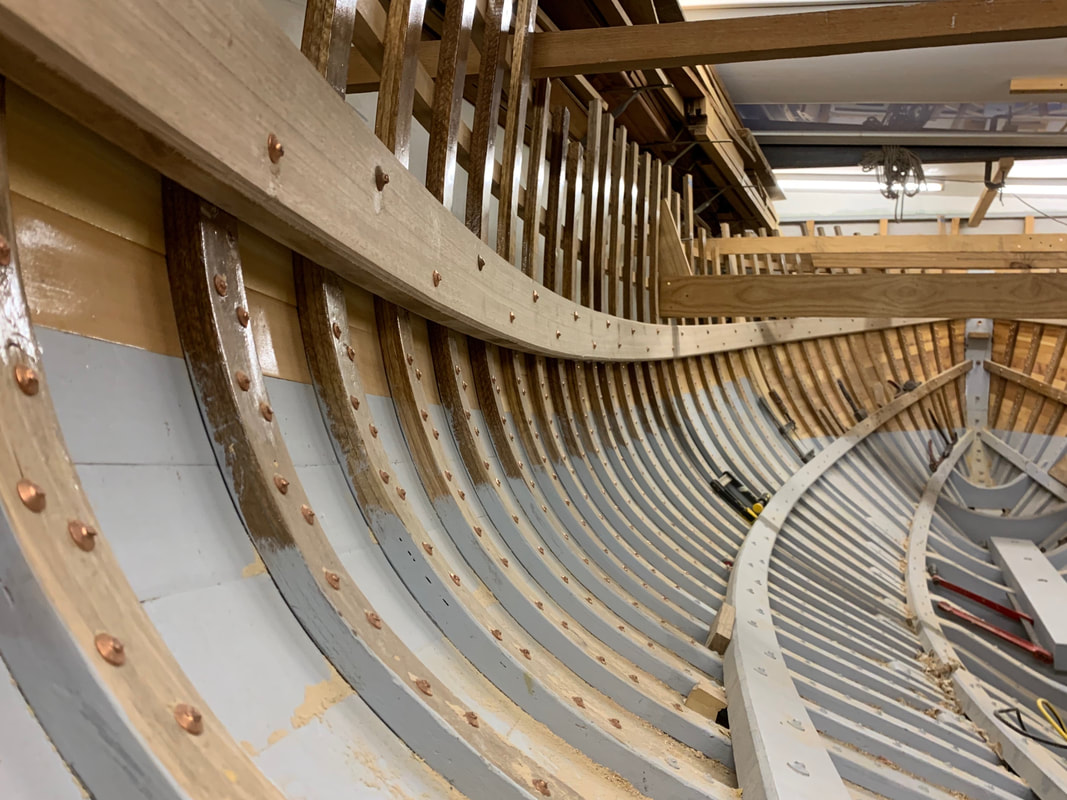 I steamed the Spotted Gum lower sponsons (rub rails) around the hull on the outside. While they dried I took a few days to fair the upper planks on the hull as it would be impossible to get planes and fairing boards to the area once the sponsons are on. I shaped the sponsons to the desired shape which changes slowly from the tapered ends to the full-depth middle sections, primed the backs and the plank landing areas, clamped them up with polyurethane sealant behind and fastened them off with 6" x 6g copper nails right through the sheer clamps, roved over 3/4" roves. Well actually I've only done the Port side, still working on the Starboard side fairing. You can see in the photos below I've plugged the fastening holes in the planking and put a coat of primer on the faired areas. Next I've got four more planks to go on the raised deck section.
0 Comments
Leave a Reply. |
AuthorIan Smith, Boatbuilder (ret'd) Archives
January 2024
Categories |
 RSS Feed
