|
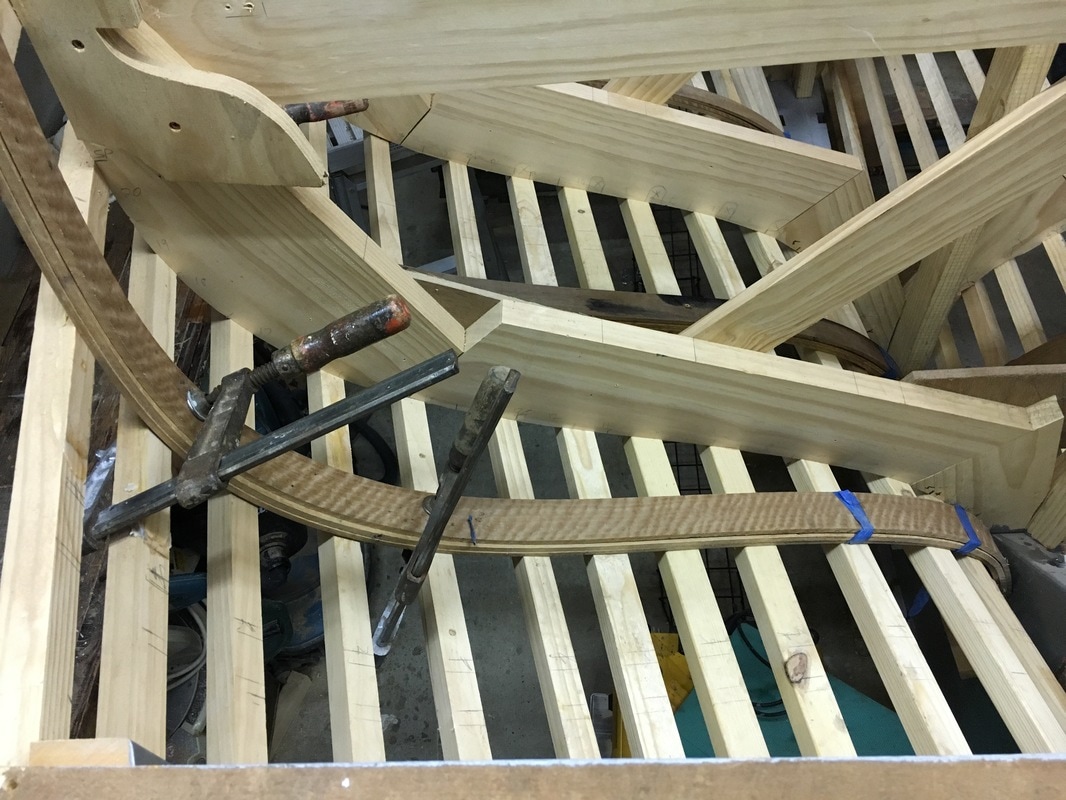
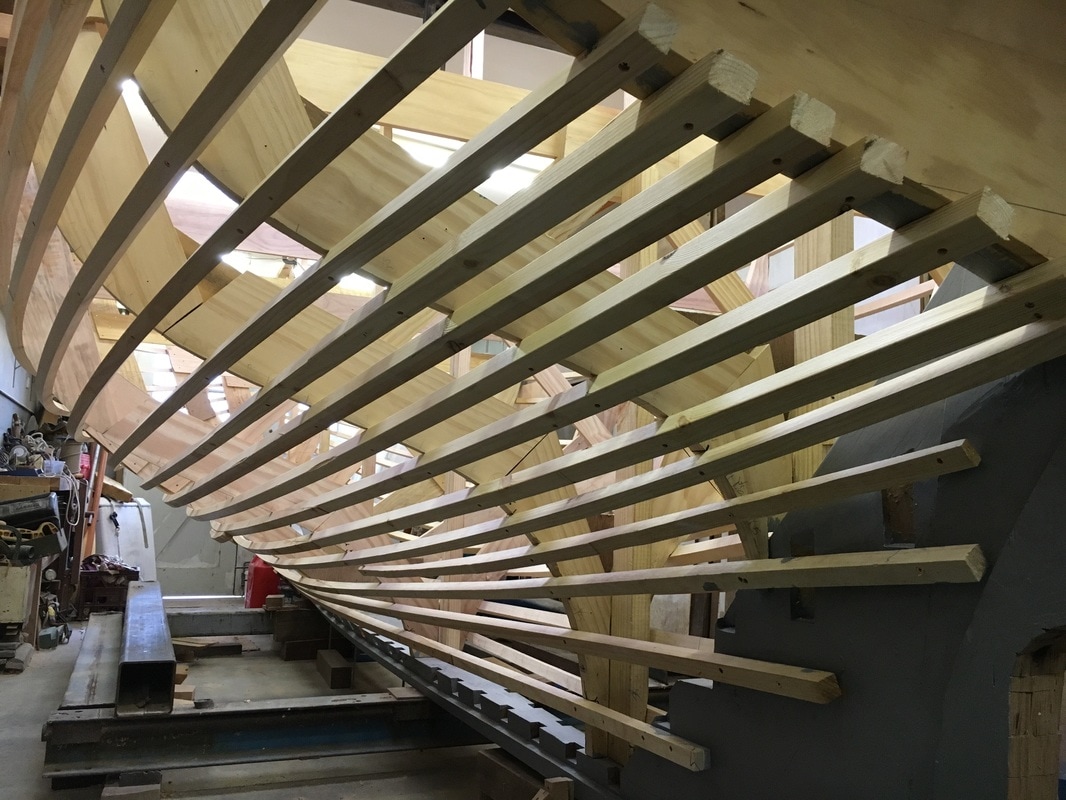
Having had no trouble ordering the Spotted Gum for the keel I had almost finished the ribbands before I went to order the rib stock. Unfortunately the mill was unable to supply it. After doing the rounds with other boatbuilders, I found a source but there will be a few weeks delay. So I decided to start with some dry Spotted Gum I had in stock. The ribs are 2" x 7/8" (51mm x 22mm), bent on the flat in the Australian style. The curves in the after half of the ship would put a real strain on ribs of this size. How do I know? Partly experience but mainly the fact that the original Ranger had to have sister ribs fitted from just forward of centre because so many original ribs were broken, and the extreme curves aft have been repaired and reinforced with metal straps. Even if well-steamed timber can take a particularly tight curve, there is immense strain and distortion of the fibres, and the timber will generally give up at some stage of its life, from months to many years later. The principle I have followed successfully for several decades is to steam-bend the ribs in two or three laminations as necessary to easily take the bend, then remove them, dry them, apply epoxy glue and clamp and/or temporarily screw them back in, then remove them once the glue is cured and trim the edges before fitting them for good. I used 60mm X 7.3mm laminations to laminate the three-part ribs illustrated. The extra 9mm in width was to allow for misalignment when gluing and plenty of excess for removal when power planing off the glue dags. I had enough timber for 12 ribs. The forward-most ones took the diminishing bend so easily I will use two laminations for the next section forward, and solid ribs for the forward-most 40-45% of the boat. The only drawback is the extra time it takes to steam, glue and trim them.
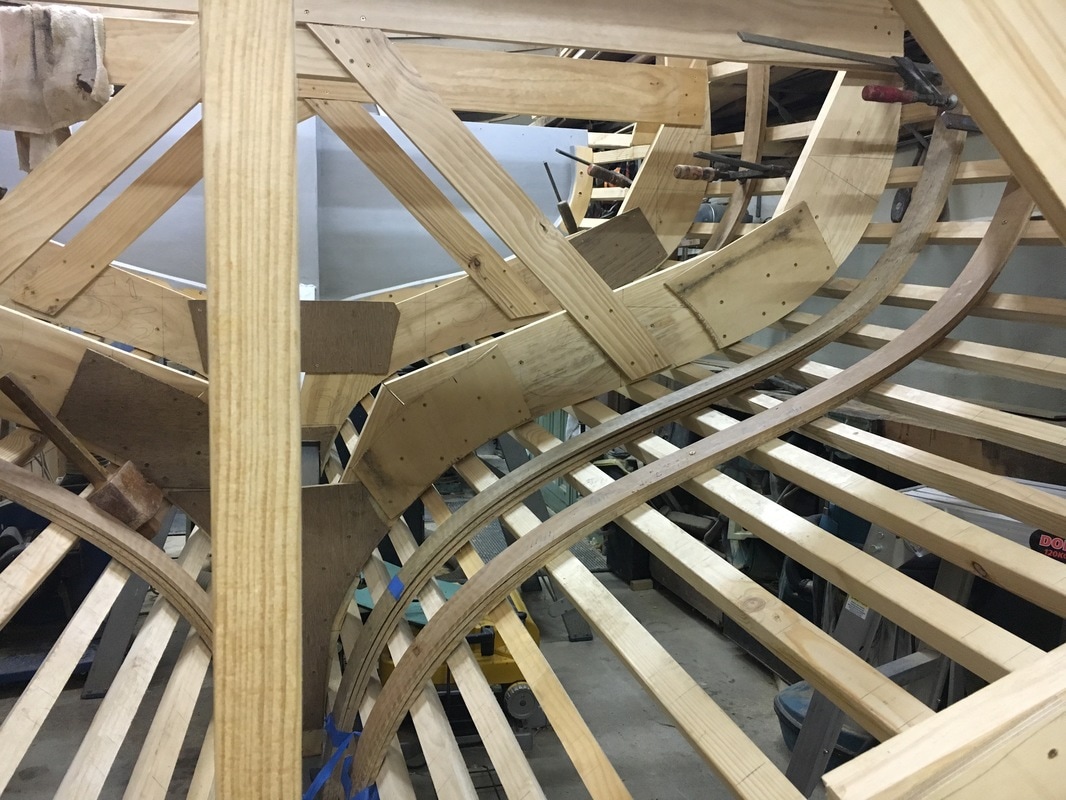
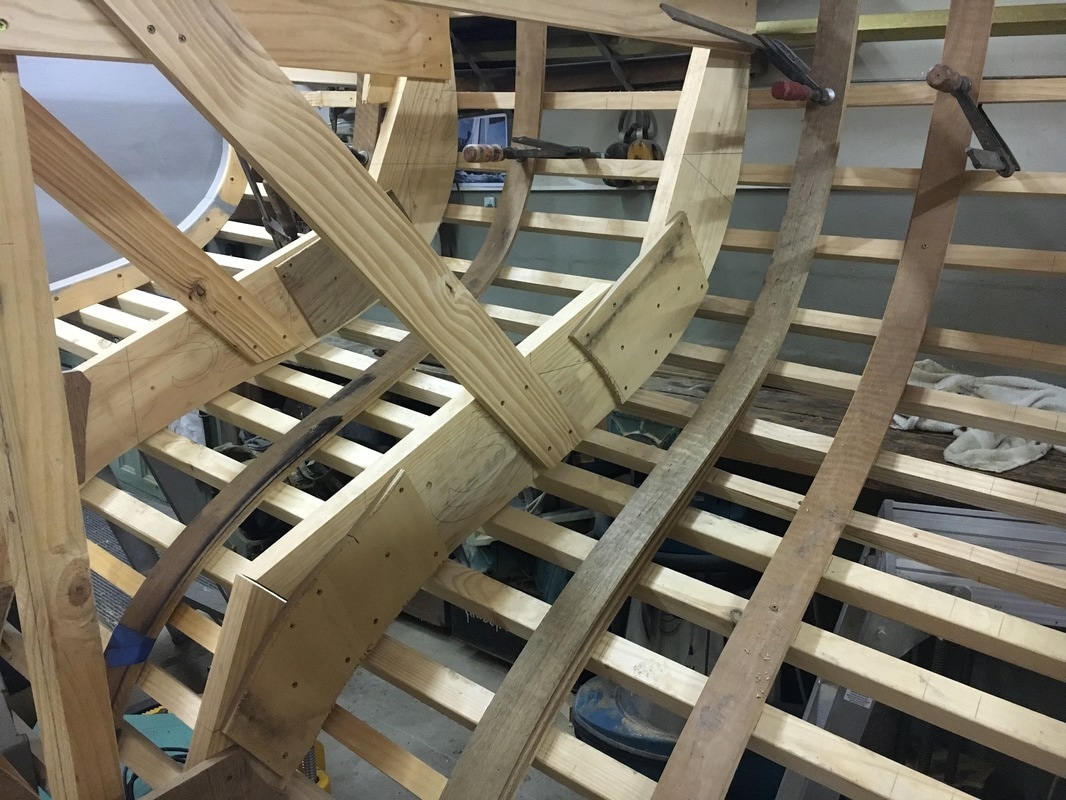
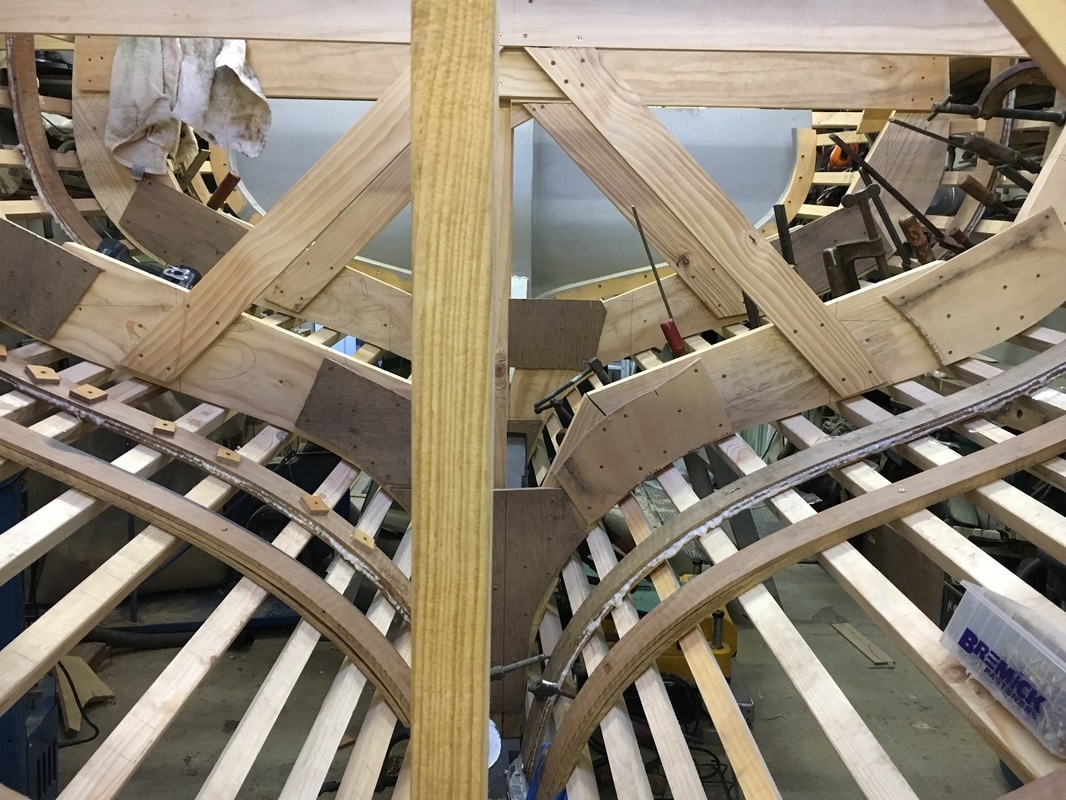
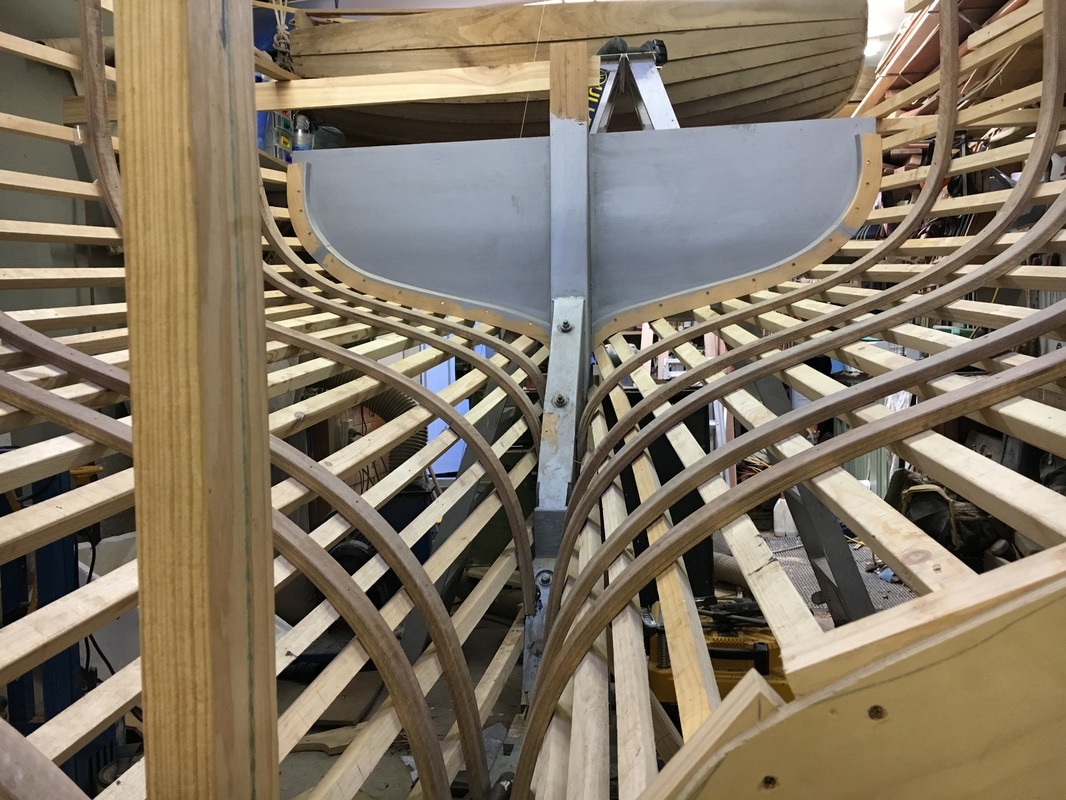
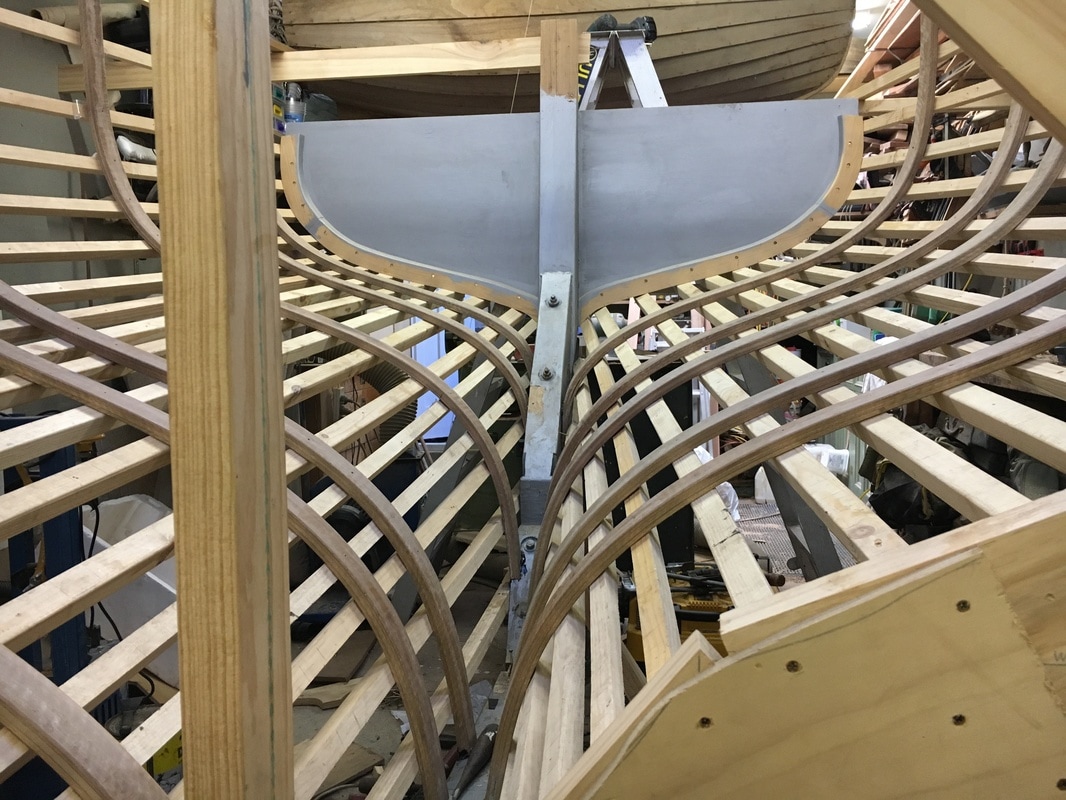
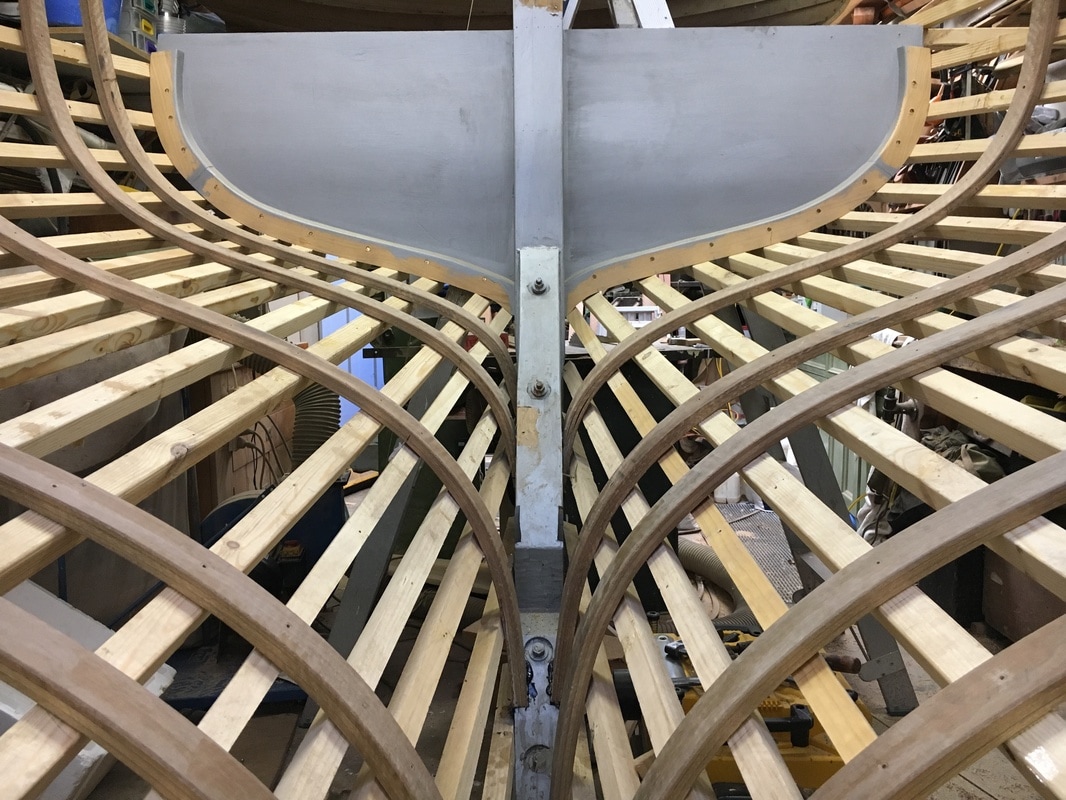
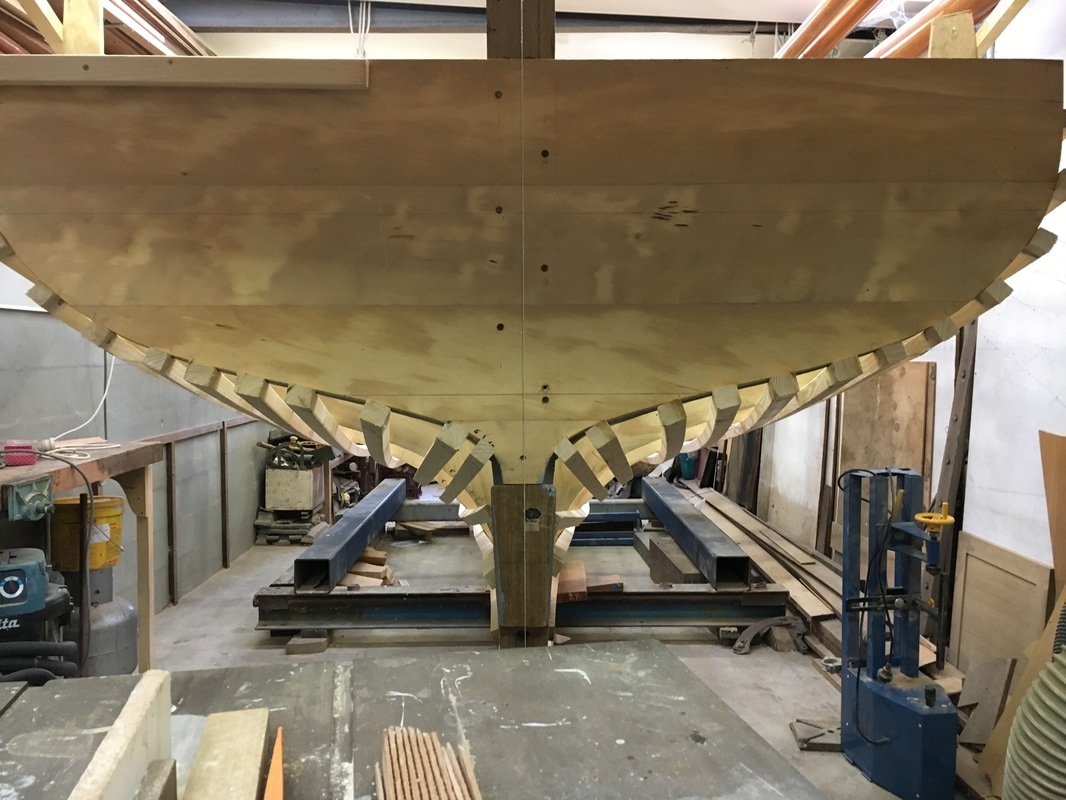
The gaps you can see in the last few photos are where the two aft moulds have been removed, because they were in the way of where several ribs will go. Each of these finished ribs is fastened from the outside through the ribbands and the whole structure in the neighbourhood is quite stiff.
0 Comments
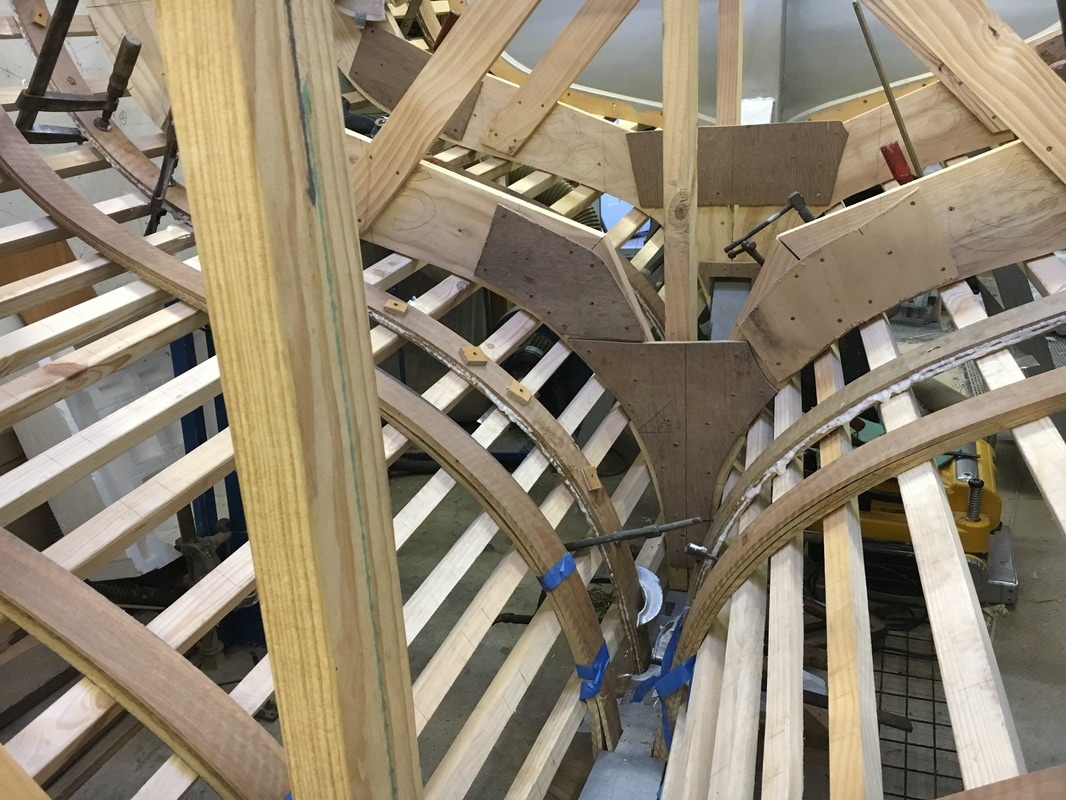
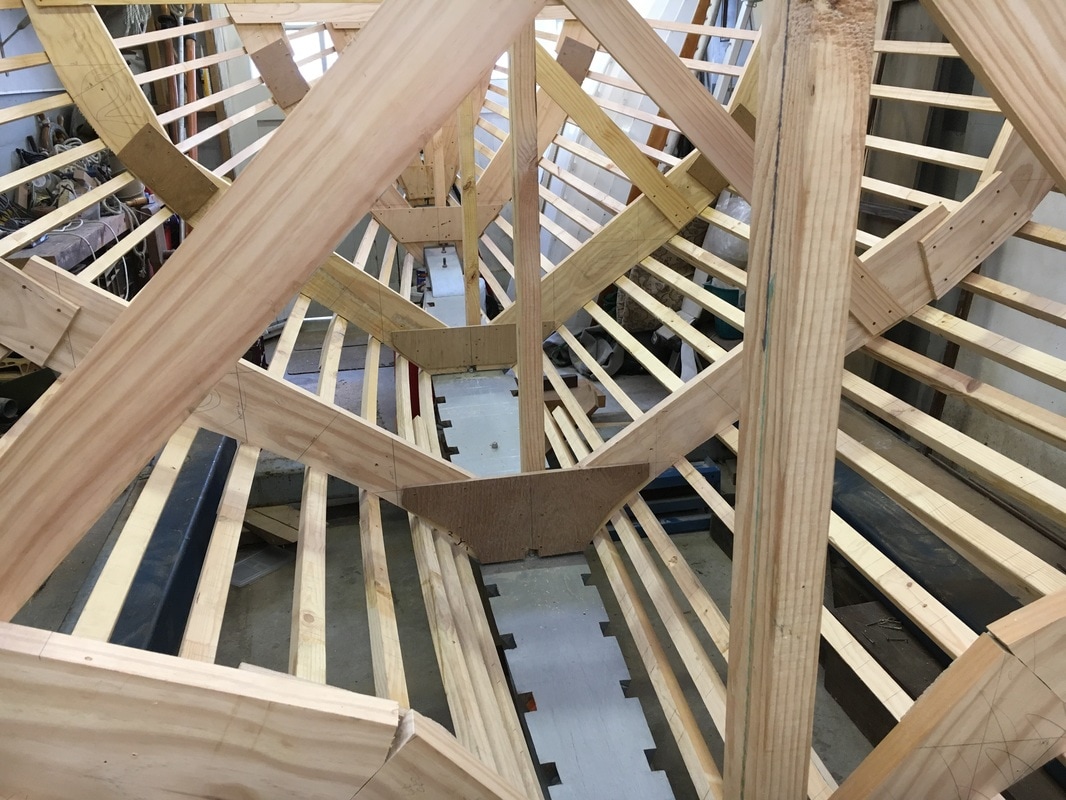
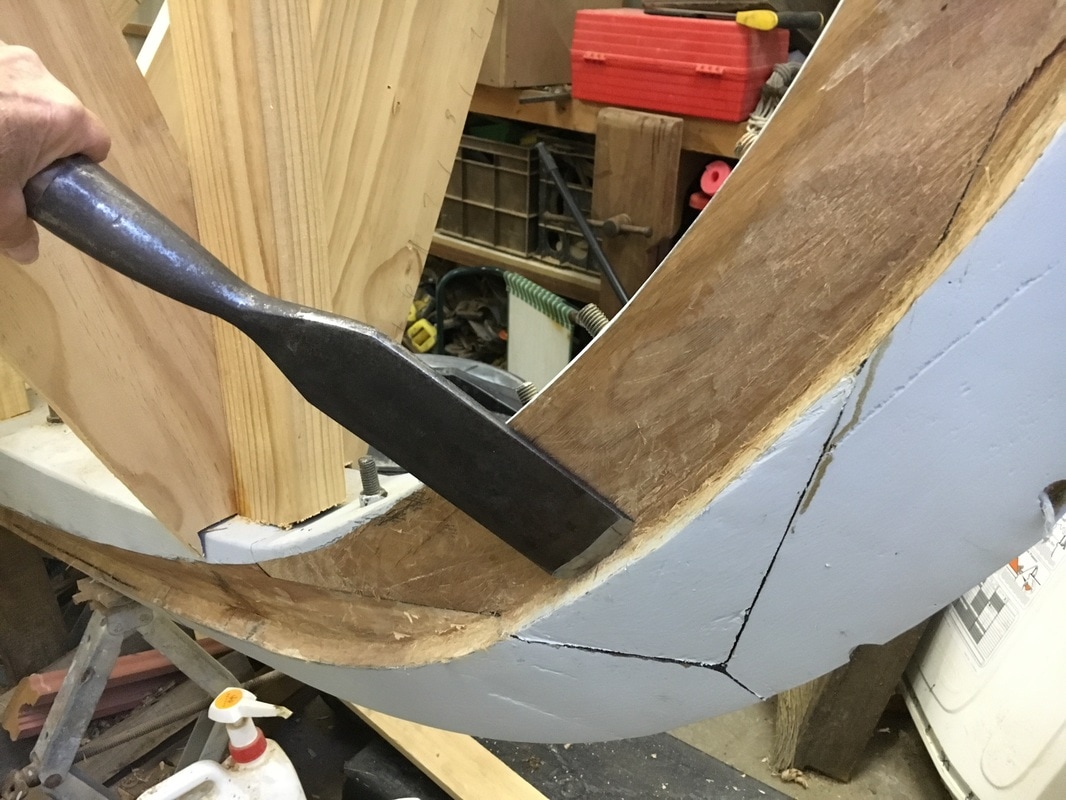
With all of the moulds set up I faired in the rabbet from the stem all along the keel, leaving a little wood there for fine tuning once planking begins. A big slick was the best tool for this on the stem, several different sizes of rabbet planes helped to fair it in along the keel. Next I scarfed together a 25' length of 3" x 3/4" Radiata Pine and used it to work out the plank lineout. This was done by clamping this batten around the moulds without any edge set to determine how a straight plank would lie in different positions, and working out how much shape in each plank I could allow knowing that most of my Huon Pine plank stock is between 4" and 6" wide. Then I scarfed together lengths of 32x32mm Radiata Pine to make the temporary ribbands, and fitted them to the moulds with chipboard screws closely following the plank lineout marks, but fitting two ribbands for every three planks. The transom is 1 1/2" Huon Pine, but I added a transom frame of 1" Crows Ash, a tough and durable timber now rare but once called Australan Teak, which came from my mate Matt Balkwell clearing out his father's shed (Ron Balkwell is an elderly, greatly respected boatbuilder). This will make great screw-holding for the stern plank ends. I measured out where I wanted the frame heels to go (7 1/2" centres) and chiselled out pockets in the keel for the frame heels. Using a very thin batten 2" wide, I laid out the positions of each rib and pencilled these on every ribband so I can locate the ribs accurately when bending them in. |
AuthorIan Smith, Boatbuilder (ret'd) Archives
January 2024
Categories |
 RSS Feed
