|
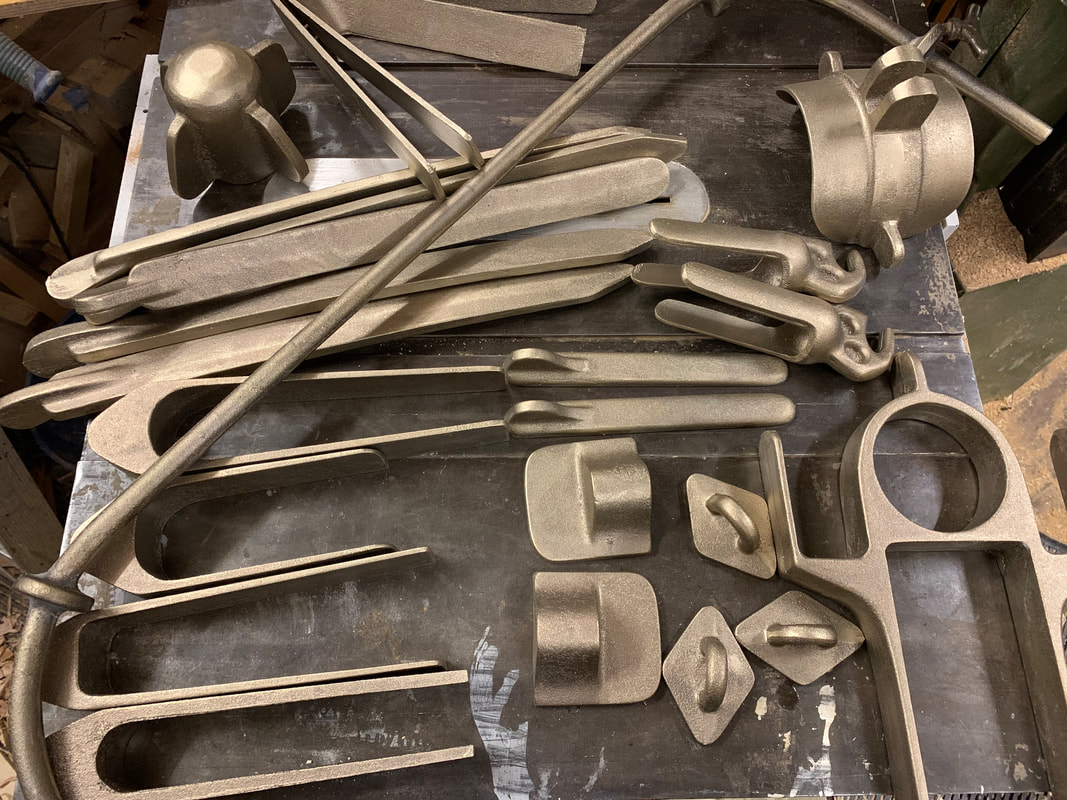
I've begun to polish the bronze castings I received from Central Foundry and I've combined some footage of this with footage from earlier in the year when I made the patterns for the castings. Any traditional boat like this one needs bronze fittings. Many parts are available off the shelf, as we've seen with the portholes (Episode 15) and the seacocks (Episode 16), but many need to be custom made. if you do the pattern making and polishing yourself this can be relatively cheap. Here's how I did it. https://youtu.be/zv4movx_roU
0 Comments
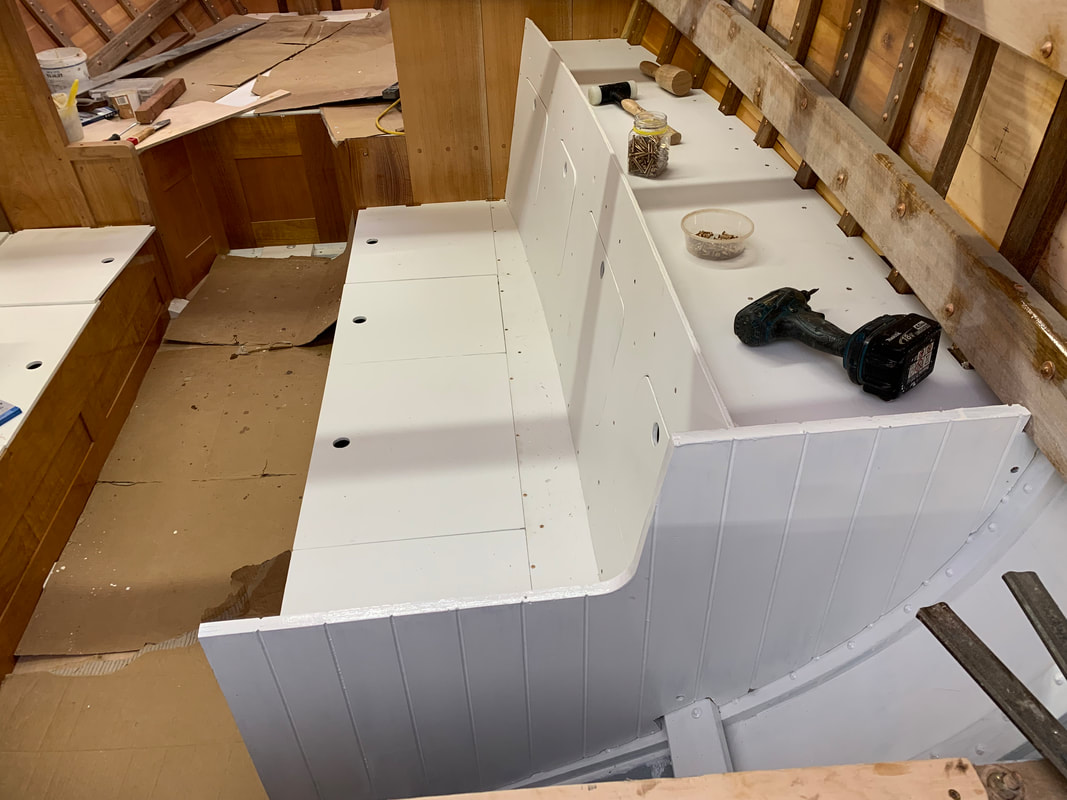
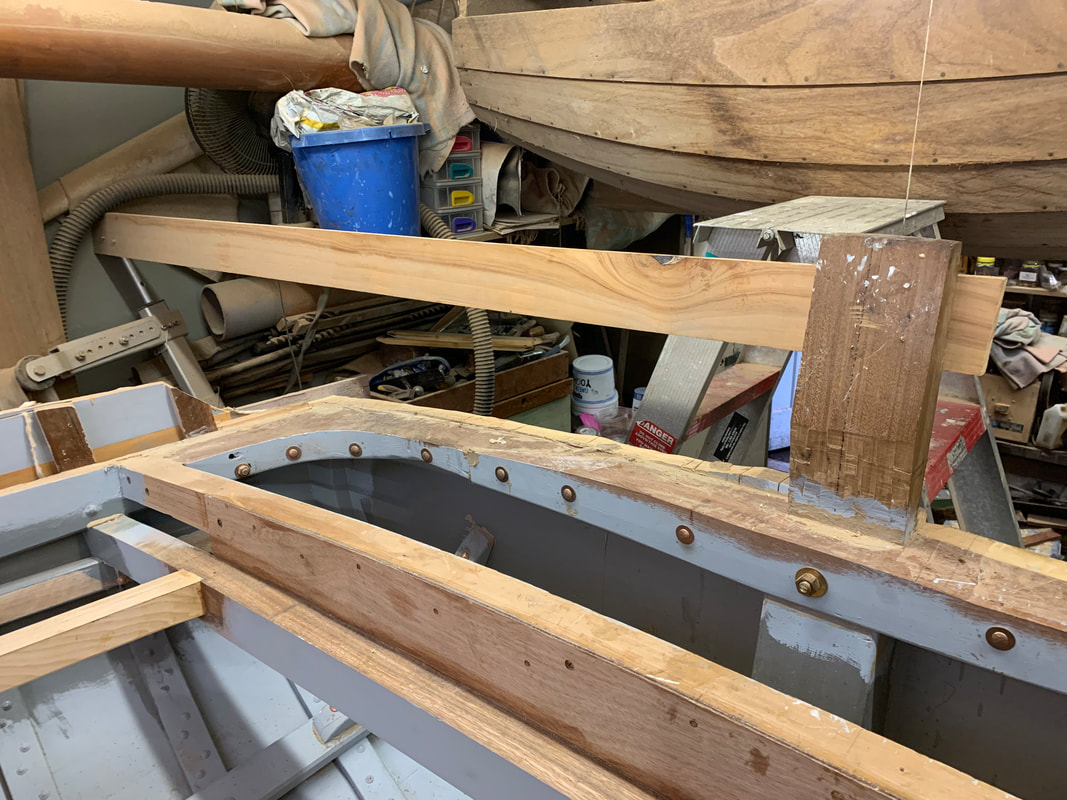
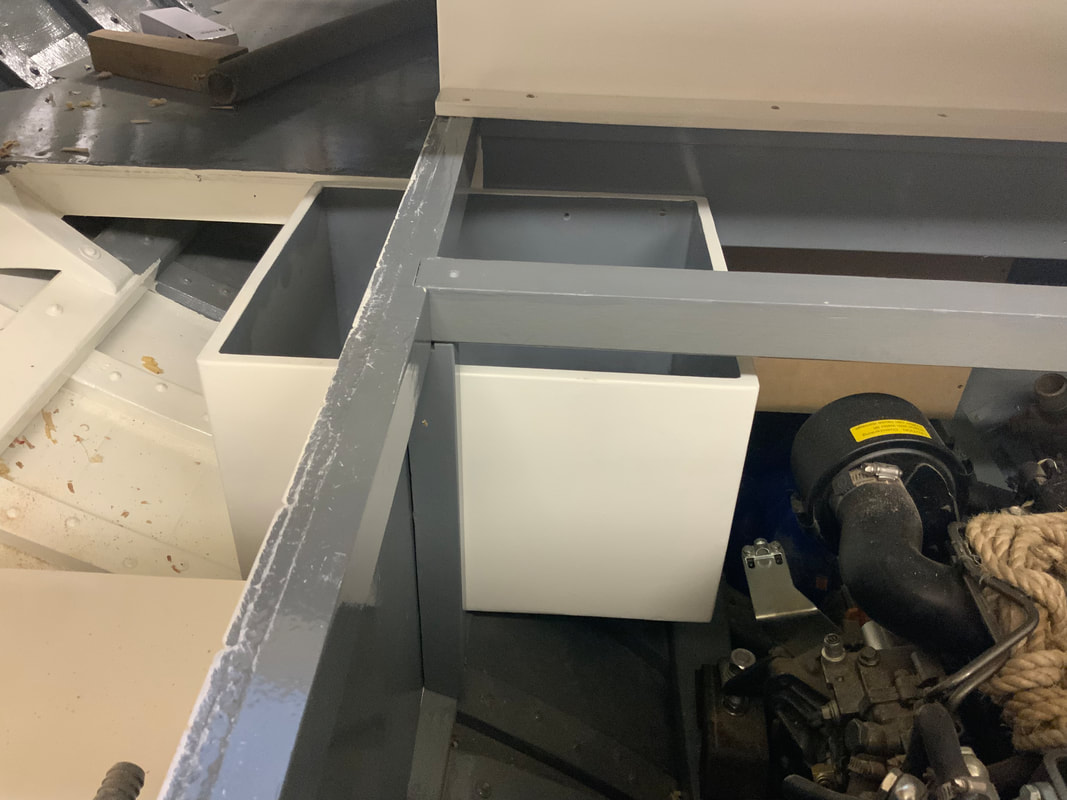
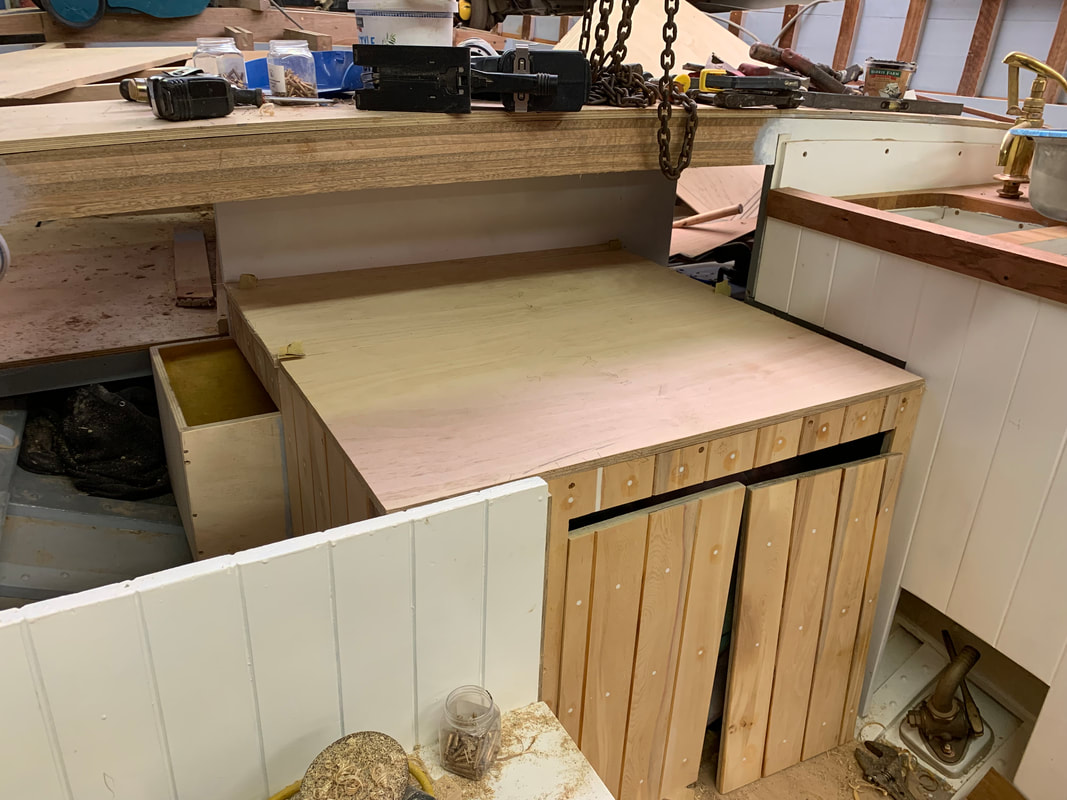
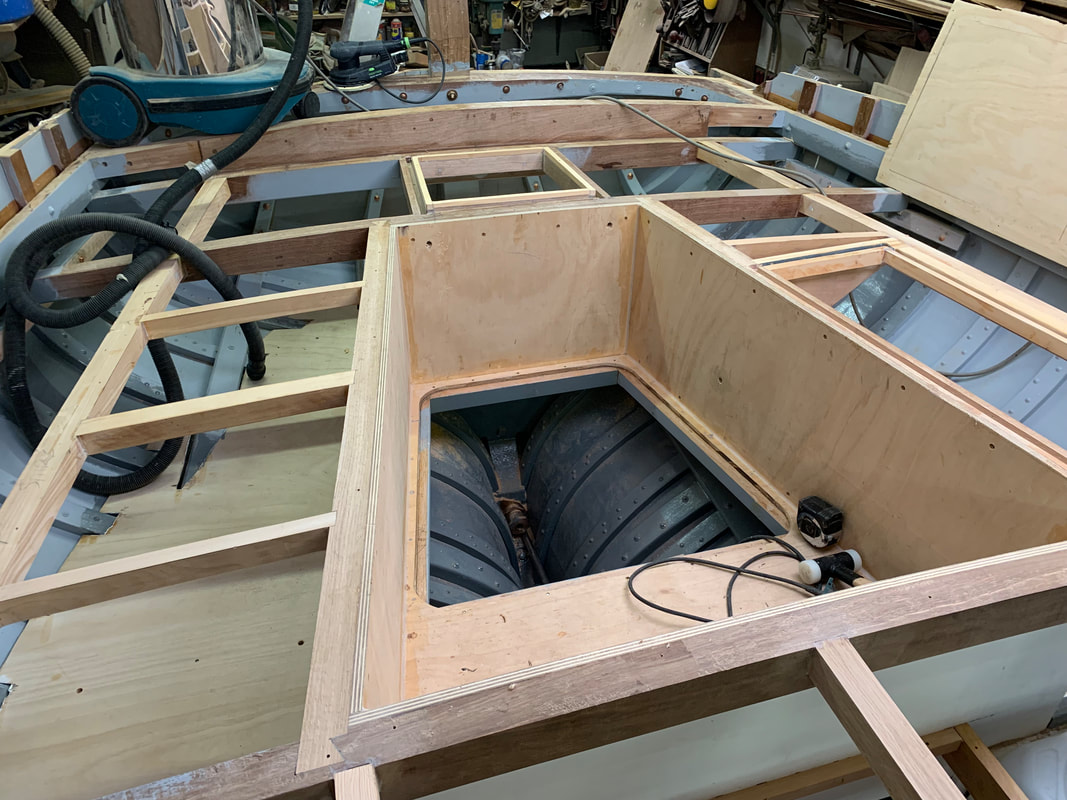
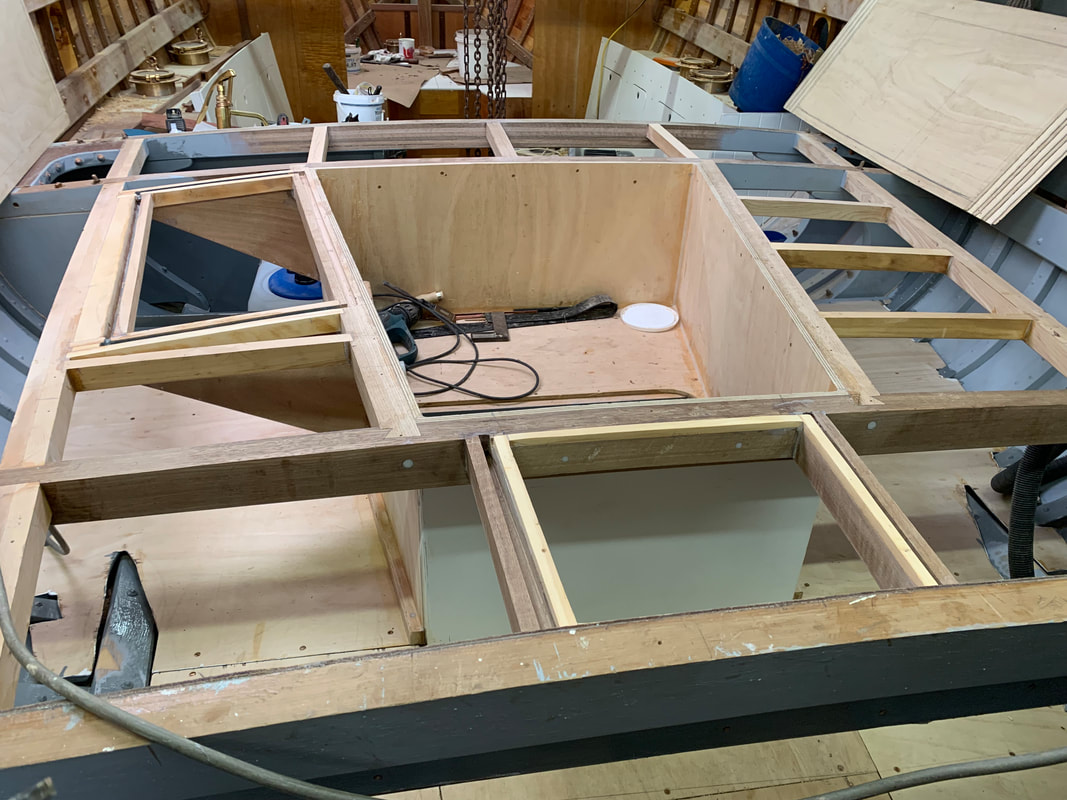
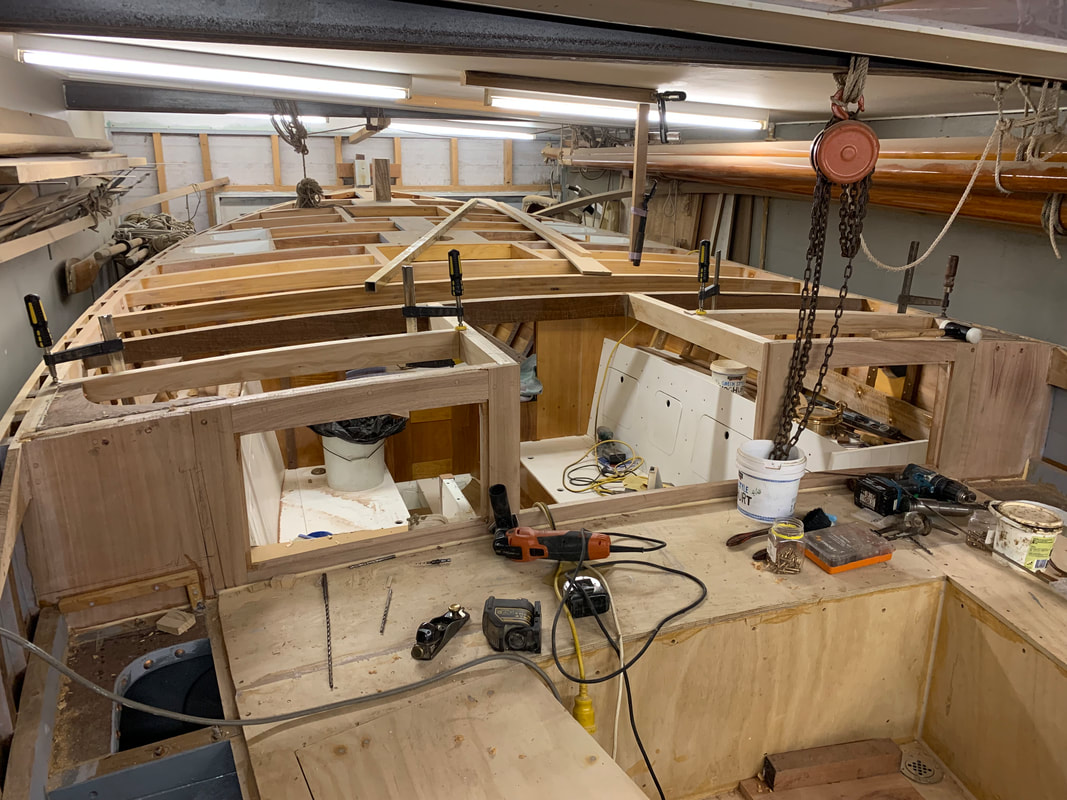
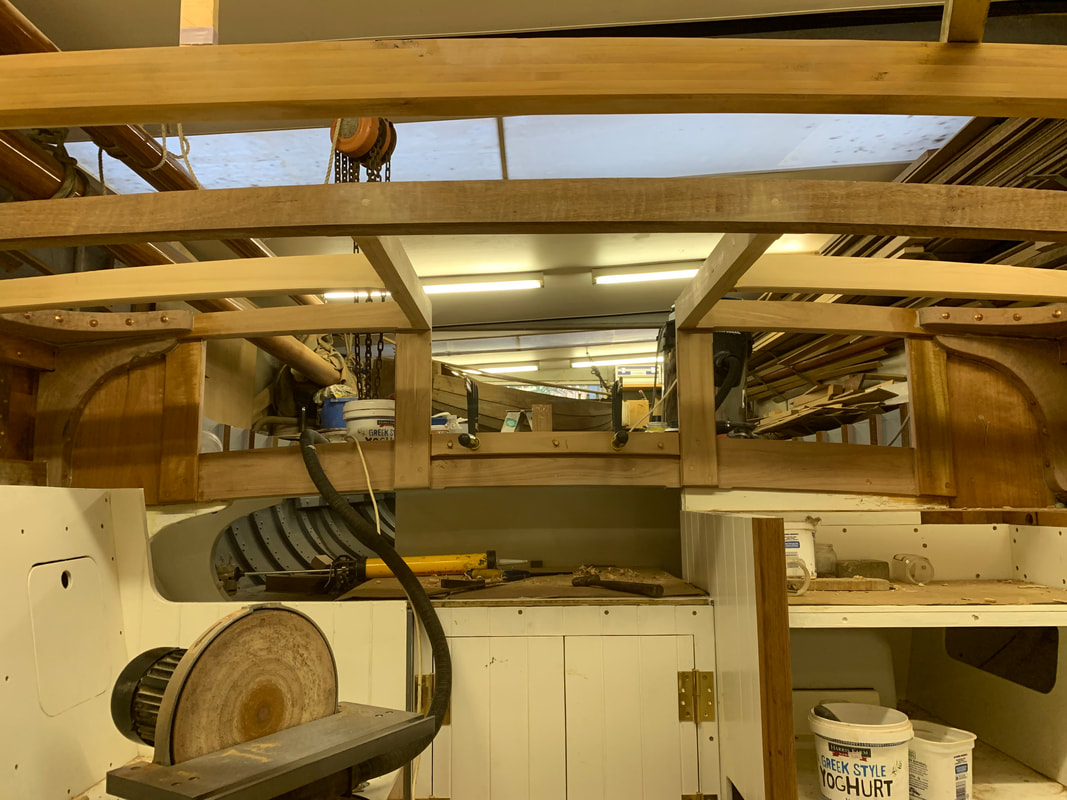
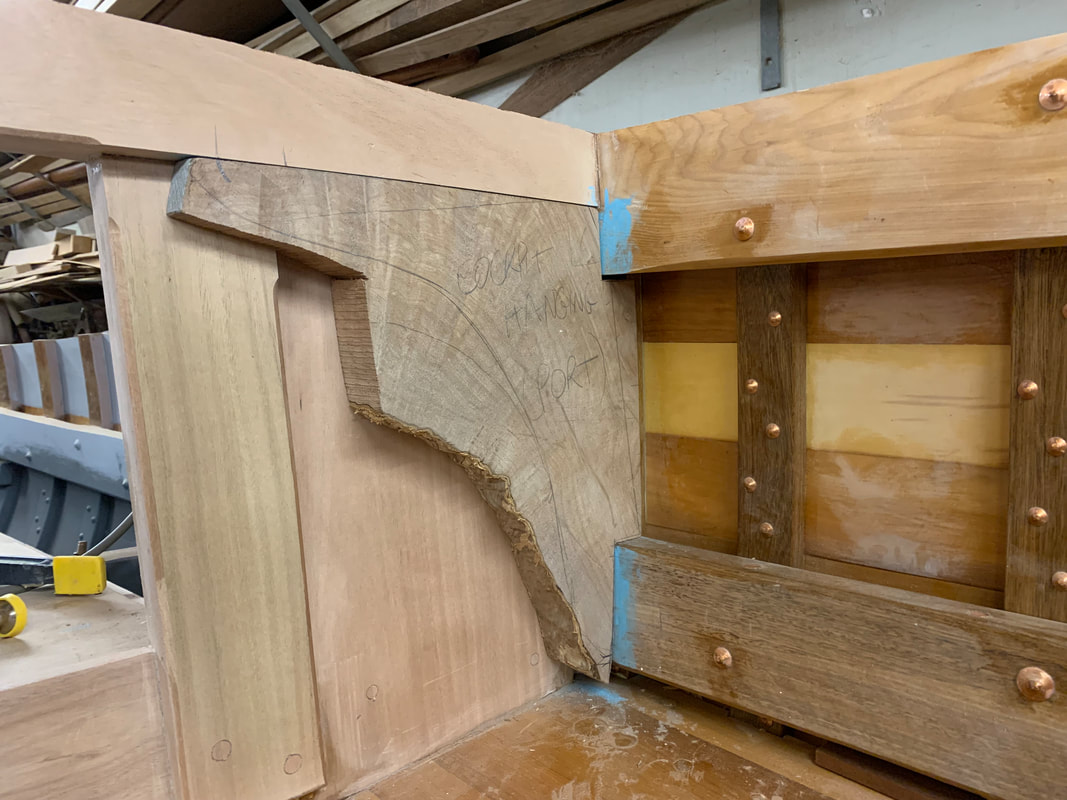
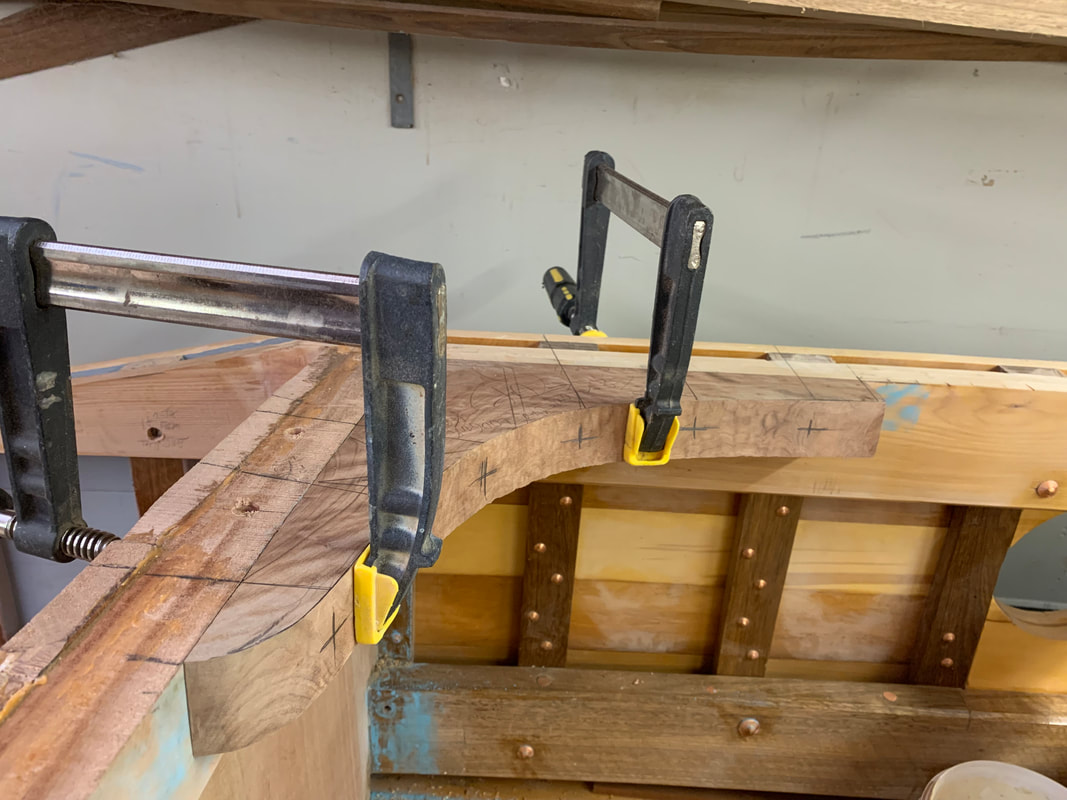
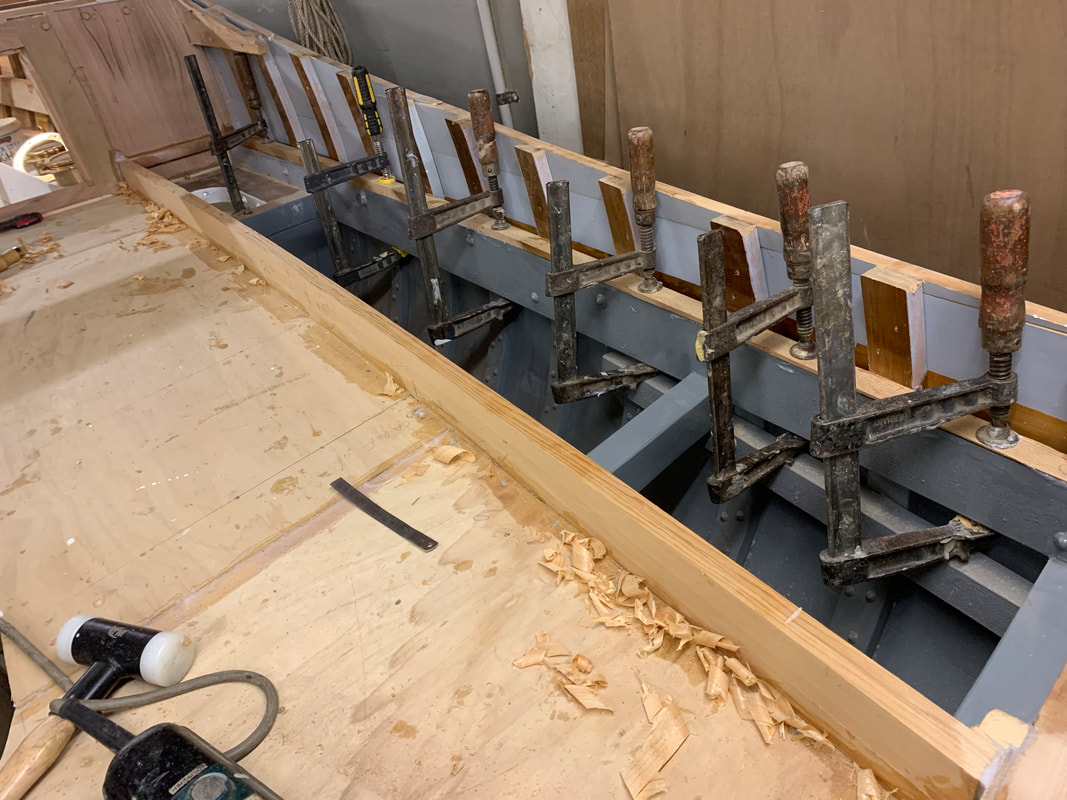
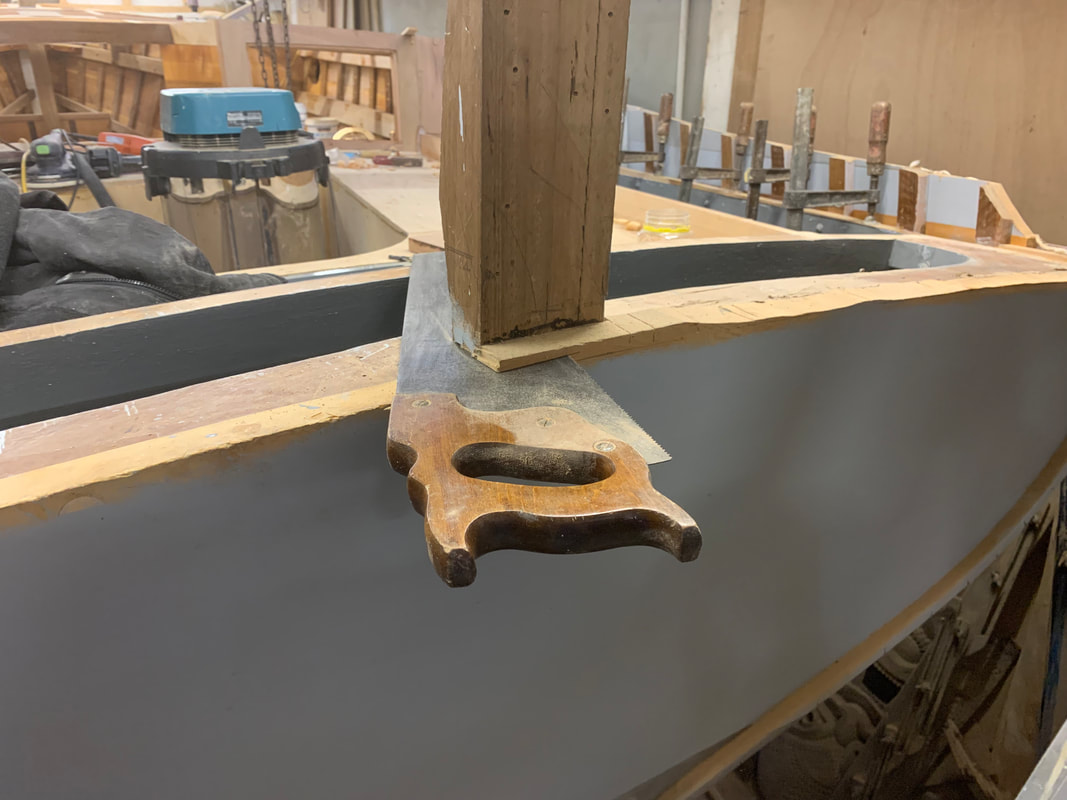
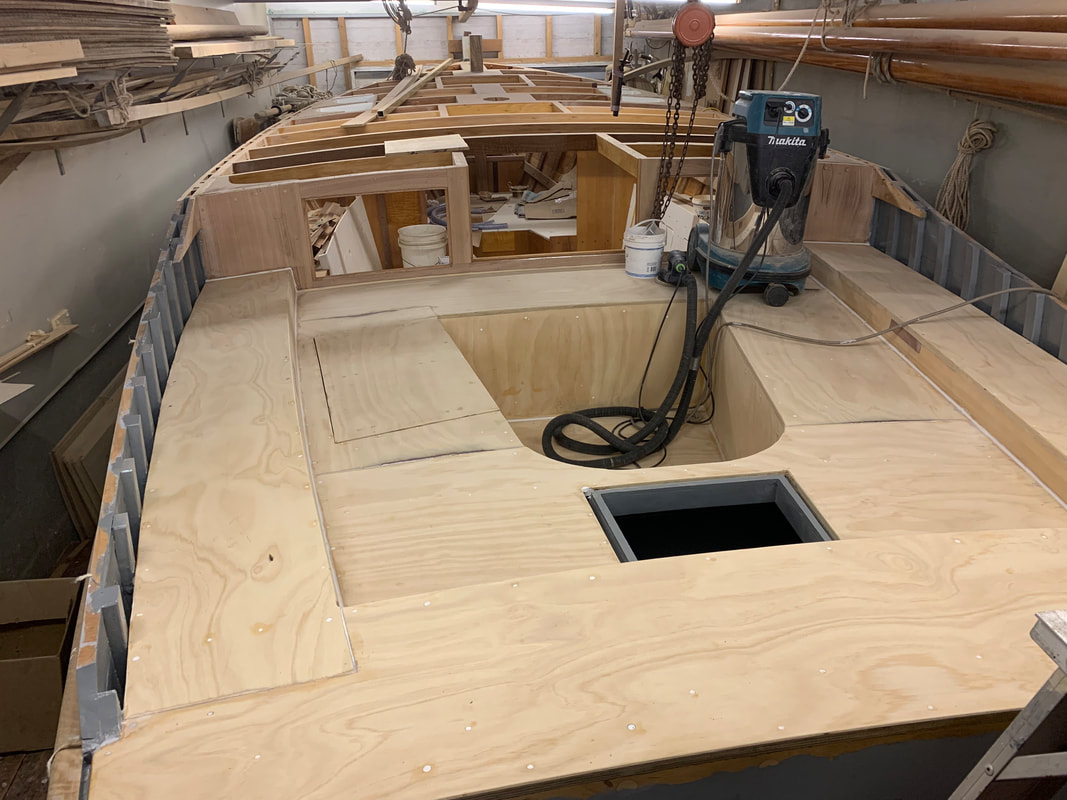
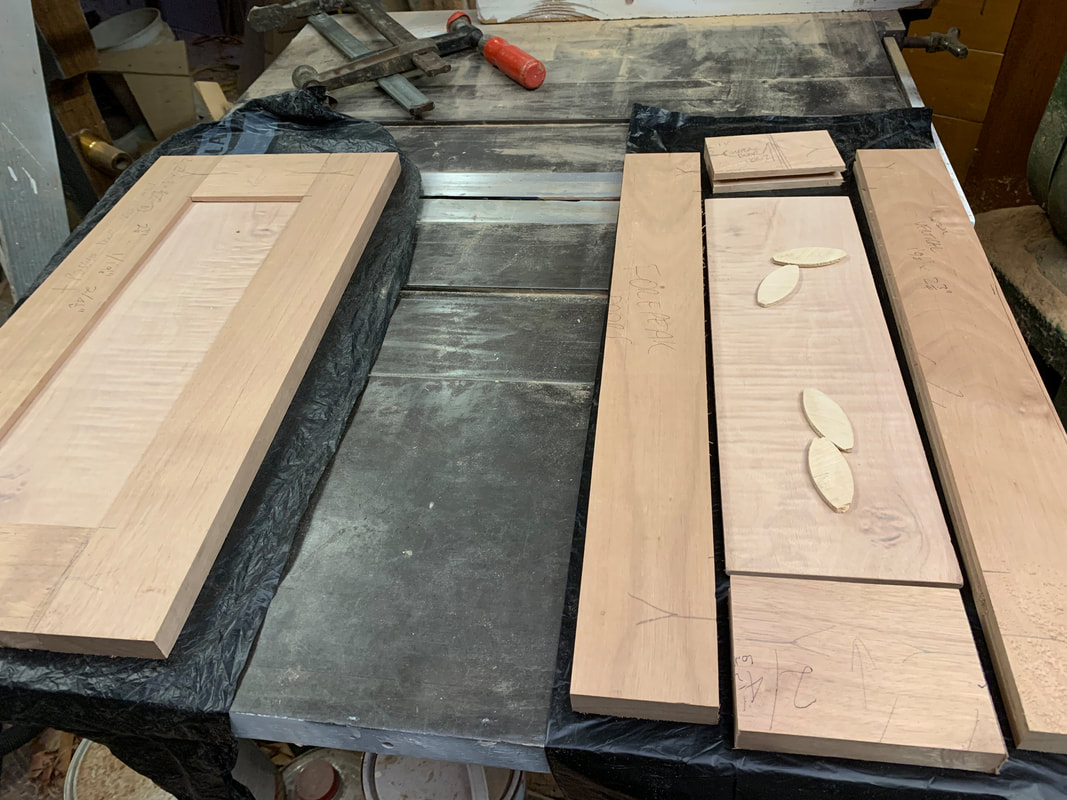
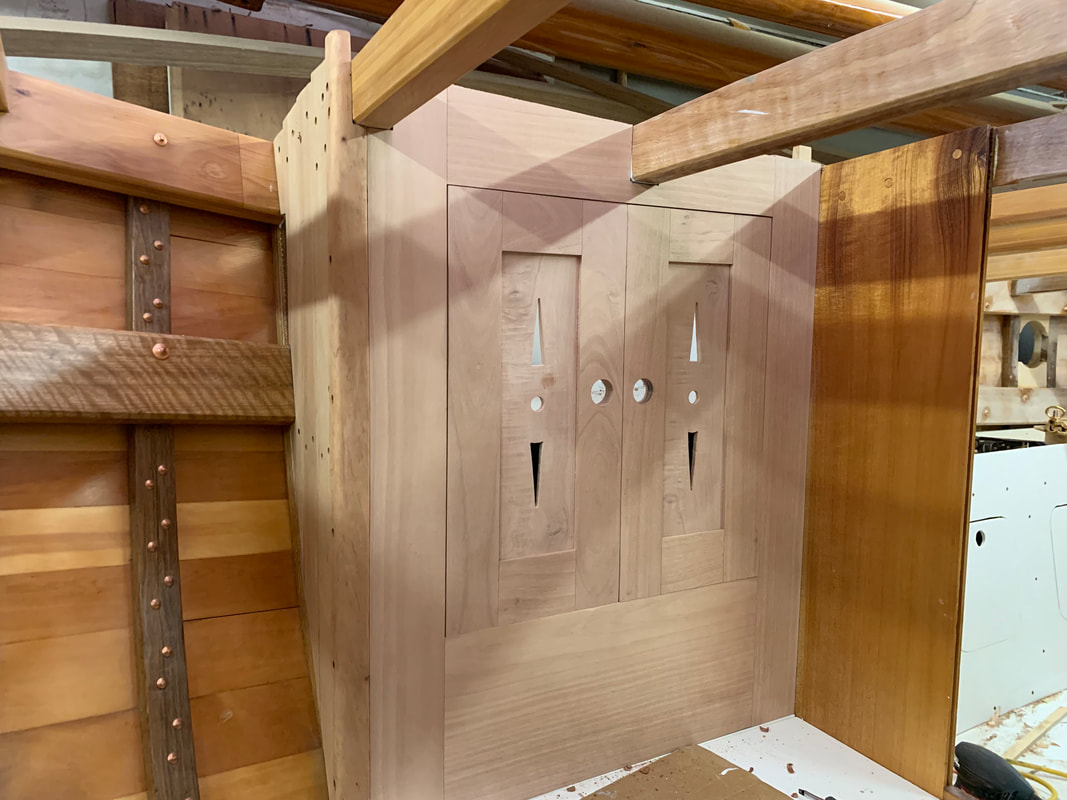
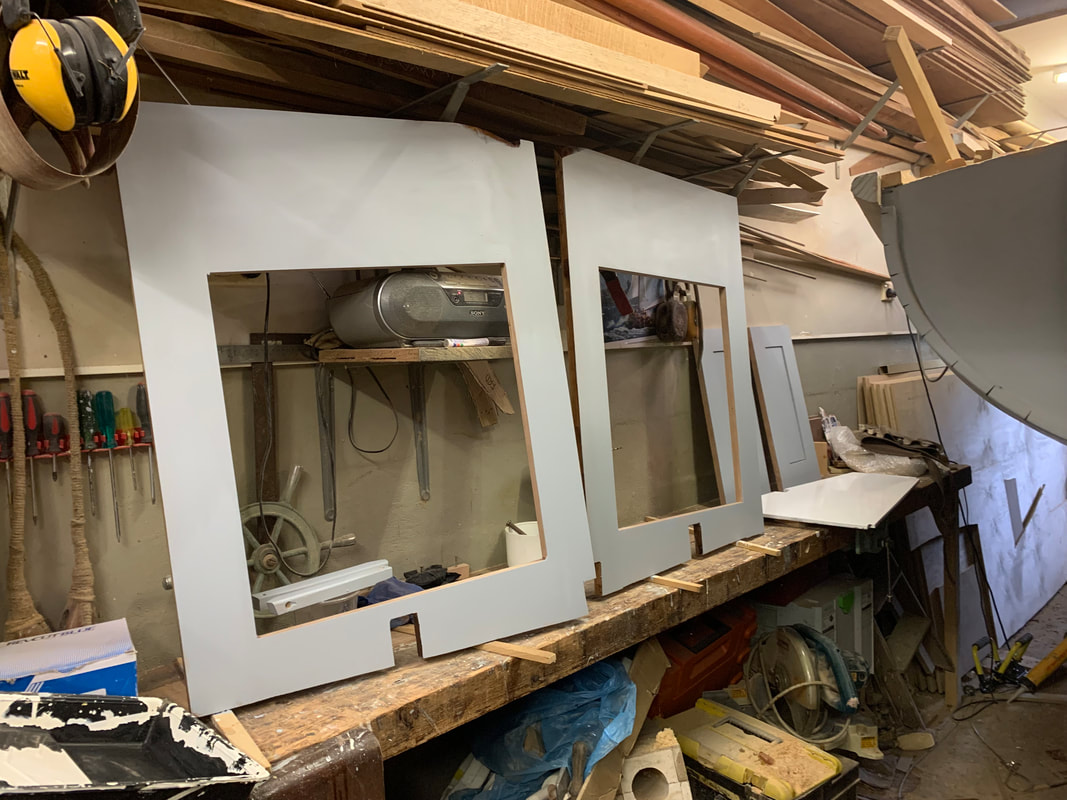
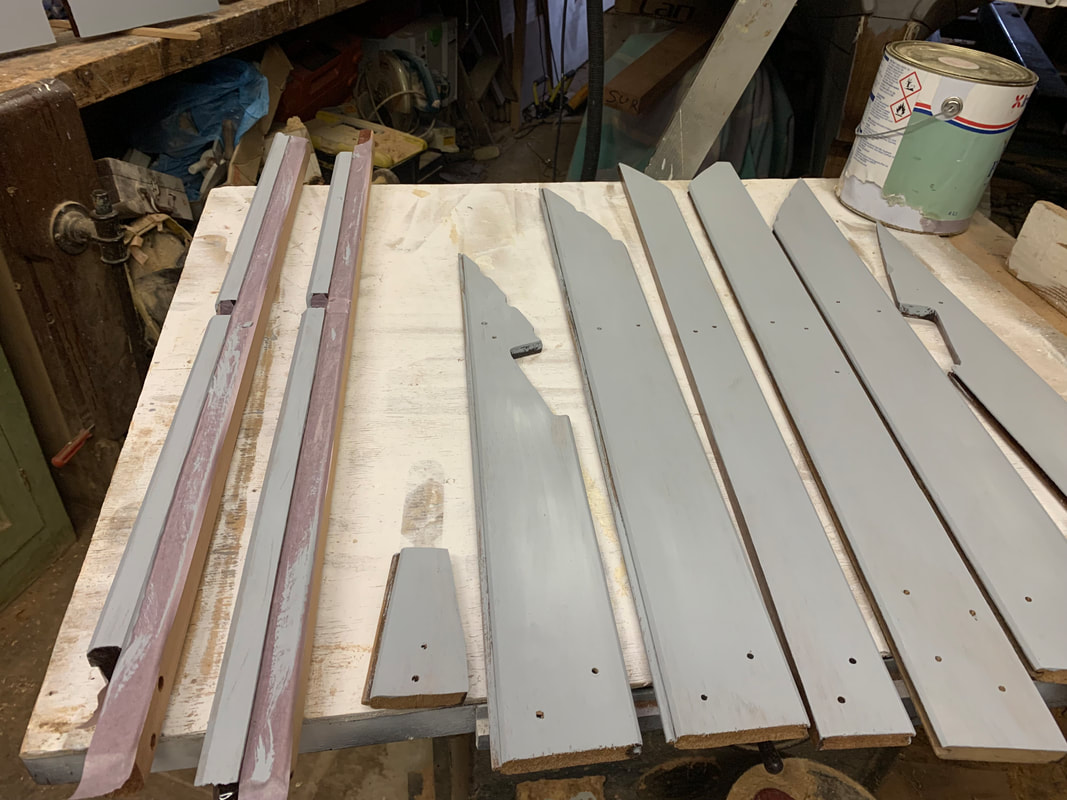
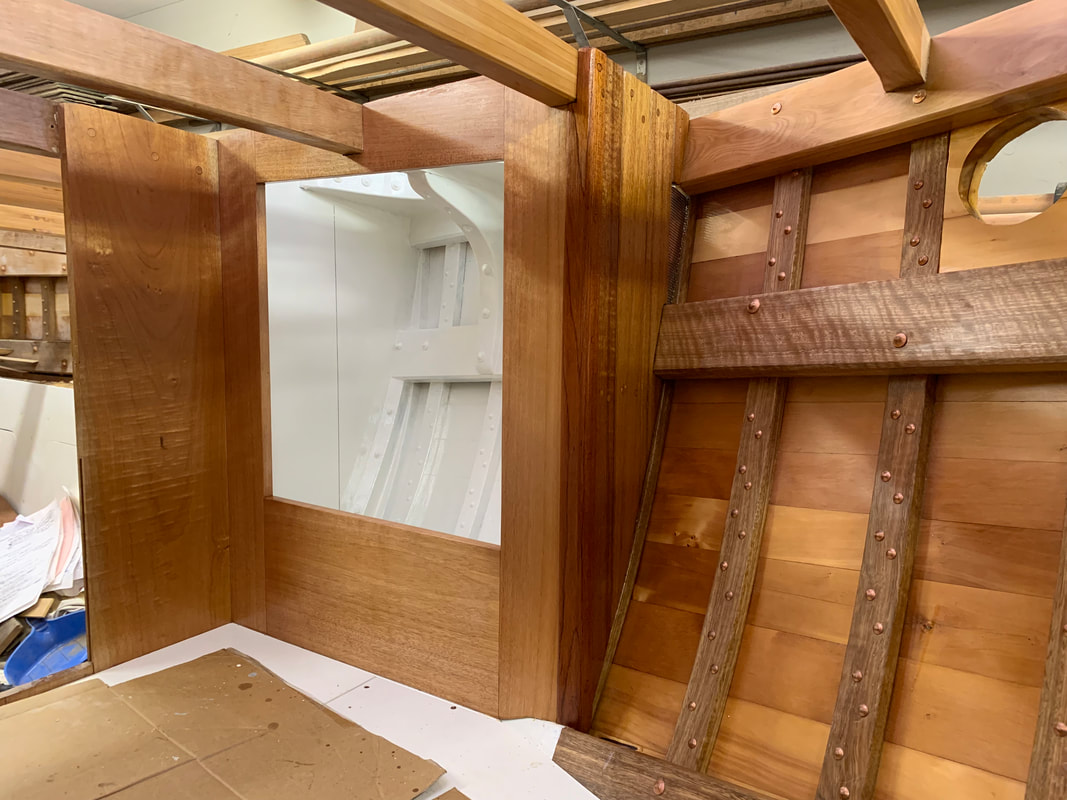
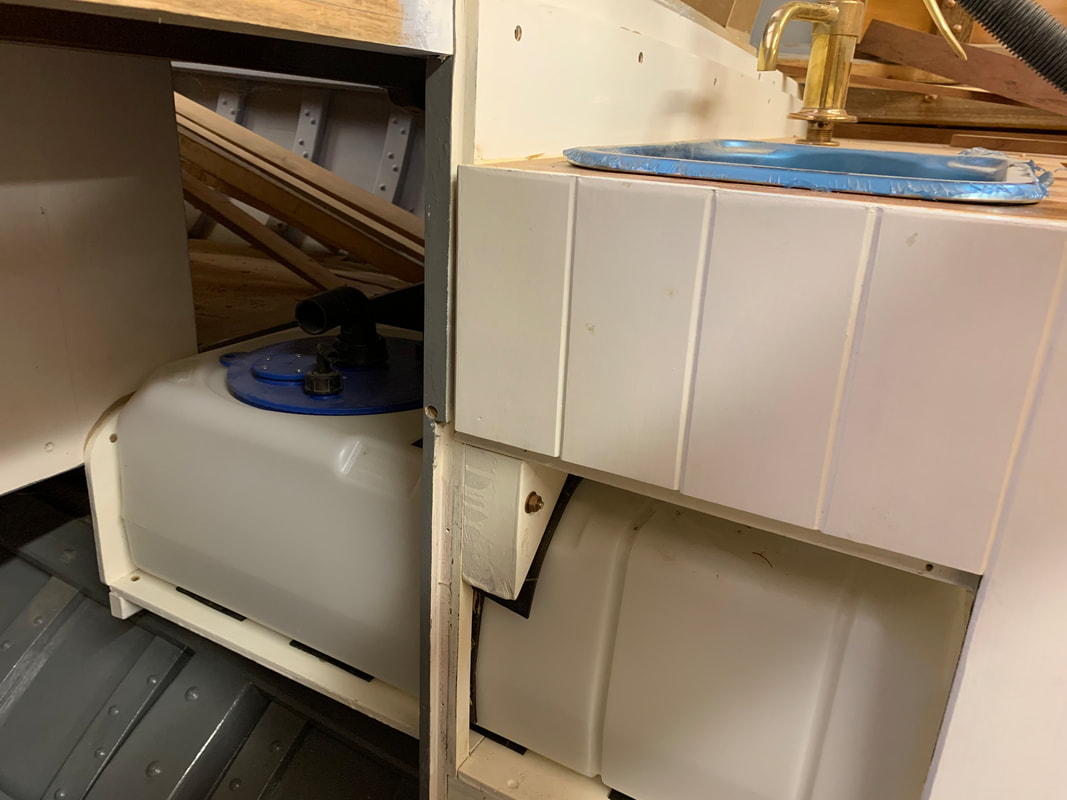
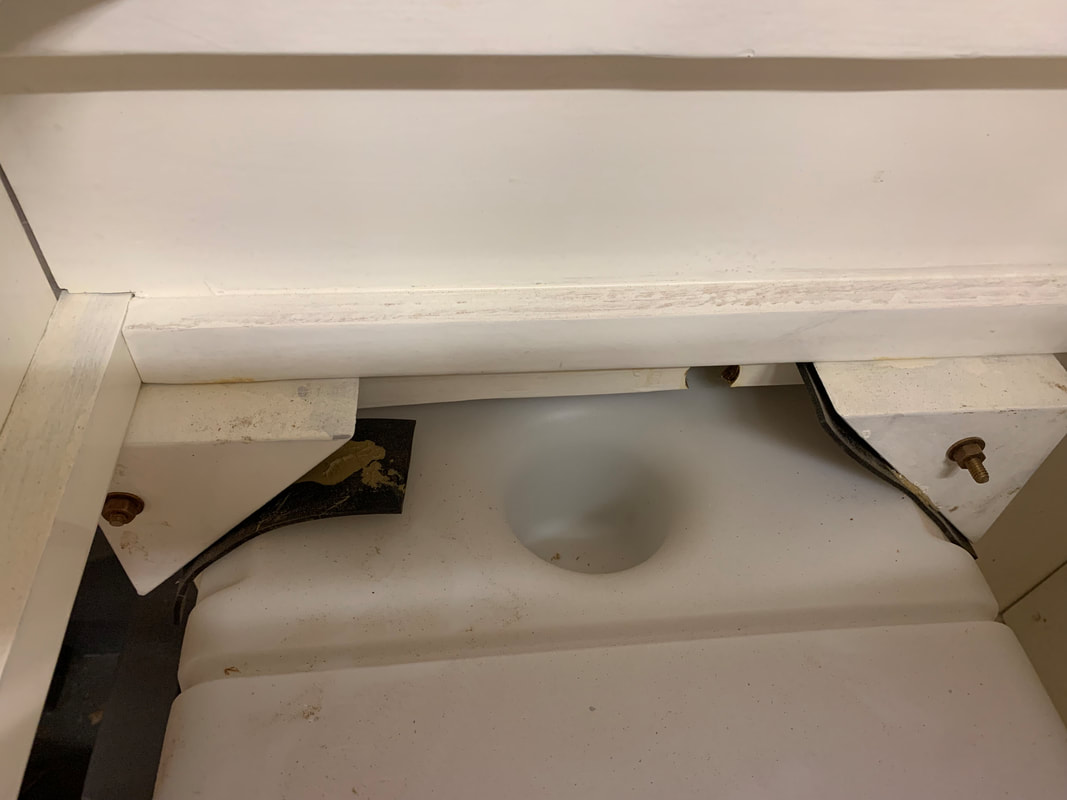
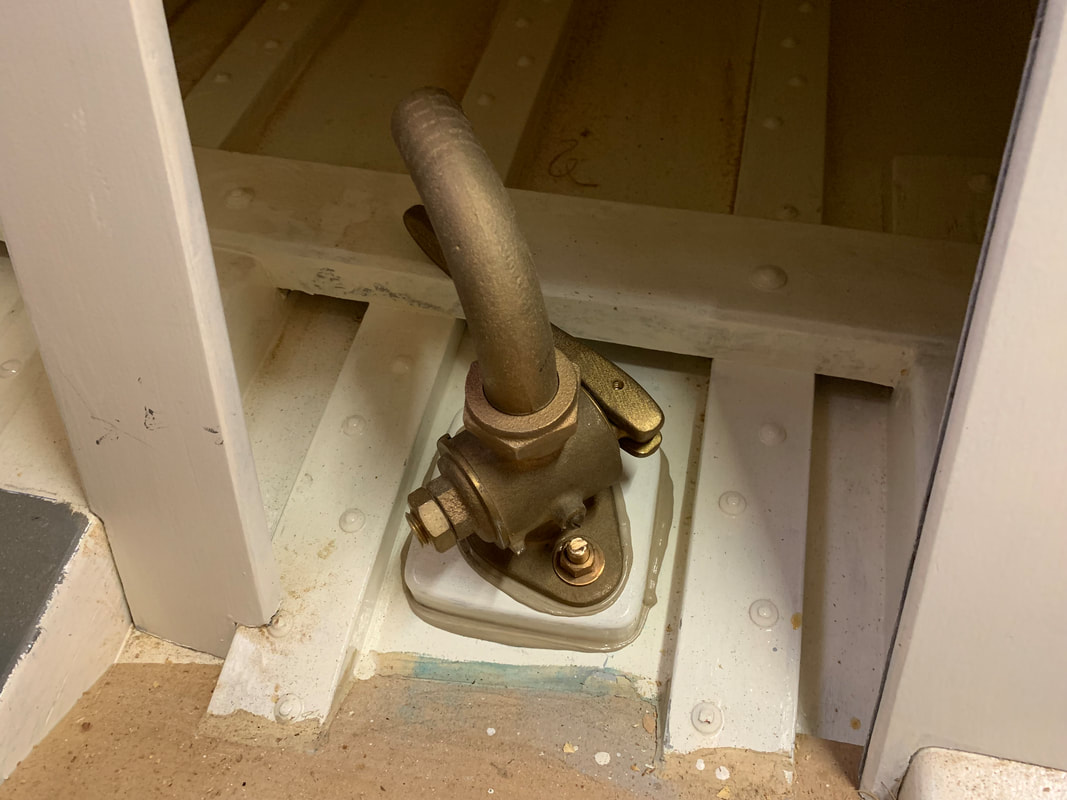
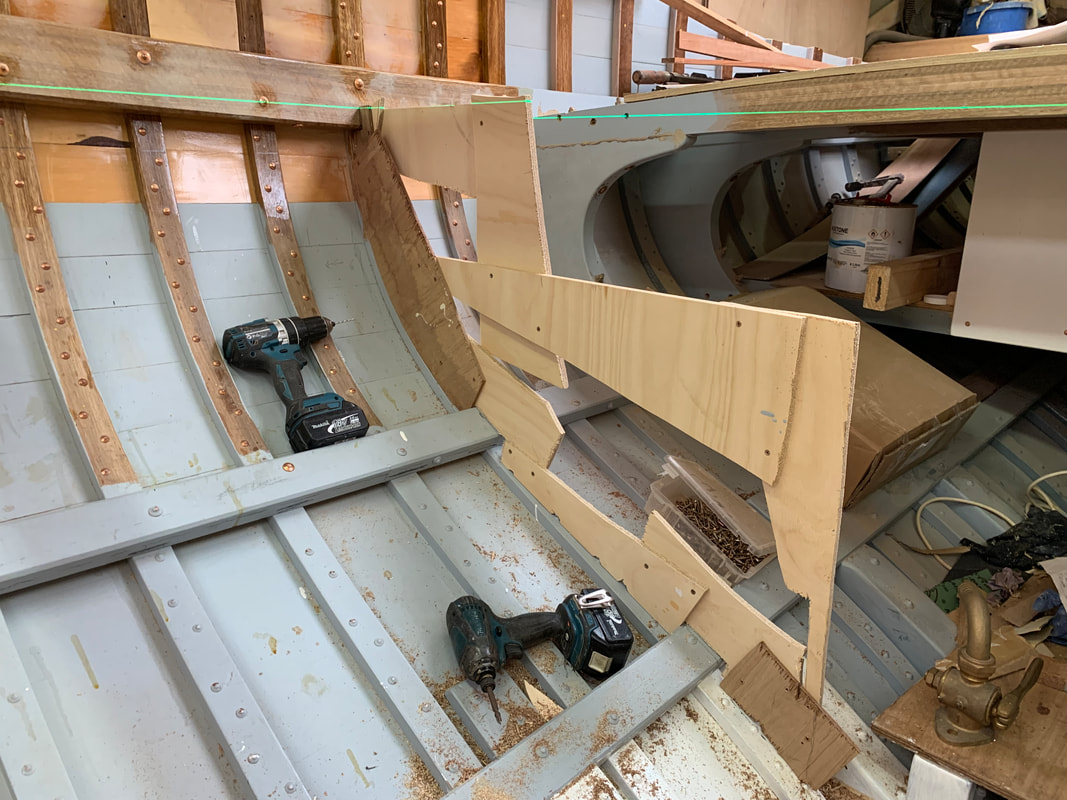
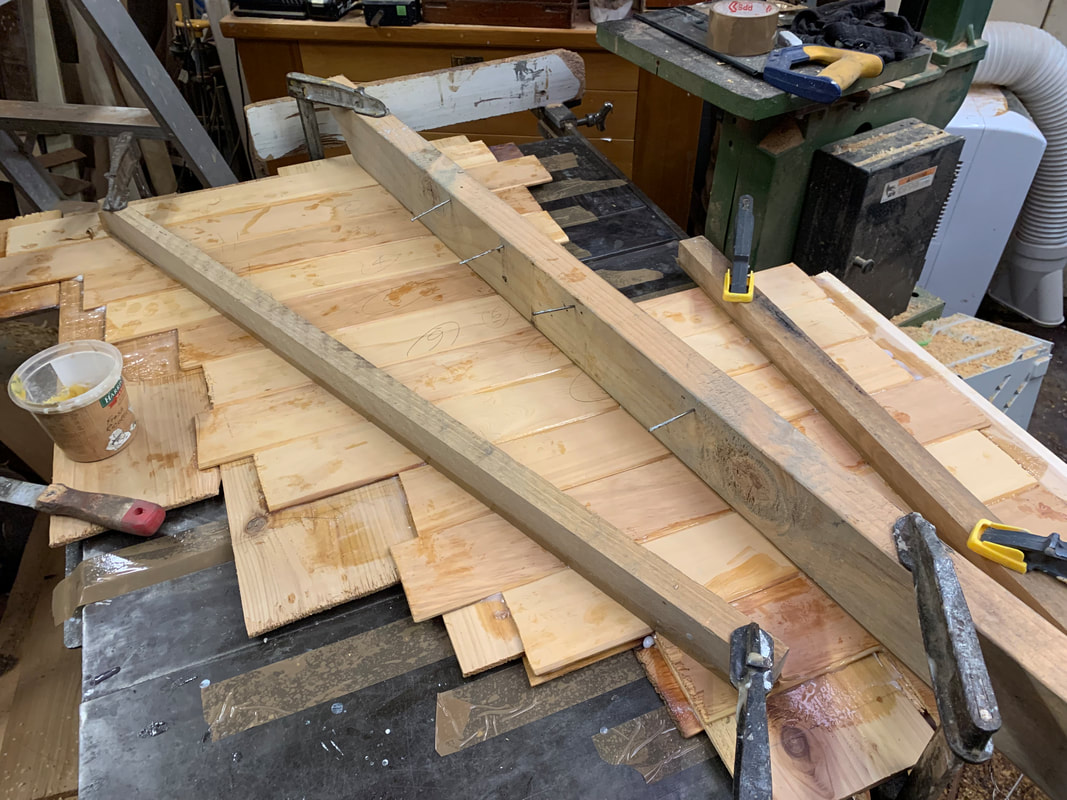
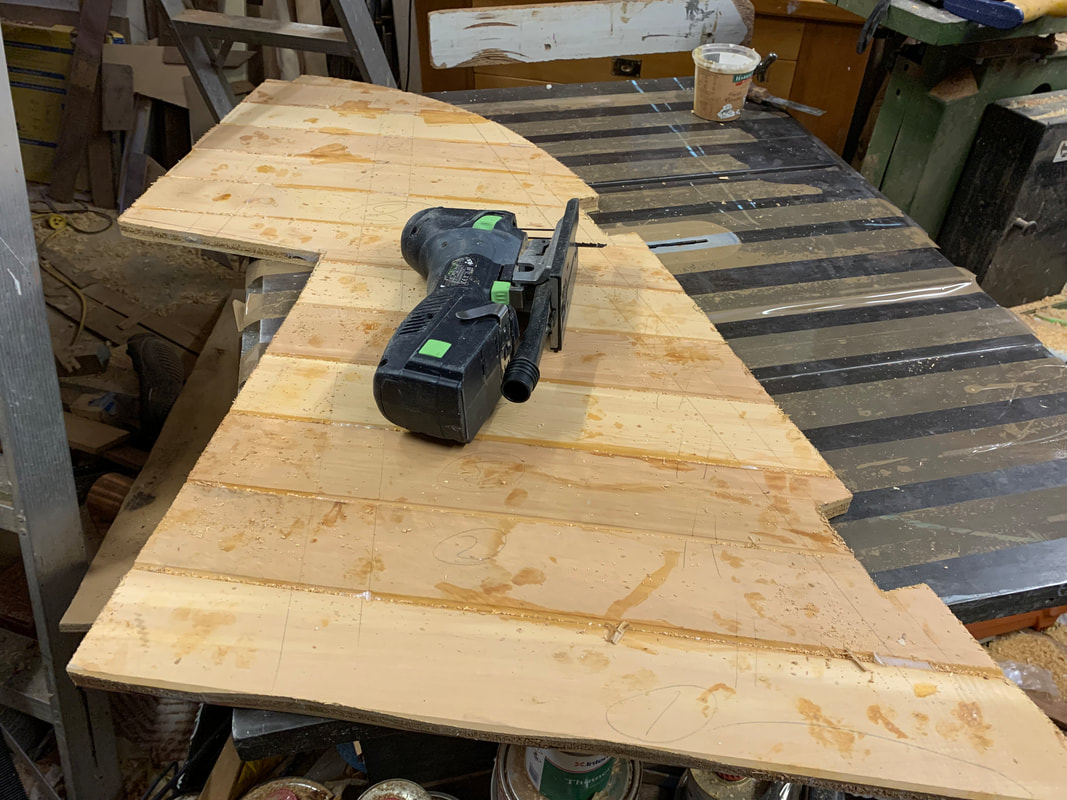
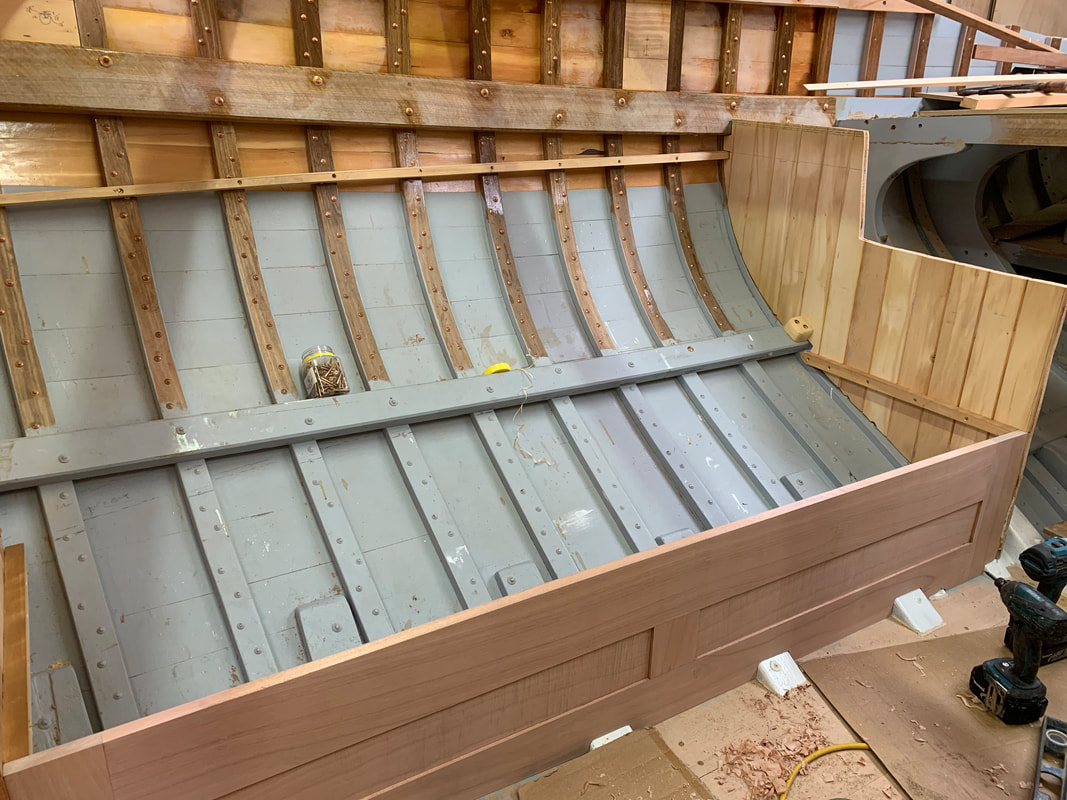
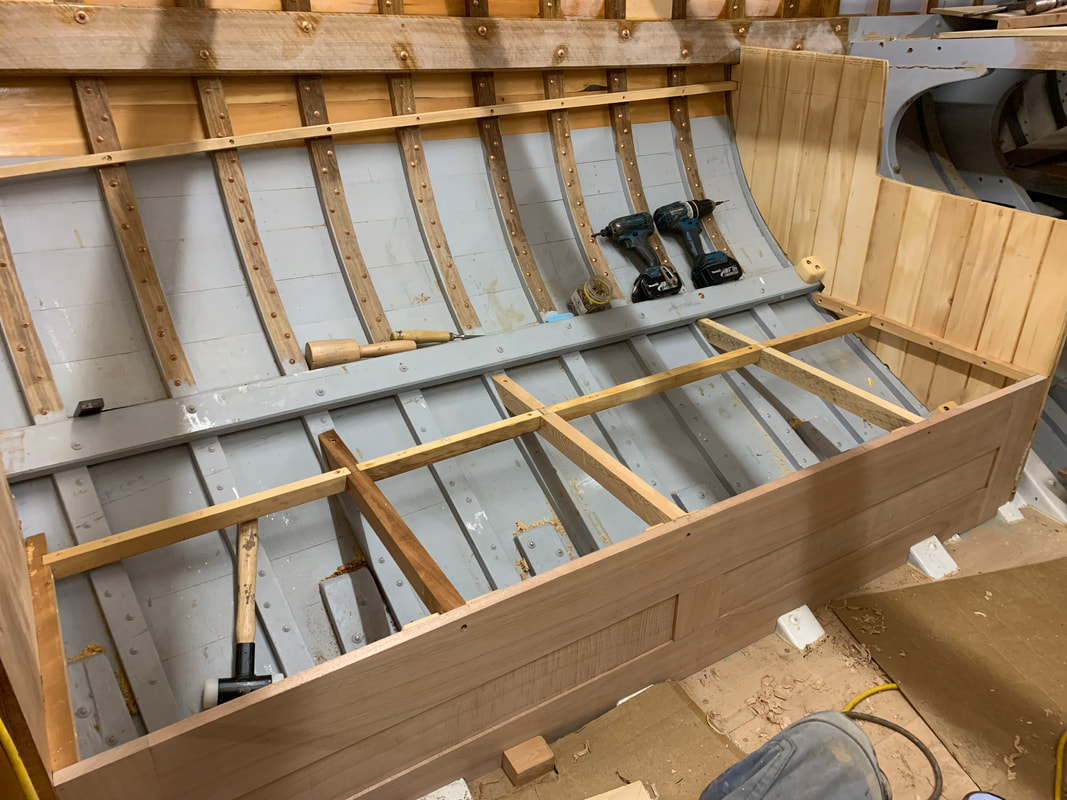
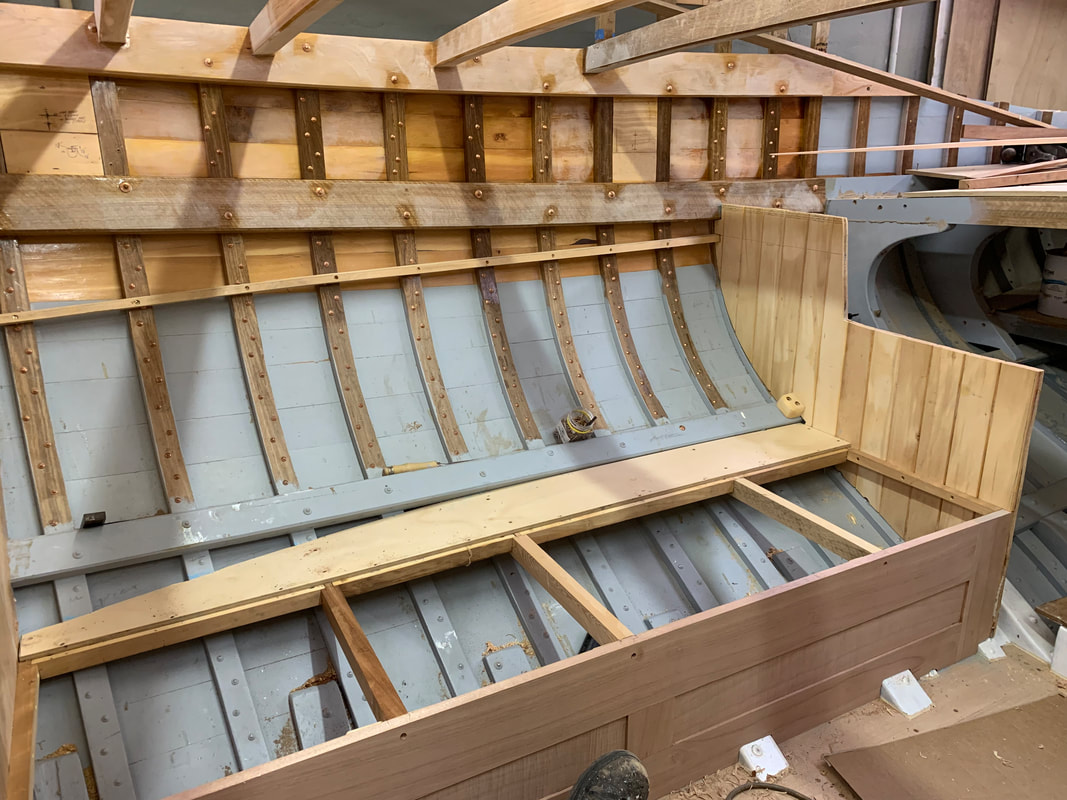
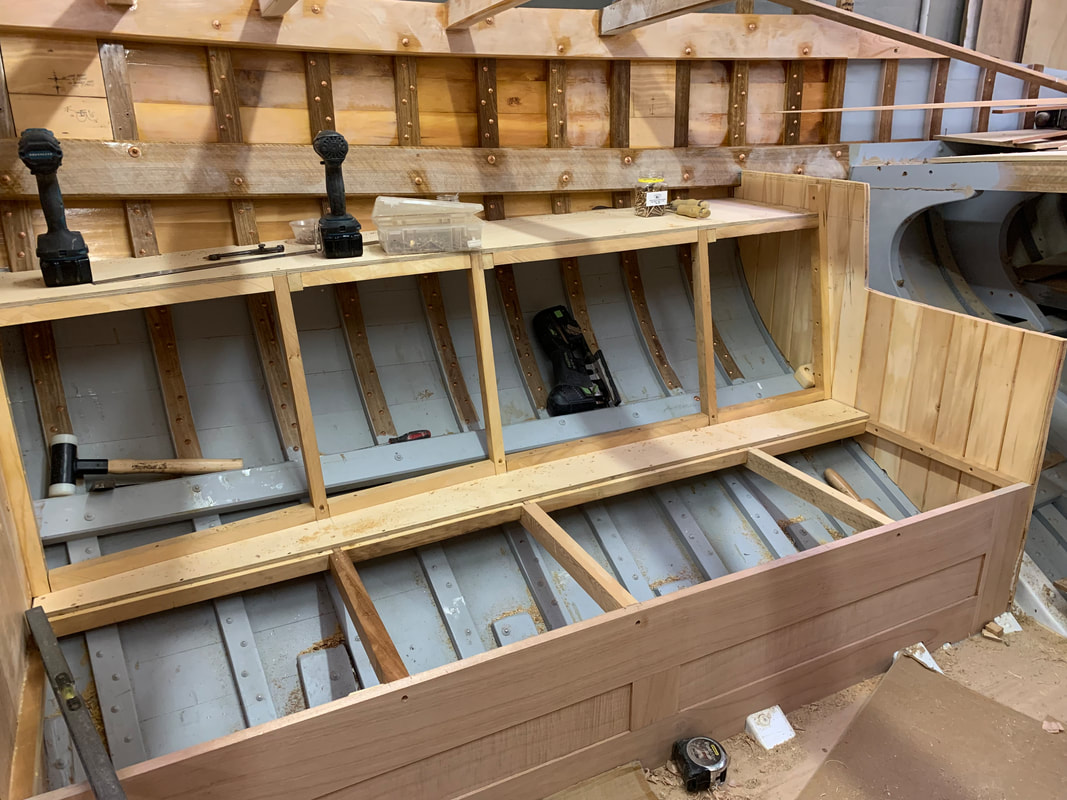
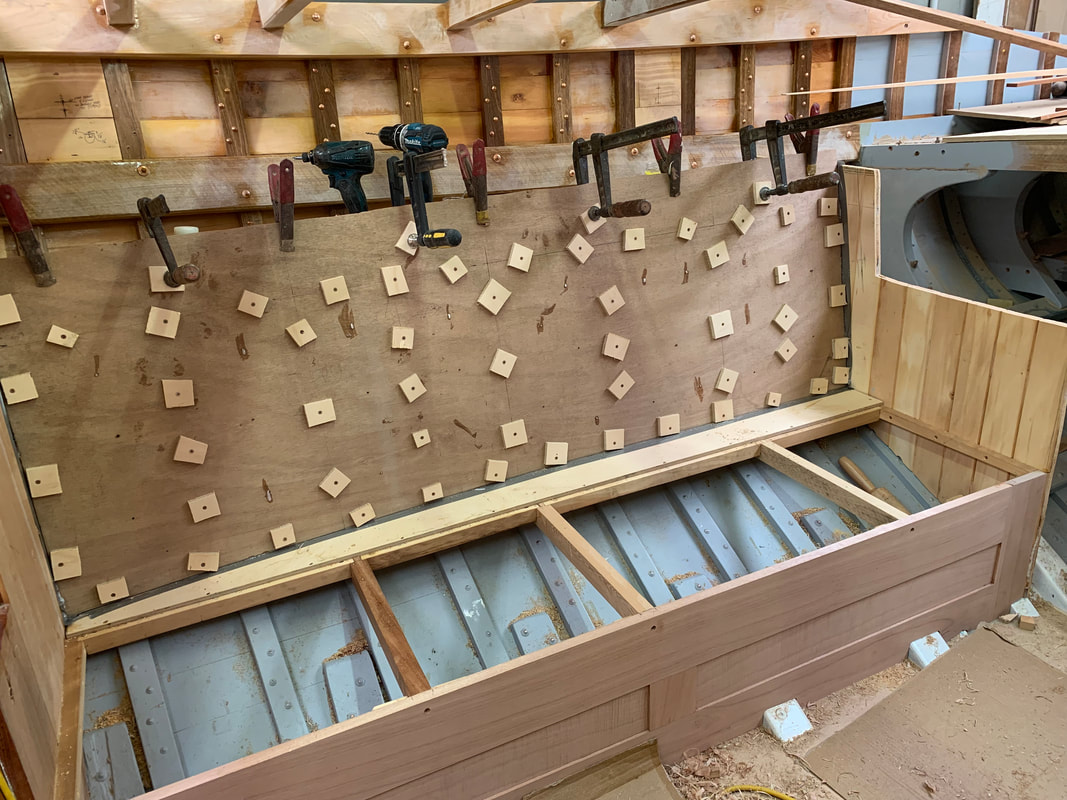
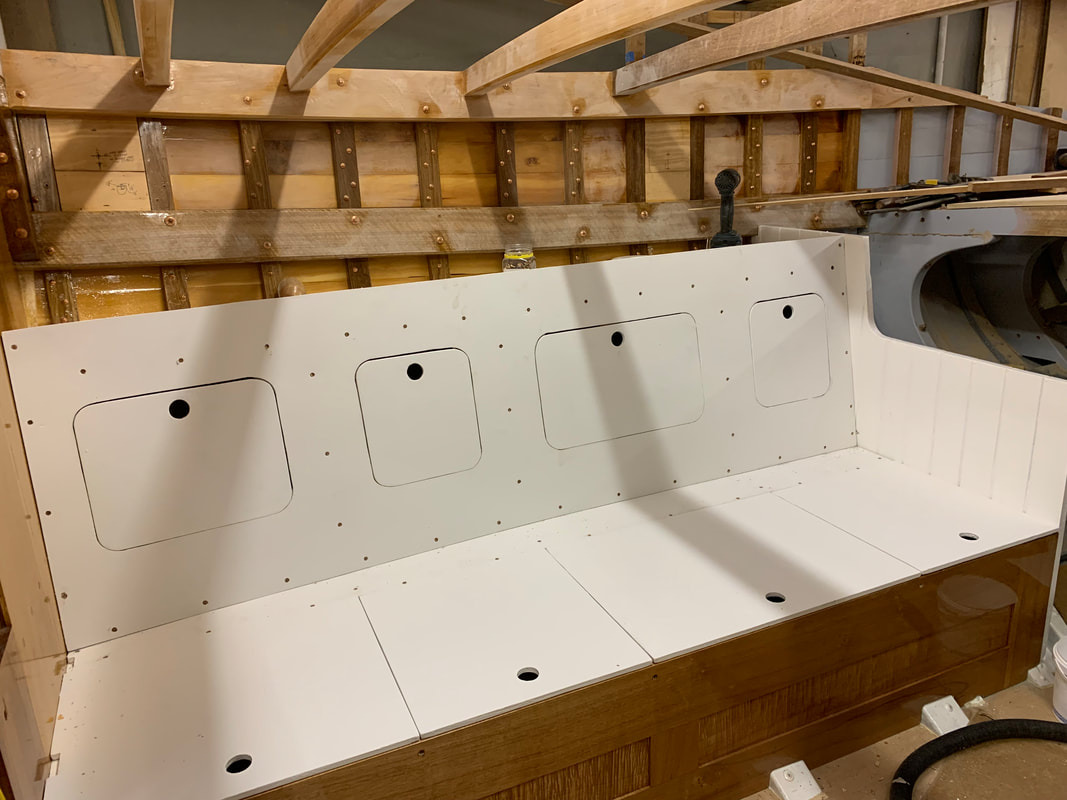
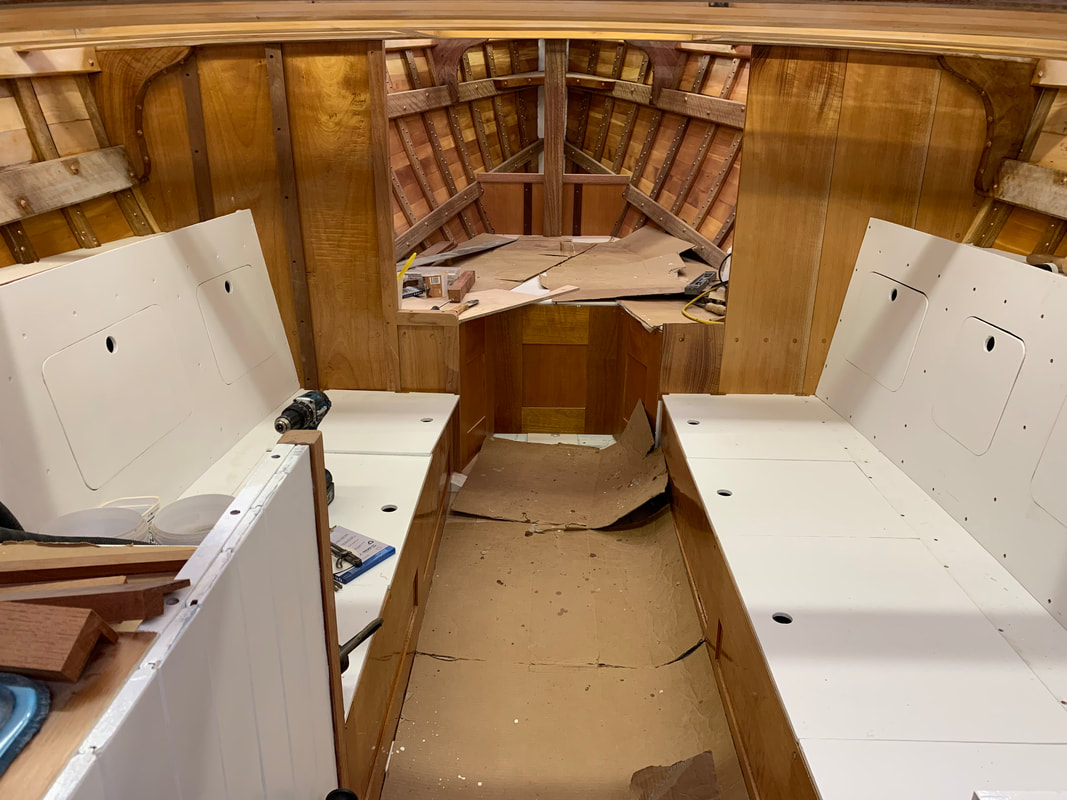
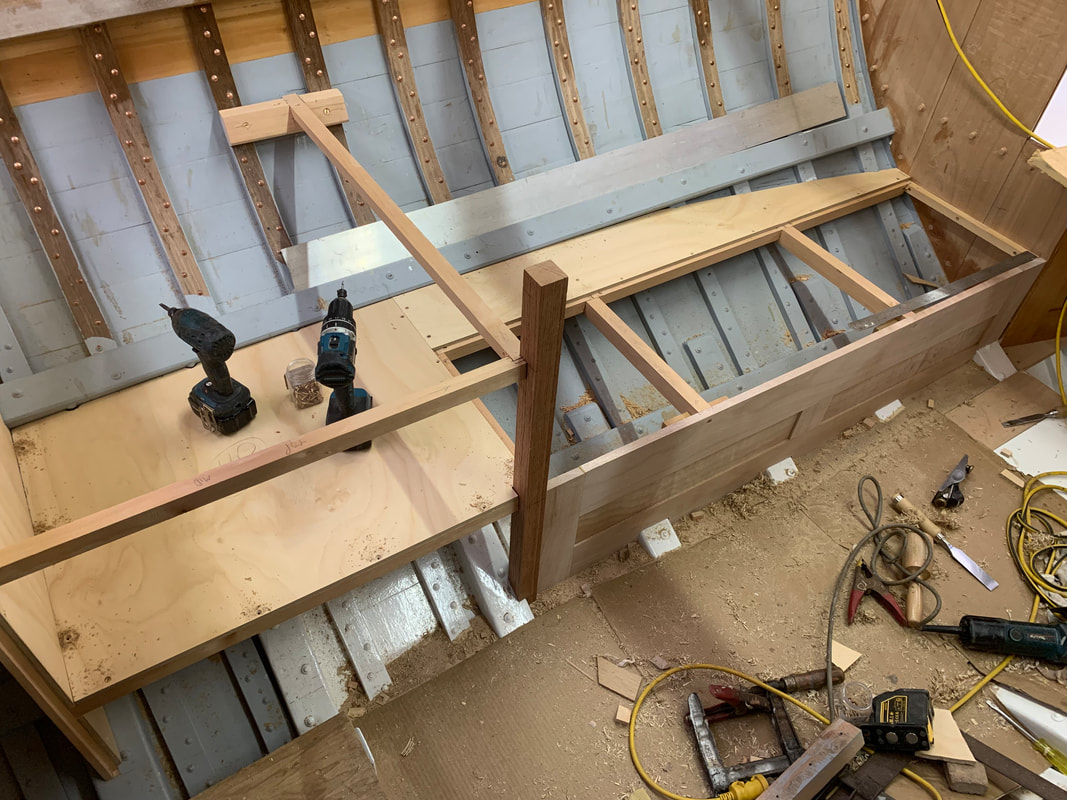
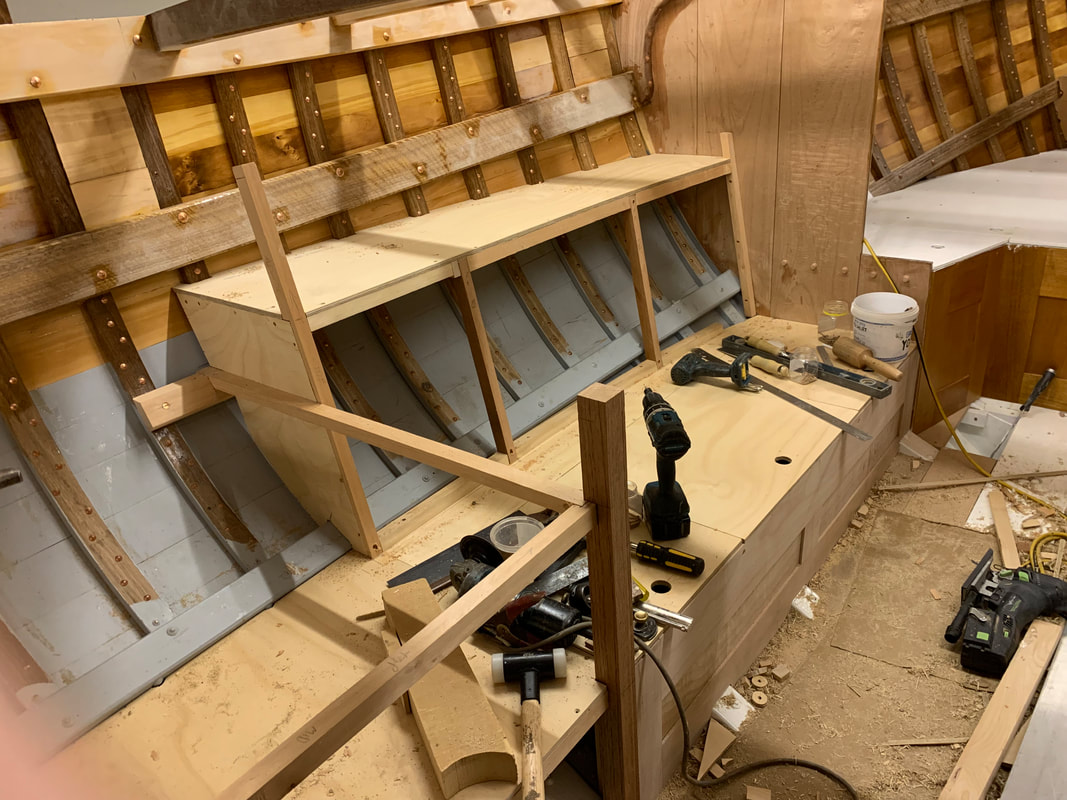
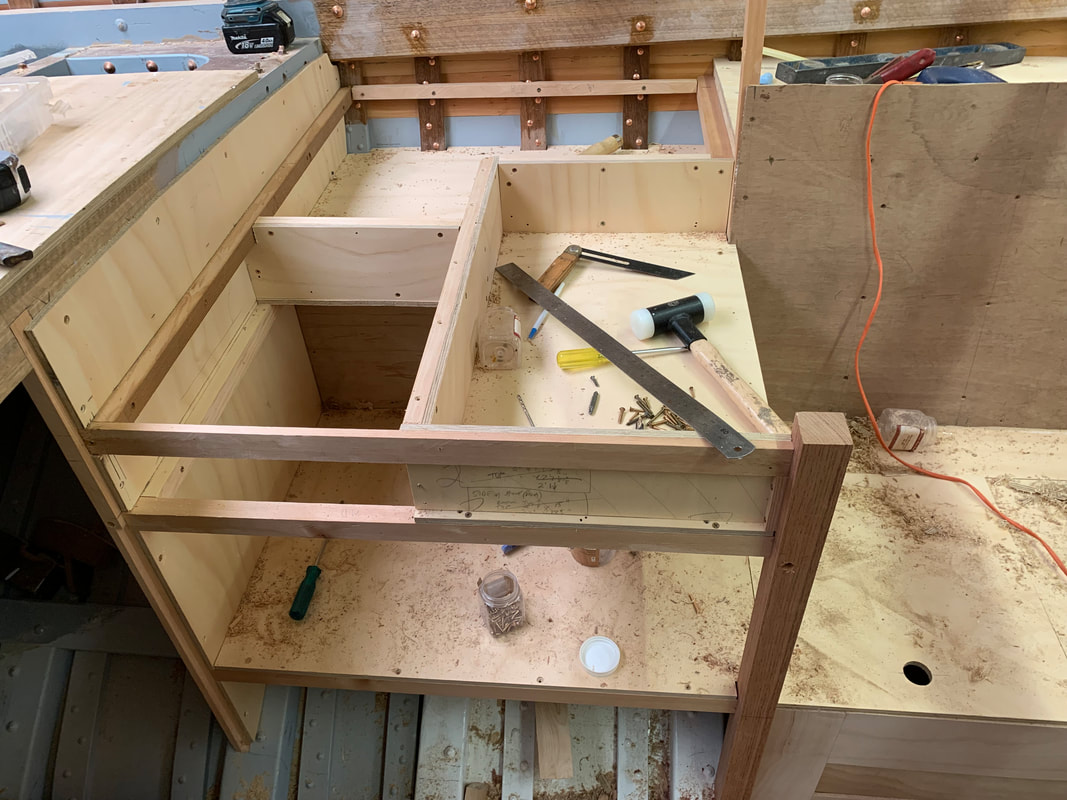
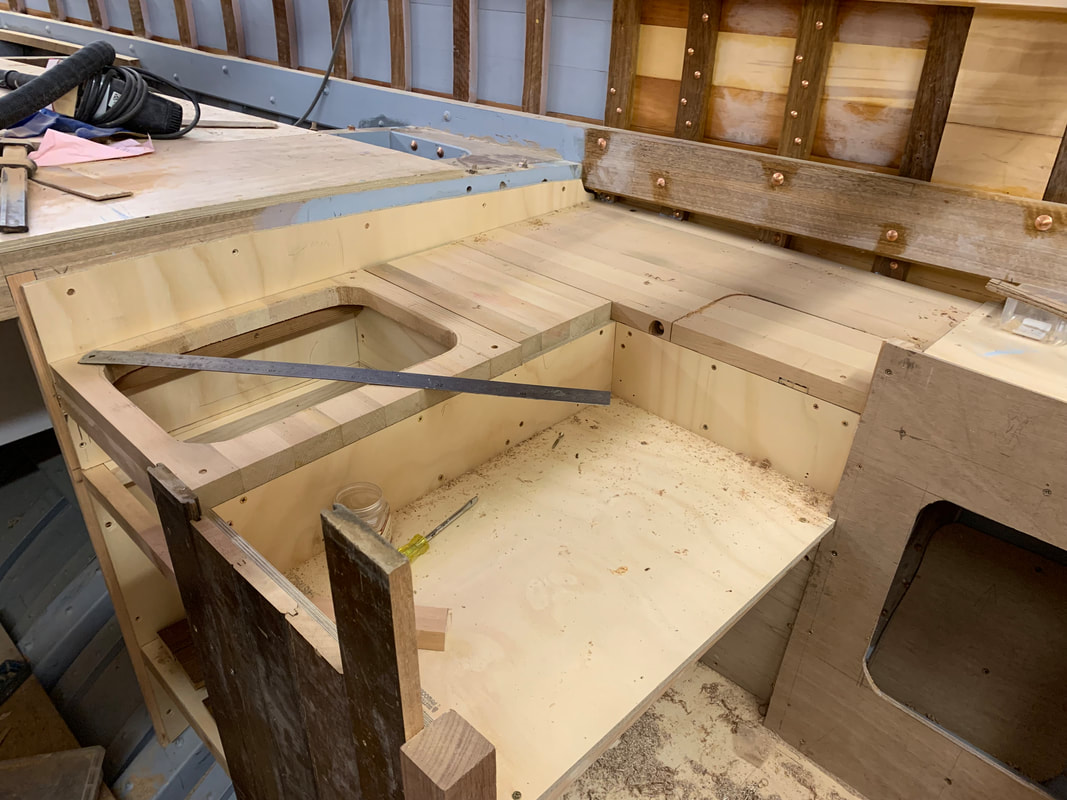
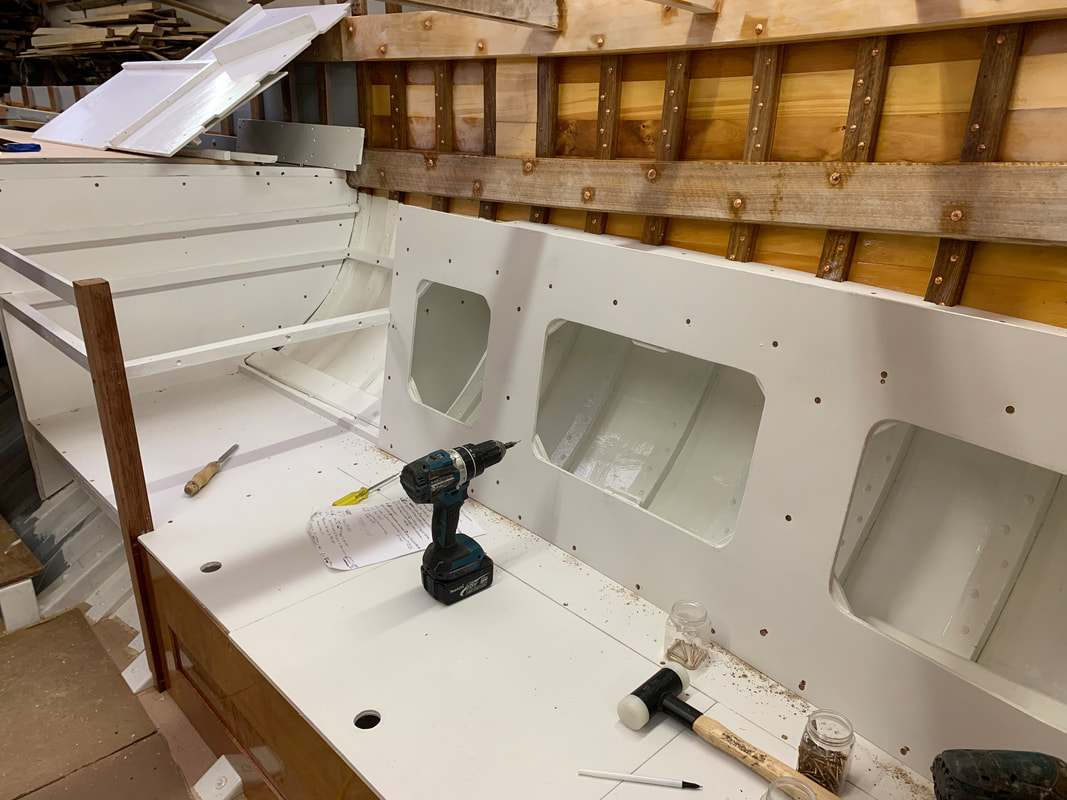
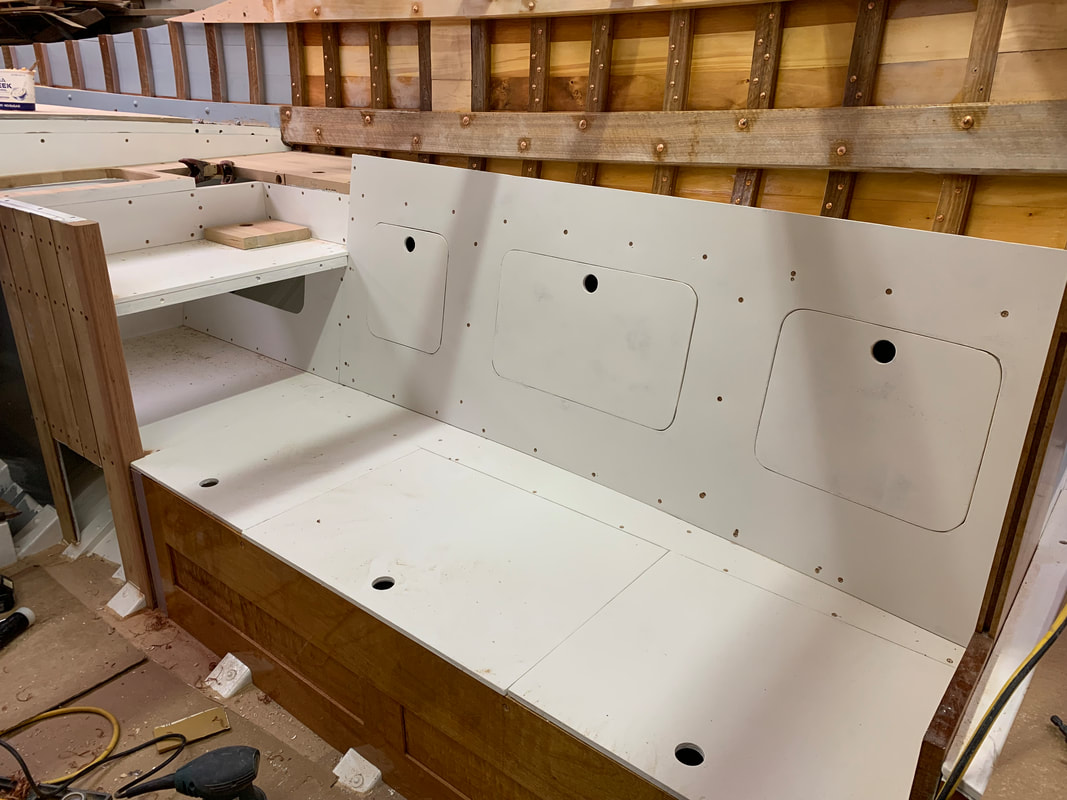
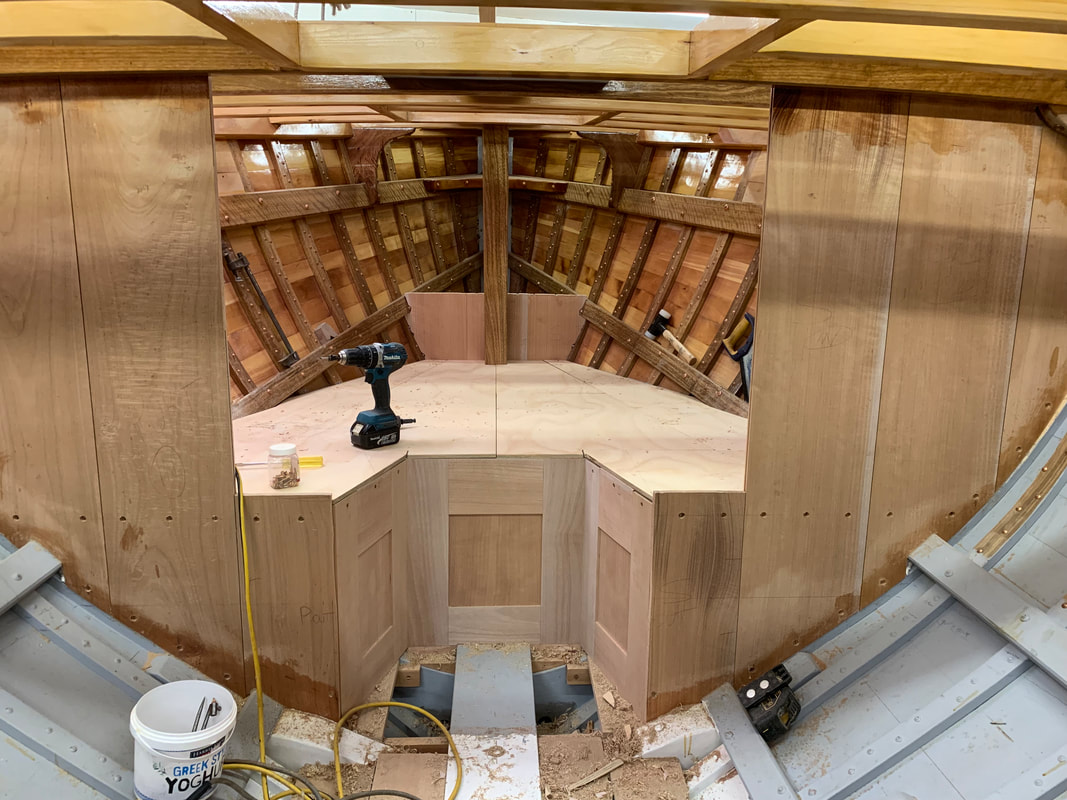
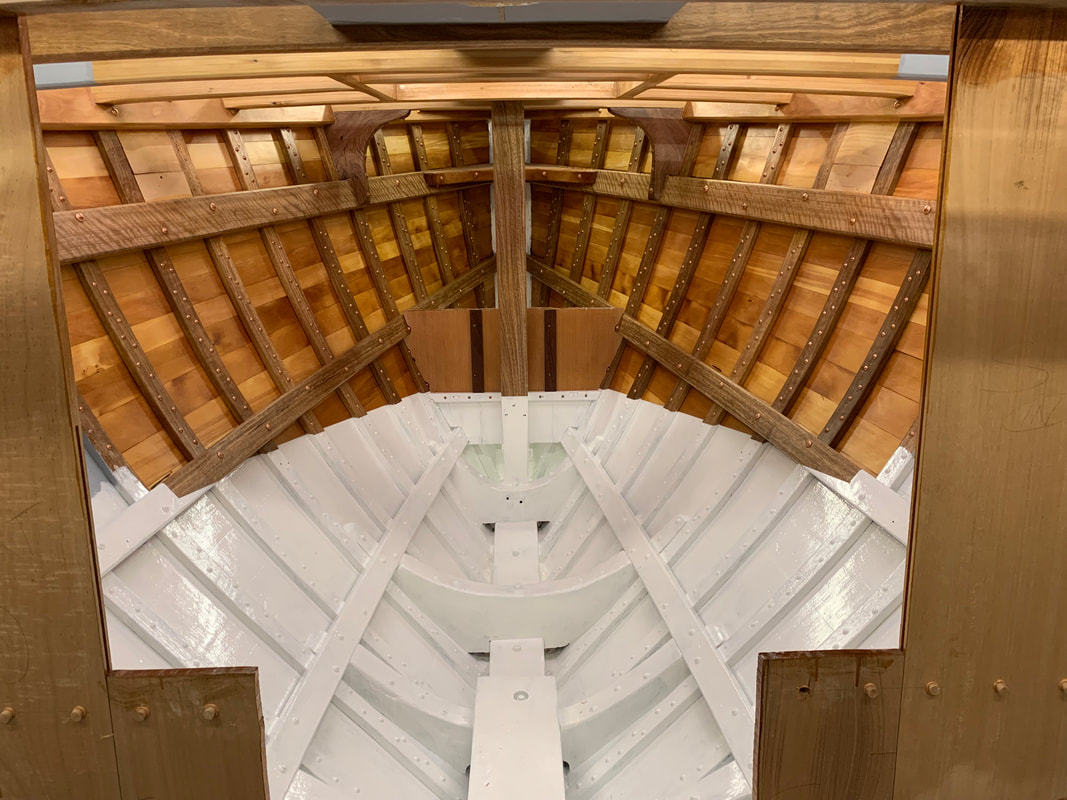
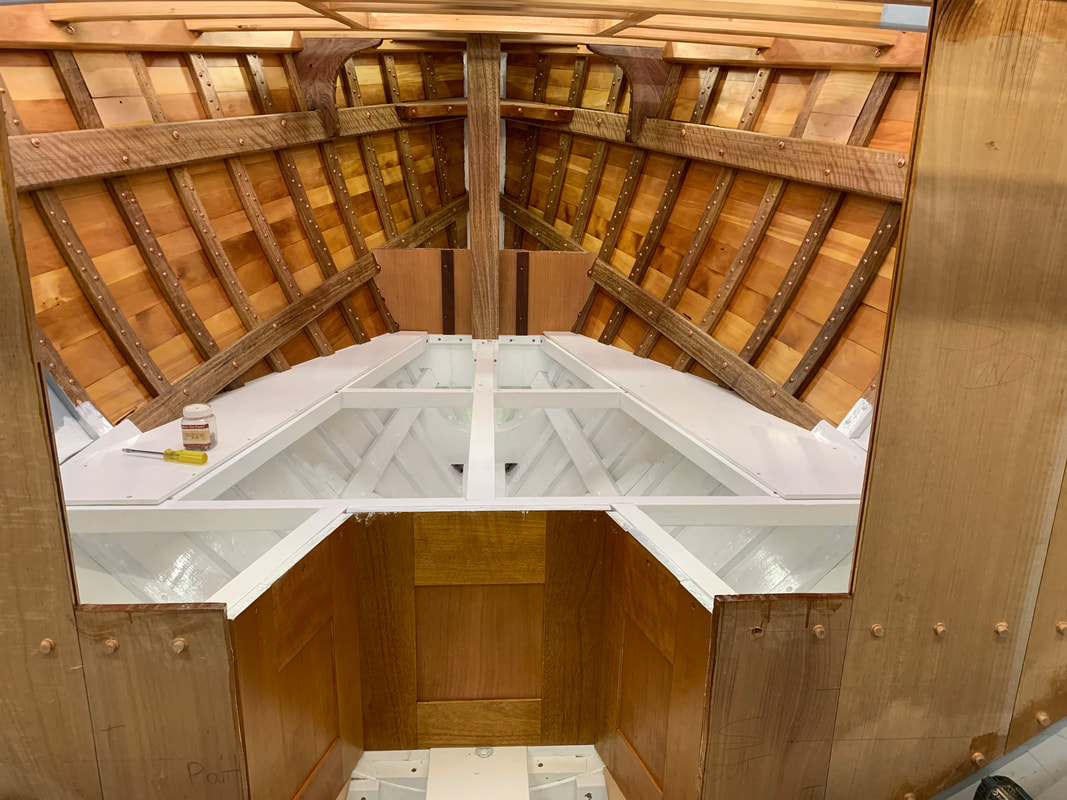
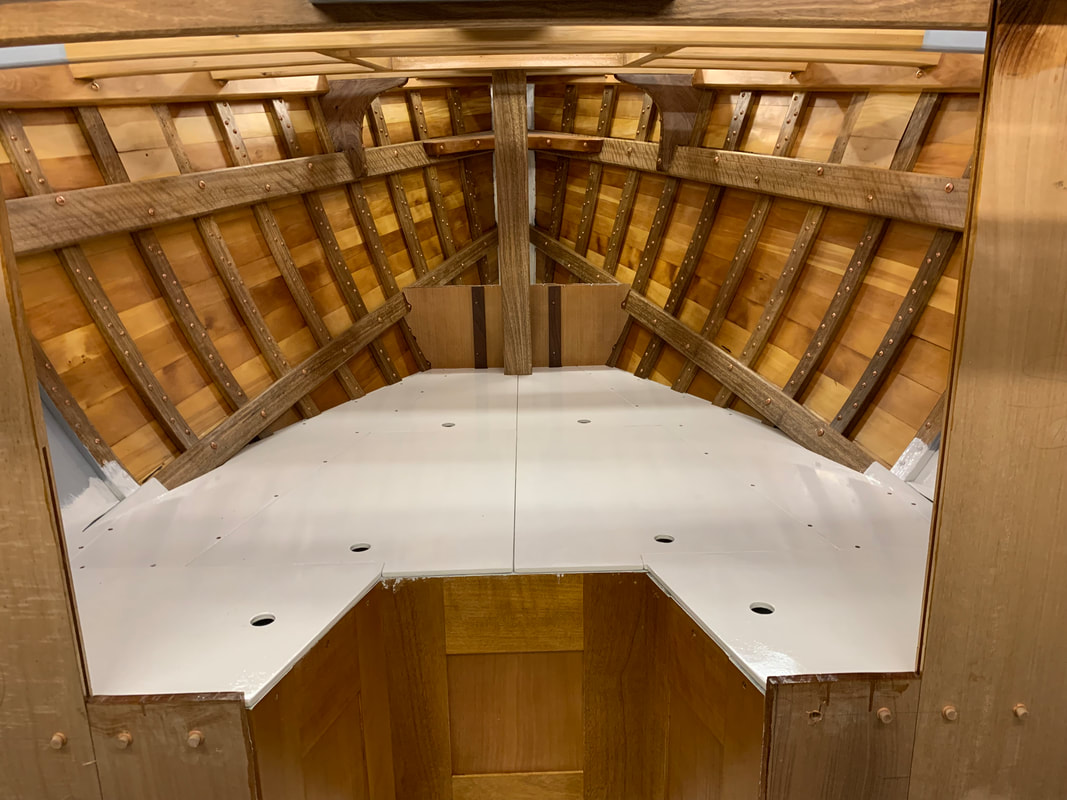
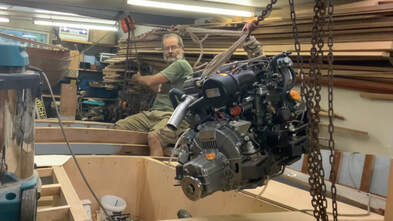 At the end of March I lifted the Yanmar 2YM 15-horse motor into the boat. It's sitting on its engine beds, but it will stay like that for a while as there's a lot to do before bolting it down. But before I could lift it in I needed to removed several timber props that were holding the hull upright: a cross beam from wall to wall fixed to the frame heads at the cabin/cockpit break in deck, and a prop to Starboard attached to both the wall on that side and the top of the sternpost...... but before I removed those, I had to prop up the hull from underneath......but before I could do that i needed to caulk, pay and paint the hull where the props would sit because access would be difficult to those areas later. So I caulked four hull patches with cotton, primed and payed the seams with linseed oil putty with a little anti-fouling paint added as these areas were all under the waterline, then painted on several coats of International Primocon and 2 coats of anti-fouling. Then a good mate Dave Paget welded the tubing holding the adjustable props to the cradle and I wound them up tight. I removed the timber props from the upper works monitoring with a laser level to make sure the boat didn't move. It didn't, not a millimetre, so the hull is still perfectly level. Having the engine in place allowed me to locate the engine water intake seacock and work out satisfactory locations for the cockpit drain seacocks so they would not interfere with the drive train and exhaust system, and to built the battery box and engine box, to the point where it is now painted and only needs Cedar trim to be finished. But it can and will be easily disassembled when cockpit drain hoses, exhaust hose and drive train need to be fitted. Here's the YouTube video I made covering the whole process of lifting the engine in. youtu.be/yP6RmfYyEZo The cockpit seating ply had only been temporarily fasted down when I first installed it for two reasons. The first was that it's always best to leave irreversible decisions like that as long as possible to make sure that you've done everything that needs to be done before you're committed, and secondly because the pre-painting of areas that would become inaccessible after the seating was glued down had to be delayed because last year there was a shortage of some International paints due to Covid problems, including the grey Bilgekote I was using under the cockpit. When I glued down the cockpit sole and the well sides I only had enough Bilgekote to do the areas that would become inaccessible once they were permanent. But since then I was able to get enough Bilgekote to do all the areas that will be below the cockpit. The coating sequence for all plywood was this: 3 coats of WEST System epoxy resin, the first coat rolled on and allowed to cure. The next day I scoured and wet-sanded the surface and wiped it dry to remove the amine blush that epoxies exhibit when curing which hinders adhesion of following coats. Then I applied two more coats about 3-4 hours apart (depending on temperature). The optimum time to recoat is when the first coat has cured to the point where your finger will leave a fingerprint but the resin will not stick to your finger. I've found it's best to leave the final coat of resin as long as possible before recoating with the rest of the program, because sometimes thinners in other epoxy and paint systems will attack freshly cured resin. You still need to wet scour and then sand. I used two coats of International Interprotect, a high-build epoxy coating, one coat early in the day and the second coat late in the day. I sanded this the next day before applying 2 coats of Bilgekote on successive days. Bare timber like the short half-beams and carlins under the cockpit seating get three coats of Yacht Primer and two coats of Bilgekote. Obviously you do not coat any gluing surfaces, and you need to make sure these are clean and dust-free before gluing. I also built drainage for the two cockpit hatches, a lazarette hatch aft and a cockpit seat hatch to Port. I then glued down the seat ply, screwing with bronze screws where the temporary screws had been, and adding Monel ring nails every 150mm or so between screws. The cockpit sole hatch will be screwed down over a watertight seal as it will only be occasionally removed. The photos below are of the cockpit prior to gluing down the seating ply, in fact prior to priming and painting under. The next step was to build the back of the cabin and add the companion hatch carlins and the aftermost half-beams. The joinery timber for the back of the cabin is all Queensland Maple (in keeping with most of the other boats to this design). There will be removable hatch boards fitted in the "windows" either side of the companionway. At anchor these make the interior of the boats very airy. A Tea-tree (Melaleuca) lodging knee and a hanging knee were part of the structure aft on each side. The final part of the main cockpit structure is the narrow aft and side decks. A tapered packing piece was necessary to bring the level of the outboard sides to the right height, a maximum of 22 mmm (7/8") on top of the lower sheer clamp at the forward end. A 100 x 25 MM (4"x 1") timber on edge was added to the outboard seat following the line of the carlin under. This will support the inboard end of the side deck and be the backing against which the varnished Queensland Maple coamings will be fastened. A thick Jarrah pad was fitted so its top surface will be landed on by the side deck ply each side as a backing pad for the secondary winches which will be outside the coamings. Other preparation for the deck ply involved cutting off the protruding top of the Blackbutt sternpost and the fairing of the top of the transom and knee structure and all landing areas for the deck ply. I then cut and dry-fitted the 16mm (5/8") Hoop Pine deck ply, cut scarfs where the aft and side decks join, then resin-coated and painted the undersides as before. As of today they are glued down with all nail and screw heads epoxy-filled and sanded. Sheathing with dynel cloth in epoxy resin is the next job. And in the middle of all this the foundry completed casting bronze from my patterns for rudder fittings and deck gear and I now have to trim, drill and polish these. Normally you don't want water to enter your hull, but there are some exceptions: you may need cooling water for your engine, or for a salt water pump for the galley. You may also need to get rid of water or waste, like from the sink or from bilge pumps. You'll need seacocks so you can control the water movement. In this episode I show the several different types of seacocks, and discuss where they are located and how to fit them to a carvel=planked hull. Here's the link, seeing YouTube doesn't seem to work on this site anymore: https://youtu.be/pLEZoPbvLDI I've built two lockers in the forepeak in the corners immediately forward of the bulkhead, and fitted the water tank under the sink in the galley to Port aft. 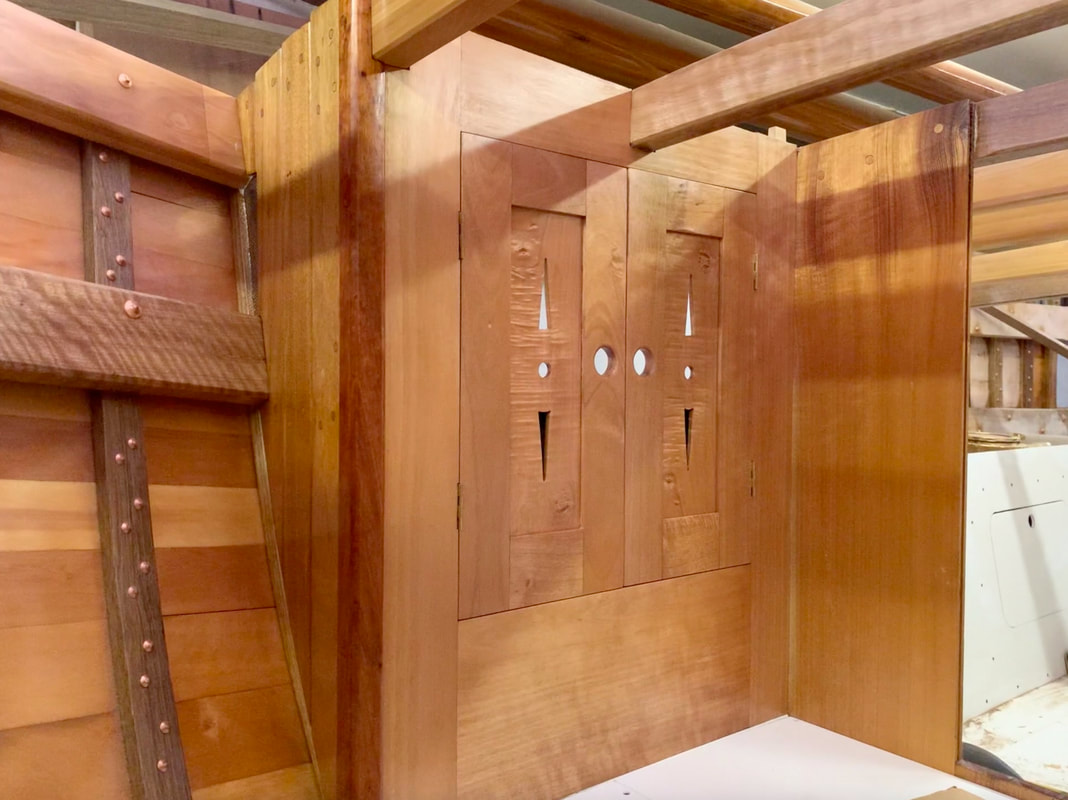 The locker to Starboard has doors and an intermediate shelf, the one to Port is to be an open hanging locker. The frames, doors and forward tongue and groove panelling are Queensland Maple, the corner post is Australian Red Cedar. I decided to keep the number of doors to a minimum on this boat. In a previous boat Blackwattle (see My boats Page) I built 14 locker doors, each of Mahogany with louvred faces. It took me about as long to do the doors as the rest of the interior construction! I like the look of rails, styles and panels but as in a previous post on the bunk fronts I decided to join the parts together with biscuits rather than mortice and tenon joinery. While the biscuit material itself would absorb moisture and swell if allowed, they are completely buried in epoxy, and if ever there is enough water in the boat to penetrate through the Queensland Maple and epoxy, the furniture will be the least of my worries. I would still not use biscuits in any structural parts of a boat hull or deck just in case. As usual I assembled the lockers dry before disassembly and complete priming of edges, mating surfaces and the interior of the lockers. In fact all interior surfaces were primed and coated with two coats of white Bilgekote (International) before final assembly. The third photo above shows the Port locker which will be an open hanging locker for (hopefully) dry wet weather gear. I have also installed the 60 litre water tank. It is a standard Diablo moulded plastic tank and is locked in place with chocks with rubber pads and cannot move a millimetre in any direction. I was able to locate the whole water system in one small area. The filler will be above the tank in the cockpit. The sink with brass hand pump is immediately above the tank and the drain to a Spartan seacock is below it. The seacock is installed but not connected yet. Sixty litres will be ample for a boat which will only engage in limited cruising. The latest episode shows how I fitted the opening portholes to the raised deck area of the topsides. I cover the methods used as well as some advice on locating portholes on topsides and on cabin sides for the best appearance. It's on youtu.be/x6ekXaO0lF8 It's been 5 months since the last episode but I finally got enough footage together to put out episode 14, showing how I fitted the bulkheads and a bit about the furniture. The main thrust of the story is how to shape flat surfaces like bulkheads and shelves to fit against curved surfaces like the hull. youtu.be/I72yTlR_lEw
 It was finished a bit later than I thought it would be, but 5 weeks in November and early December had to be devoted to repairs and maintenance on Britannia my historical 18-footer replica. But now the starboard bunk is in, with just some finish painting and Australian Cedar trim to go. The partial bulkhead at the aft end of the bunk had to be made first, and then the bunk framing was attached to it. The bulkhead is built up from 3 layers, 1/4" (6mm) vertical staving on the outside layers, made from Huon Pine offcuts, with a horizontal layer of 6mm Western Red Cedar in the middle. I built up a pattern from plywood offcuts screwed together which was easier than building it from lighter ply and sticks because the pattern had to be more or less free-standing as this bulkhead is mostly supported by the bunk framing which did not yet exist. I had a dry run in assembling the three layers to make sure the timber was covering the necessary territory, then glued the layers together with WEST System Epoxy on my protected flat saw bench, clamped down with stiff sticks, Then the pattern was laid on it and the bulkhead was marked, cut out and fitted with several trial fits. Then I began to build up the bunk framing, again from Huon Pine planking offcuts. The end cleats to support the bunk front were fitted first, then I fastened in the bunk front which I had built up rail, stile and panel style from Queensland Maple in the same manner as the Port bunk front described in a previous post. The horizontal framing went in, then the outermost section of the bunk top plywood was fitted against the hull. Then the upper plywood shelf with its supporting structure was fitted. The backrest was made from two layers of 4mm plywood glued together in situ, with plastic tape around the edges to prevent it sticking to the bunk top and bulkheads. All of this structure is simply screwed together so that it can all be dismantled for access to the hull in future without destroying it. The 10mm (3/8") plywood used in the bunk top and shelf would have taken the slight fore and aft curve of the backrest, but the cutouts for the access hatches (see below) would have straightened out once cut. The two layers of 4mm ply hold the slight curve. 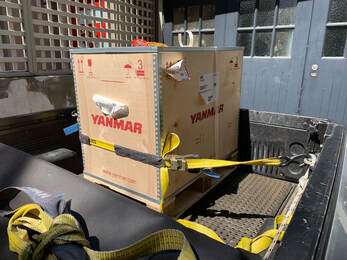 Once it was all together I dismantled it and primed and painted the parts, including the hull side behind the backrest before fastening it all back together and bedding the parts touching the framing and stringers on low-modulus SIKA PRO polyurethane sealant. Of course there is still final paint coats to go and then the trim from Australian Red Cedar.
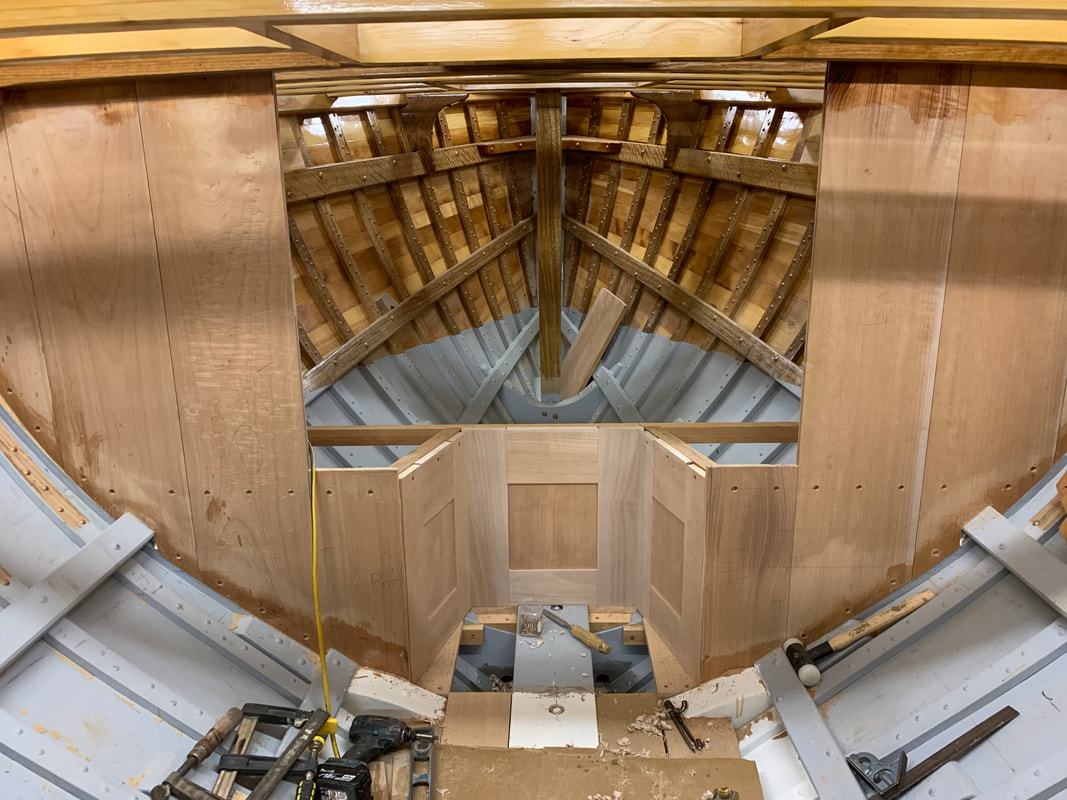
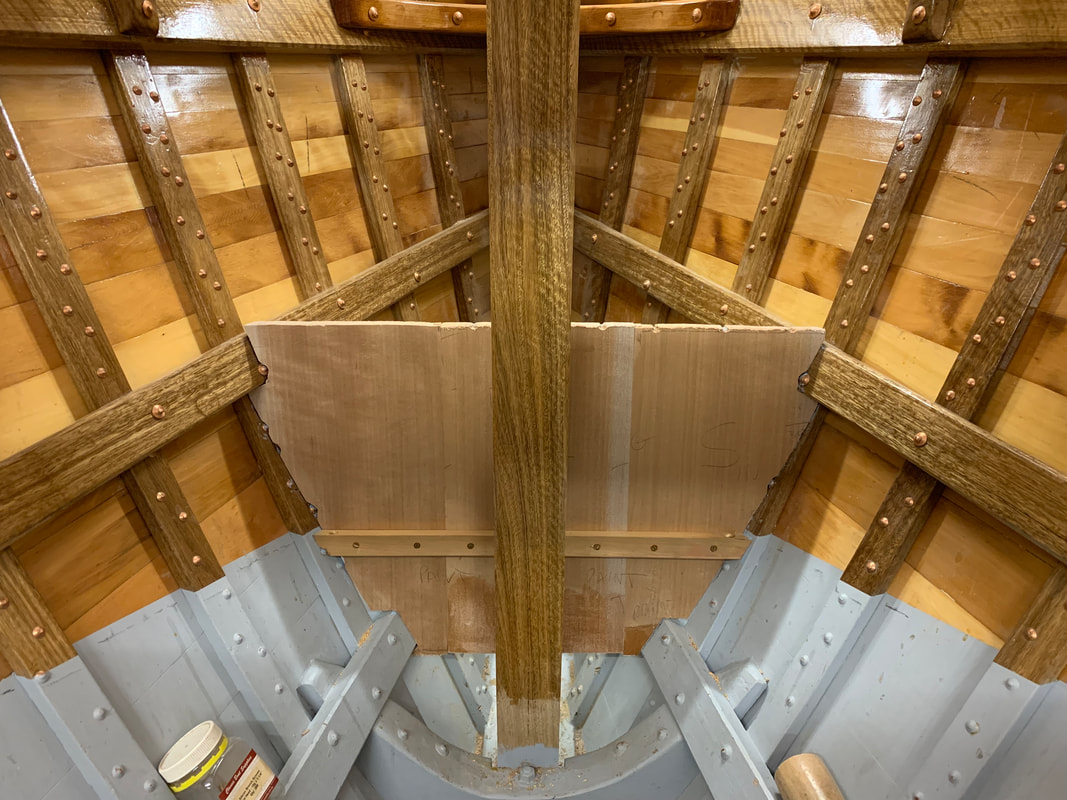
I'll be putting together a video, Episode 14 in the Carvel Planking series, on Bulkheads and Furniture and posting it here and on YouTube Ian Smith Boats channel shortly. Next I'll be fitting the water tank under the galley and a few other operations necessary before fitting the engine to the boat. I have purchased the engine, a Yanmar 2YM 15 HP and it's sitting in its box in the shed. 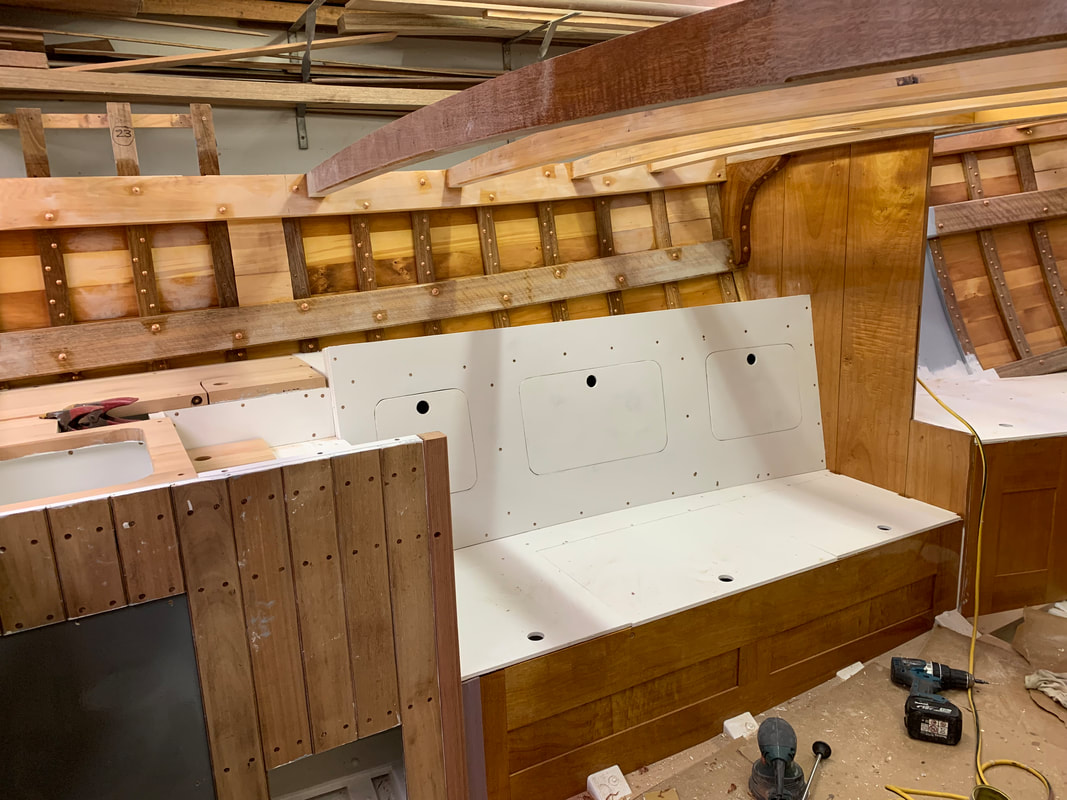 The port bunk, or saloon settee and the small galley had to be put in at the same time as the structure is continuous. The bunk is longer than it looks as it extends into a footwell under the galley. I framed it up from offcuts of the Huon Pine planking with some Oregon Pine (Douglas Fir) from stock. The bunk front is Queensland Maple in the same manner as the forepeak alcove described in the previous post. The vertical corner post is Australian Red Cedar. All horizontal sheeting is Hoop Pine marine plywood. I spent a lot of time deciding whether to use plywood or solid timber on the interior, but eventually decided that I might as well seeing I built the cockpit structure from plywood and the deck will also be plywood. While this is a classic design I don't feel as though I need to replicate the original build materials, although I have done that in the hull structure and planking. If I was restoring a yacht with a pedigree I would keep it as original as possible, but I feel I have more leeway in building this boat. In my replica of the 1919 Sydney 18-footer Britannia I used traditional methods throughout. Each boat needs to be assessed on its merits. It's a complicated issue and different people will make different decisions. In my case it was a near thing and I nearly went fully traditional in deck and interior. I built the entire structure and then dismantled it to prime and paint all component parts. The galley bench-top surface is made from re-cycled timber.....actually re-re-cycled, as the New Zealand Kauri bench seat I dismantled and machined for the bench top came from old pickling vats. I bought a ute-load of Kauri forty years ago and used it in several boats, a kitchen table we still have, and the bench seat above. When machining the timber in the early 1980's I could smell the vinegar in the timber. It needed considerable machining at the time as none of it was square, having been shaped by a cooper into the vats. I couldn't smell any vinegar this time however. I decided I wanted some of this timber in the Ranger, so I dismantled the bench seat and machined the timber into sections which I laminated into the galley bench-top. It will be varnished and will come up a similar golden brown to the original bench seat. There is still a bit of work to do, plugging, sanding and finishing. The recess for the stove will have a stainless steel sheet insert, and there will be fiddles and other trim from Australian Red Cedar. The vertical panelling is tongue and groove Queensland Maple that somebody gave me decades ago. The galley panelling will be painted (White Satin), but there is enough T & G to clad two lockers in the forepeak which will be varnished. 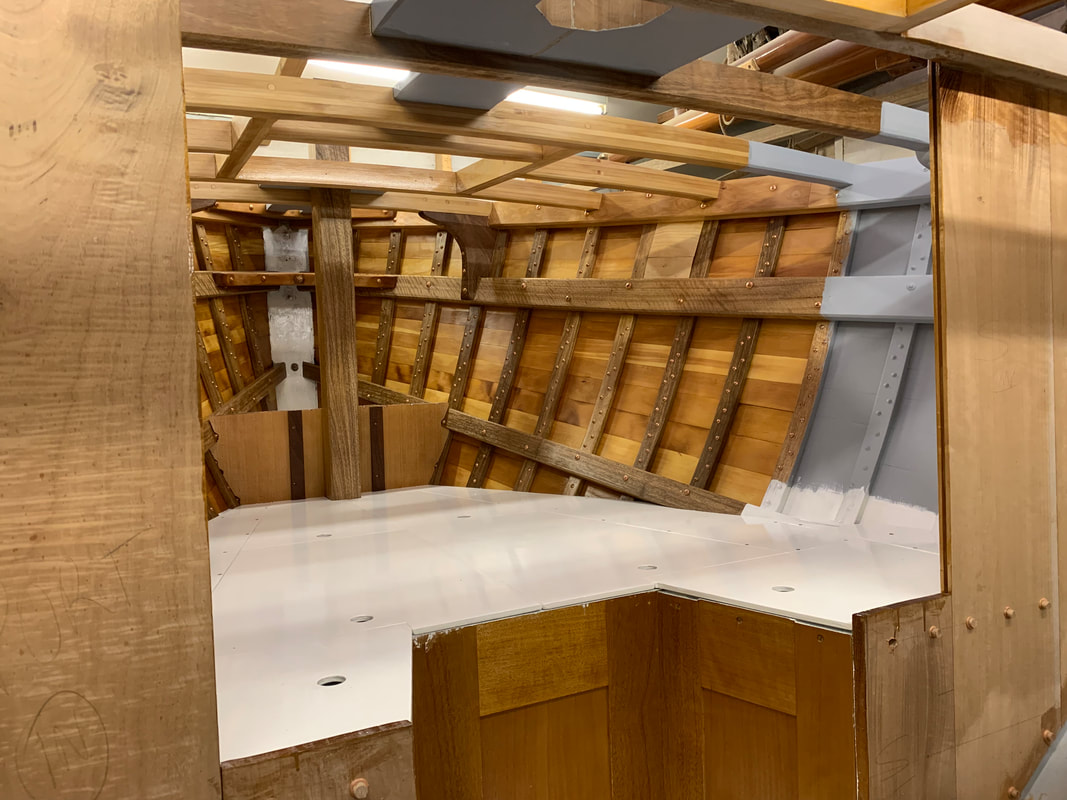 There's still Australian Red Cedar trim to fit on the bulkhead edges, the bunk edges and a cap on the anchor well bulkhead but most of the work is done. The eagle-eyed among you may remember a photo that showed I originally continued the main bulkhead right across the centre but I decided that was going to interfere with the heel of the mast too much, so I cut the central part away and built an alcove. I used Queensland Maple for the frames and panels. I had planned to join the rails and stiles with proper mortices and tenons, and I got as far as doing that one one of the three panels when I realised how long it was taking, and did the other two with my biscuit joiner in a quarter of the time. I enjoy woodwork, but jeez, I want to go sailing! The parts cut out of the main bulkhead were recycled into the anchor well half-bulkhead forward of the sampson post. I fitted a framework of Oregon and Huon Pine (the latter planking offcuts) and cut and fitted the ply bunk tops from 3/8" (9.5mm) Hoop Pine Marine Ply, then pulled the whole shebang apart and over a straight 9 days primed, painted and varnished all parts from the deck beams down to the bilges. All interior varnish is Awlwood MA with 3 coats of clear gloss and a final coat (after lots of sanding) of Satin Matte. Awlwood recommend just one coat of the Satin, but in trying to control runs and drips over such irregular surfaces I laid it on a bit thin and most parts needed a second coat. The bilges and bunk framework have 2-3 coats of International Yacht Primer, and 2 coats of white Bilgekote (sold as Danbolene in Europe). Everything is screwed together with just a smidgen of low-modulus Sika Pro around the screw threads so it will all be able to be removed in the future without destroying it. Only the outer edges of the ply bunk tops are screwed down, there are 6 loose panels for easy access to stowage. The grey-primed areas on the hull sides immediately forward of the main bulkhead will be inside lockers yet to be built.
I'll have a day off tomorrow and then get into the planning of the main saloon and galley. It took a few weeks but the hull is now faired. I filmed at different stages as the work proceeded and here it is in a how-to video youtu.be/lhq3nxnMmAk |
AuthorIan Smith, Boatbuilder (ret'd) Archives
January 2024
Categories |


 RSS Feed
